Konfiguration unter Windows
Experienced users can skip the following instructions and carry out the advanced configuration directly.
Non-experienced users will find instructions for a basic configuration here.
Basic configuration of the ISP client
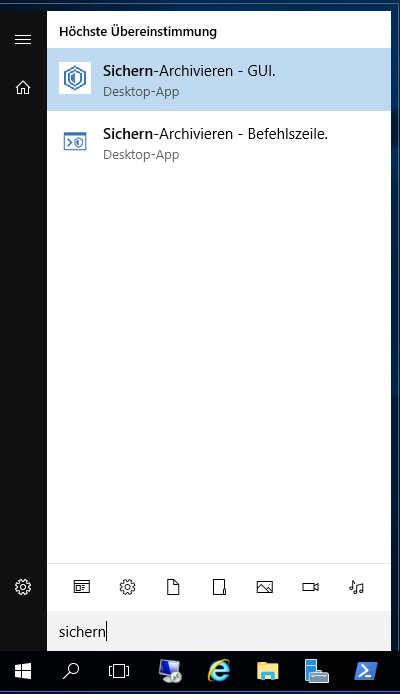
- Start the graphical user interface of ISP.
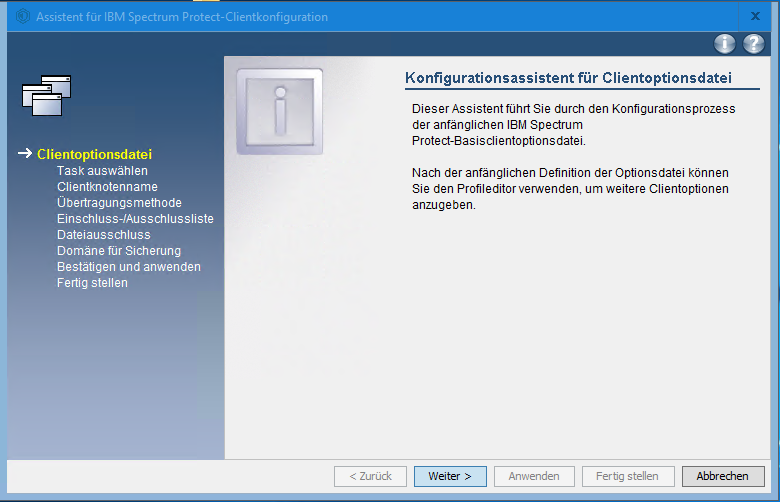
- Click on
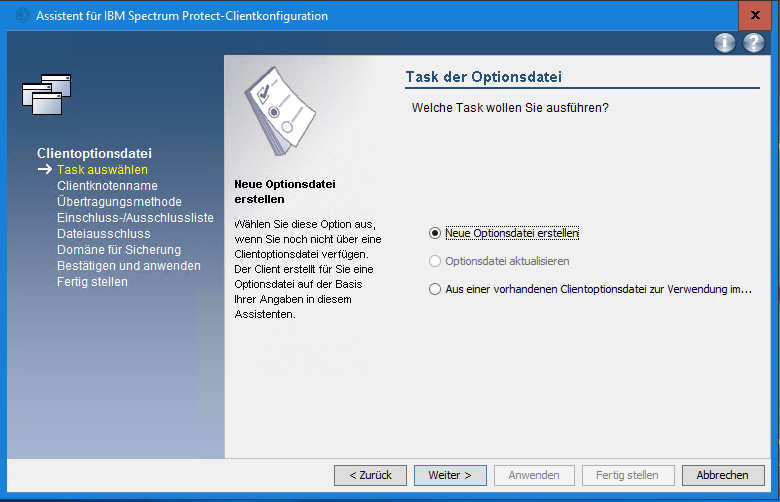
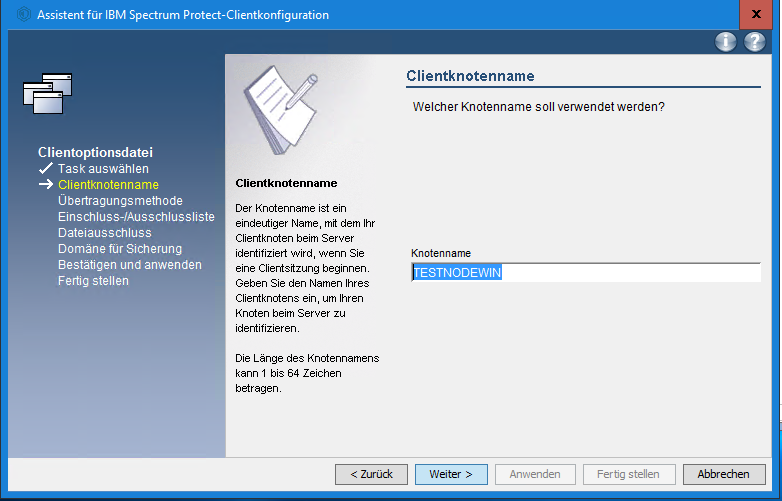
Weiter >twice. - Now enter the name of your node here and then click
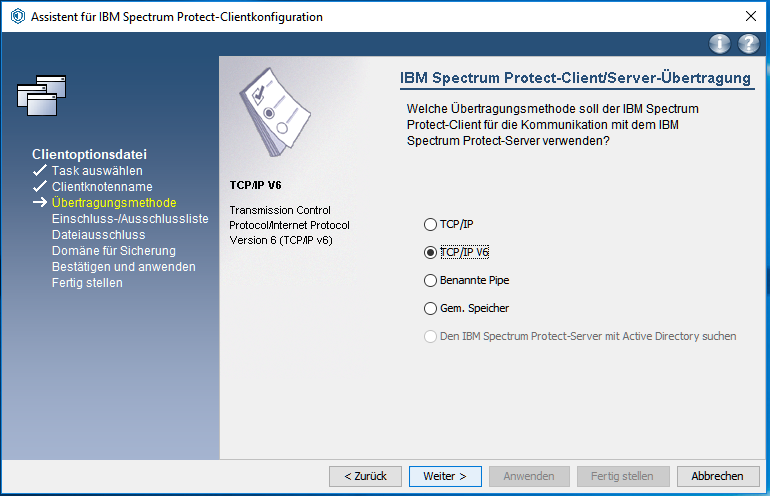
Weiter >. - Select TCP/IP v6 here and then click
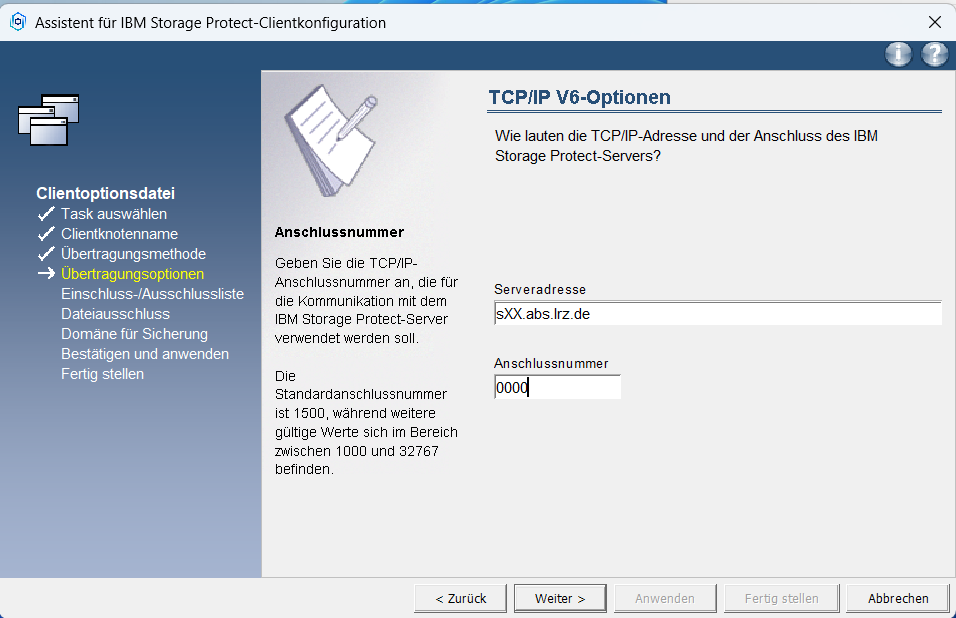
Weiter >. - Insert the "TcpServerAddress" in the field "Serveradresse" and the "TcpPort" inside the field "Anschlussnummer". You will find the "TcpServerAddress" as well as the "TcpPort" in your node registration mail, continue with clicking
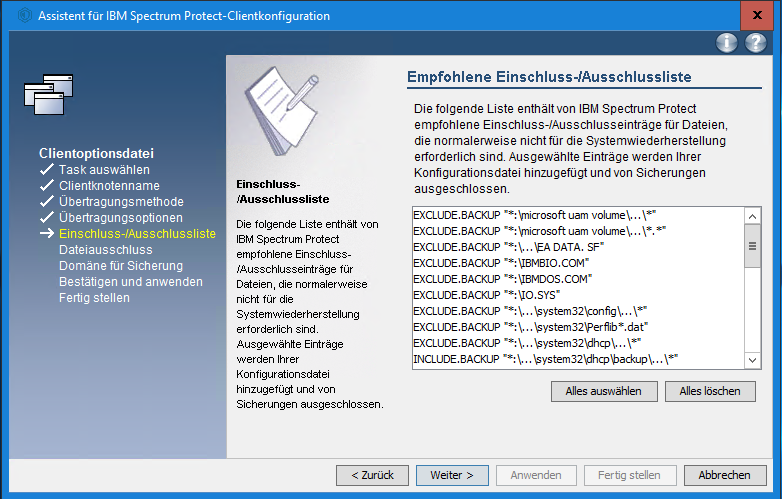
Weiter >. - Select
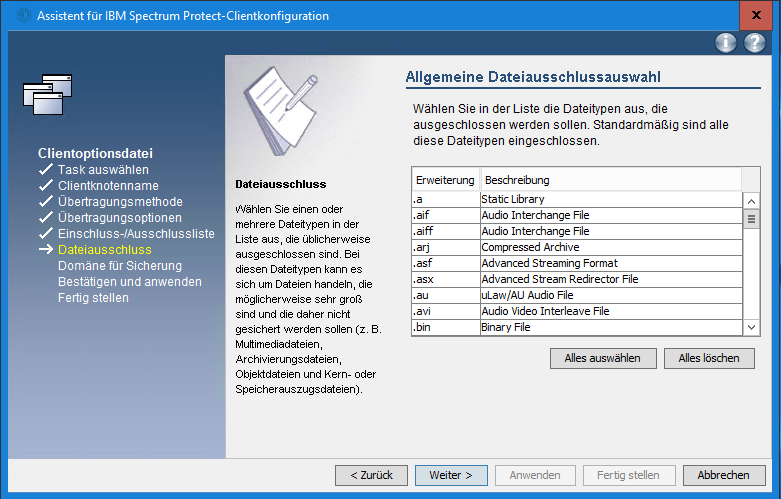
Alles löschenat the bottom right and then clickWeiter >. - Also click on
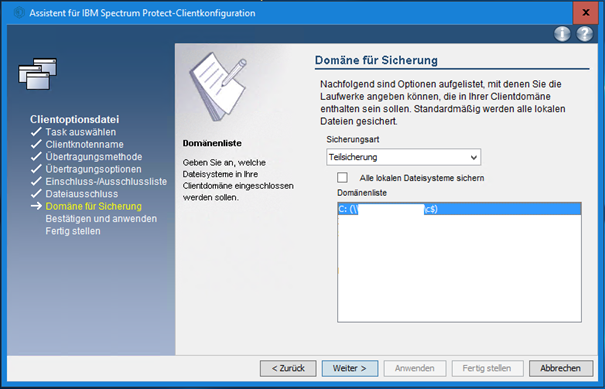
Alles löschenat the bottom right and then onWeiter >. - Uncheck Back up
Alle lokalen Dateisystemeand select the drive you want to back up.
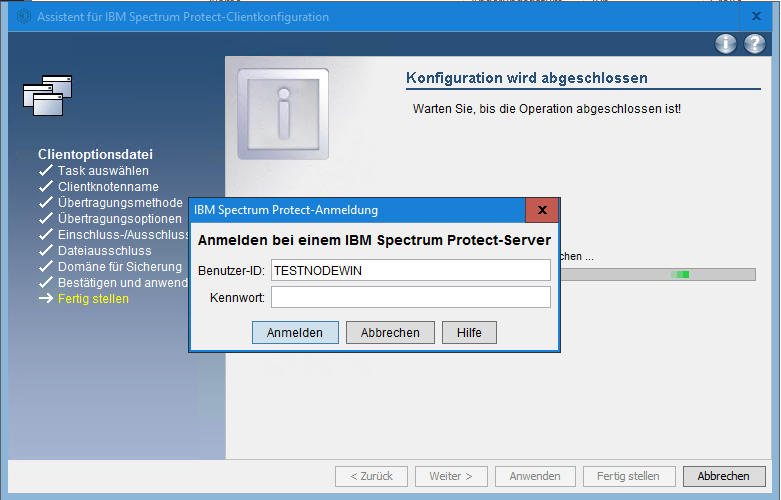
Then click onWeiter>and then onAnwenden. - Enter the node password that you received from us in your registration e-mail.
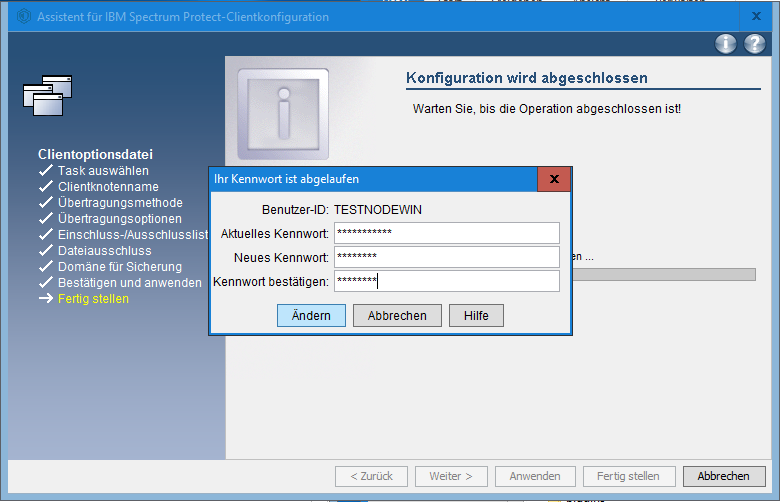
Then click onAnmelden. - You must assign a new password when you log in for the first time. Therefore, enter the current password and a new password now.
Then click onÄndernto complete the basic configuration.
This was the basic configuration. If you want to use a scheduler for automatic backups and the like, please also take a look at the corresponding part in the following configuration instructions.
The advanced configuration
Changes to the ISP configuration can be made either via the graphical interface (Edit -> Preferences) or by directly editing the configuration file dsm.opt.
The port number and the server name were sent to you by e-mail in response to your DATWeb registration request.
The content of the dsm.opt for the node TESTNODEWIN, the server name S10.abs.lrz.de and the server port 2400 should look something like this for Windows systems after the basic configuration:
NODENAME         TESTNODEWIN
TCPSERVERADDRESS s10.abs.lrz.de
TCPPORT          2400
DOMAIN          \\XXXXXXXXXX\c$
Please add the missing entries below to the file. Lines beginning with * are comments and can be deleted for a better overview.
NODENAME         TESTNODEWIN
TCPSERVERADDRESS s10.abs.lrz.de
TCPPORT          2400
COMMMETHOD V6TCPIP
*### define your domains (partitions) that should be backuped
DOMAIN "\\testpc\c$"
*### Please uncomment pwgen (with *) before the first login, only necessary if the Node password has not been changed yet.
PASSWORDACCESS GENERATE
*### Logpruning after 7 Days
ERRORLOGRETENTION 7 D
SCHEDLOGRETENTION 7 D
*### Setting for the automatic Backup service
QUERYSCHEDPERIOD 1
*### Exclude Windows and Program directory's
EXCLUDE.DIR "C:\temp"
EXCLUDE.DIR "C:\Windows\Temp"
EXCLUDE.DIR "C:\Windows\System32"
EXCLUDE.DIR "C:\Users\...\AppData"
EXCLUDE.DIR "C:\ProgramData\Microsoft\Windows Defender"
EXCLUDE.DIR "C:\ProgramData\Sophos"
EXCLUDE.DIR "C:\System Volume Information"
EXCLUDE.DIR "C:\Windows\ServiceProfiles"
*### Use VSS to increase the chance that the files could be backuped while they are opened in any program
SNAPSHOTPROVIDERFS VSS
SNAPSHOTPROVIDERIMAGE VSS
*### Avoid problems with Permissions of data
SKIPNTPERMISSIONS YES
SKIPNTSECURITYCRC YES
Inclexcl file for including or excluding folders and files from the backup
In dsm.opt, you can specify the path to a file containing include/exclude instructions for ISP. This allows you to explicitly exclude files and directories from the backup.
The path to this file is then entered in dsm.opt:
InclExcl path\to\dsm.excl.local
Here you can find the detailed IBM support article on how to exclude directories and folders using this list.
Use automatic backup
When registering the node, you must indicate that you wish to use the option (within a certain time window).
However, you can also do this at any time by formulating your request in an incident via the LRZ servicedesk.
Under Windows, the scheduler is installed as a service. The installation can be carried out either via the ISP Wizard (Utilities -> Setup Wizard) or the command interface (Save-Archive - Command line) dsmcutil in the installation directory.
Procedure via the ISP Wizard:
Start the ISP GUI.
Then go to Utilities -> Setup Wizard -> Help for configuring the ISP Client Scheduler -> Next -> Next -> Install new or additional scheduler -> Next -> Next -> Next -> Enter ISP password and check the box -> Next -> System account and Automatic, when booting from Windows -> Next -> Next -> Yes -> Next.
A new log file with the name dsmsched.log will now be created in your directory C:\Program Files\Tivoli\TSM\baclient within the next 1-2 minutes.
Check whether the scheduler service is working
If the scheduler service has been set up successfully, you should see an entry similar to this one in the dsmsched.log file (you can set the path to this in your dsm.opt by using the SCHEDLOGName variable):
IBM Spectrum Protect-Client für Sichern/Archivieren Version 8, Release 1, Stufe 6.0
Server wird nach dem nächsten geplanten Ereignis abgefragt.
Knotenname: Testnode
Sitzung hergestellt mit Server S10: Linux/x86_64
Serverversion 7, Realease 1, Stufe 7.300
Serverdatum/-zeit: Letzer Zugriff: 02.10.2018 10:18:16

--- ANFANG DER PLANUNGSPROTOKOLLABFRAGE
--- ENDE DER PLANUNGSPROTOKOLLABFRAGE
Nächste geplante Operation:
-------------------------------------
Zeitplan:              WD0900
Aktion:                Incremental
Objekte:
Optionen:
Server-Fensterstart:   09:00:00 am 03.10.2018
-------------------------------------
Zeitplan wird aktualisiert in 1 Stunde.
If your entry in the dsmsched.log differs from this, please check the dsmerror.log for errors. If you continue to have problems with the scheduler, you are welcome to create an incident via our LRZ servicedesk.
Notification of the status of the automatic backup via e-mail
To keep track of your automatic node backups, you can activate e-mail notification for each node in DATWeb.
To do this, double-click on the node on which you want to activate e-mail notification and then click on Change Node Details in the top right-hand corner.
Now select the desired notification method under Backup emails: or Backup emails: (Aux.)::
UnsuccessfulBackupmeans that you will only receive an email if the backup did not run or was completed with errors.Dailymeans that you will receive an email every day, regardless of whether the backup was successful or not.
Configuration of multiple nodes on one system
Create a corresponding .opt file for each node to which you want to have access. For a better overview, we recommend naming each file <nodename>.opt.
Enter the corresponding values, which are shown above in the advanced configuration, for the respective node in the respective .opt file.
Now open cmd as administrator and change to the ISP directory with cd C:\Program Files\Tivoli\TSM\baclient.
Now you can start the ISP GUI for each node with the command dsm -optfile=server1.opt. You can then start the ISP command line with dsmc -optfile=server1.opt.
Of course, you must always specify the corresponding path for optfile.
You can also create a shortcut to dsm.exe (path: C:\Program Files\Tivoli\TSM\baclient) on the desktop and then specify the parameter -optfile=server1.opt there.
Automatic backup with multiple nodes on one system:
You basically follow the same steps as described earlier for a node here. Mentioned again here:
Start the ISP GUI.
Then go to Utilities -> Setup Assistant -> Help for configuring the ISP Client Scheduler -> Next -> Next -> Install new or additional scheduler -> Next -> Next -> Next -> Enter ISP password and check the box -> Next -> System account and Automatic, when booting from Windows -> Next -> Next -> Yes -> Next.
Now add the node name to the service name during setup. You must also enter the corresponding .opt file for the respective node. The service name is then also used to display the service under Windows Services.
Please also carry out the check here to see whether the scheduler service is working, which was shown above for a node.


