iOS-Gerät (iPhone und iPad)
Barrier-free
There are two ways to set up your Exchange account on your iOS device (iPhone and iPad). You can do this via a profile which you can download as iOS_Ex-Profil.mobileconfig. The alternative is to set it up manually.
Setup with profile
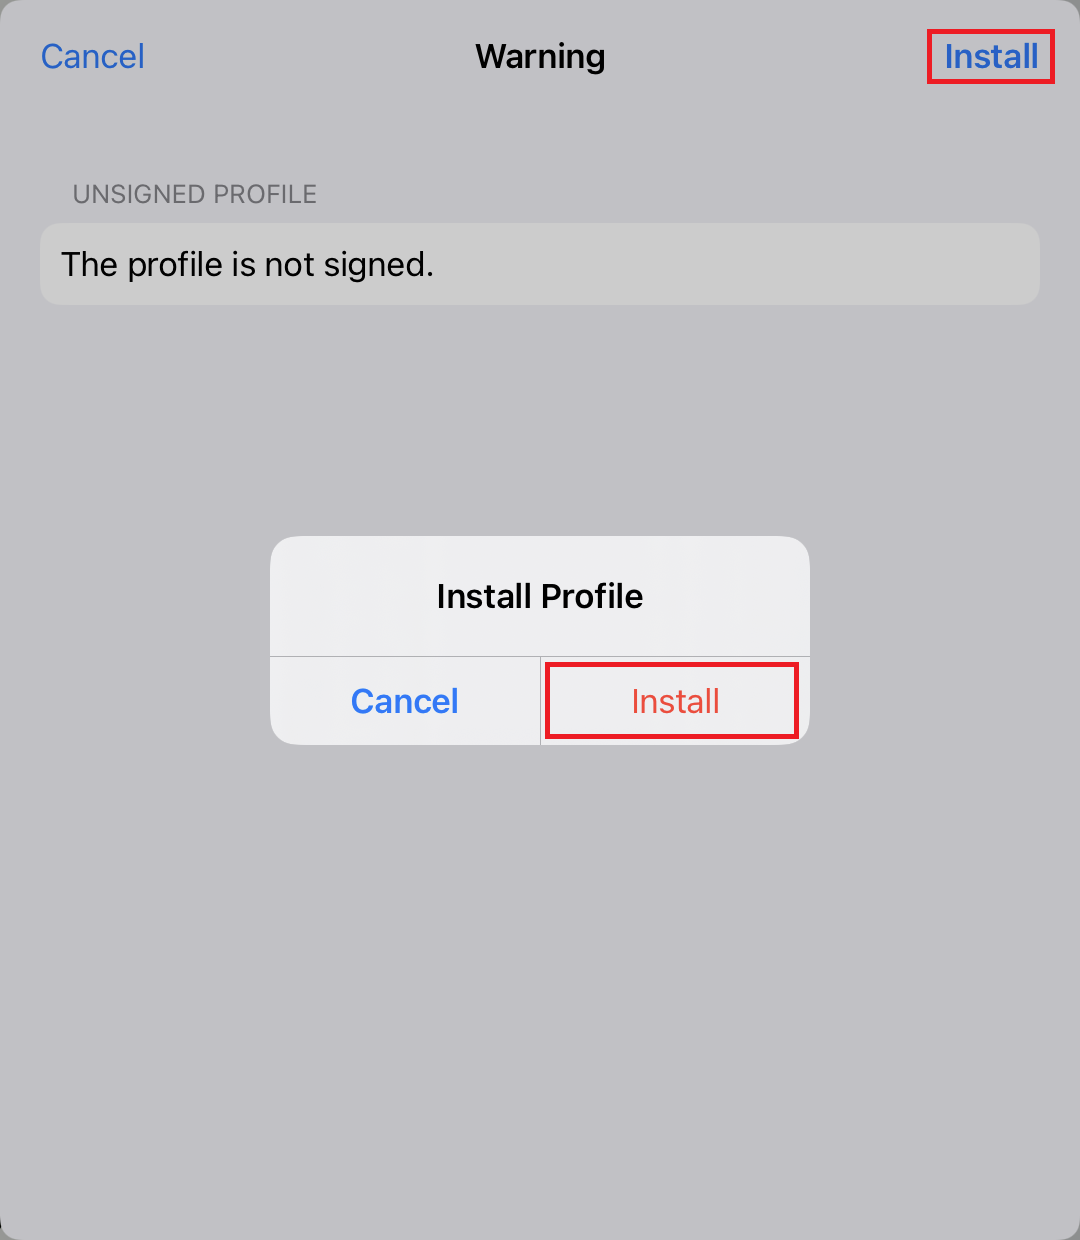
Open the profile and confirm with install. If you have configured a code, you must enter it in the following step.
Then confirm the installation of the profile again.
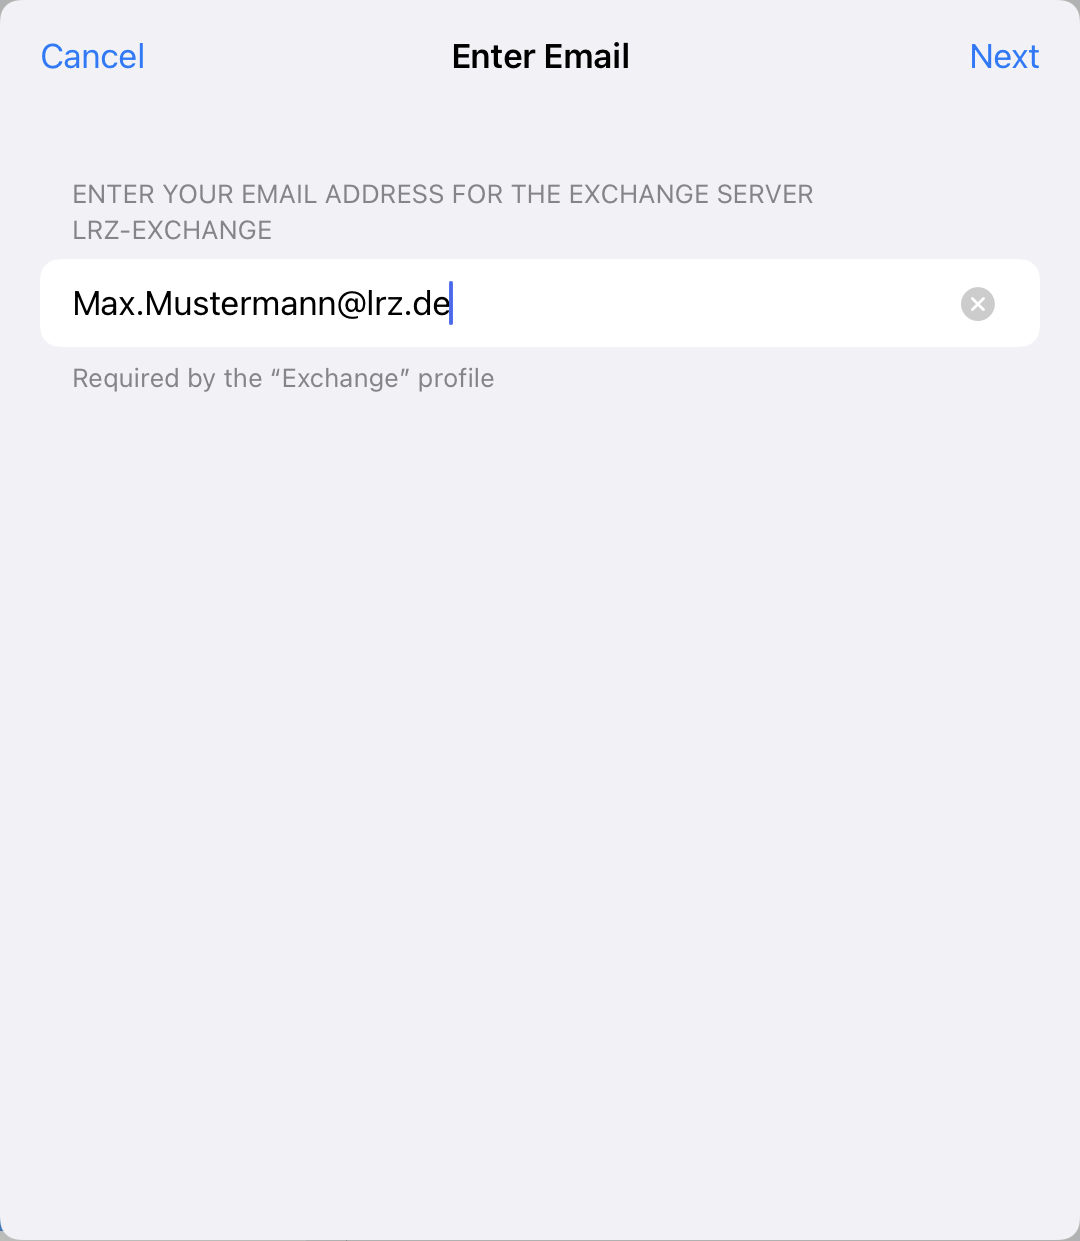
Now enter your Email address, in the example this is "Max.Mustermann@lrz.de".
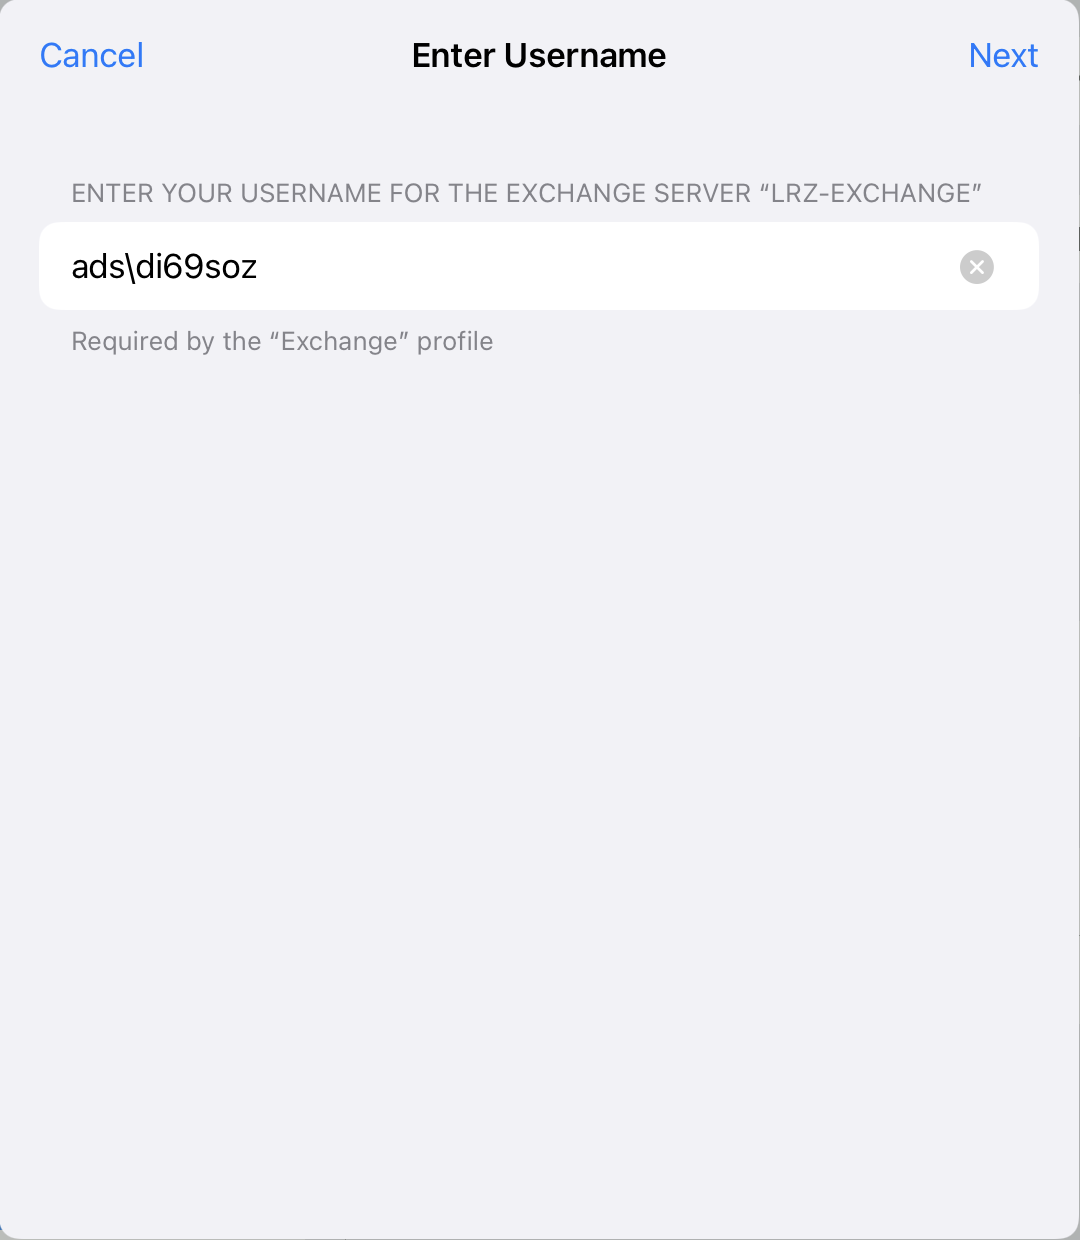
As the user name, enter your account together with the domain "ads" in the following form: "ads\account". In the example of Max Mustermann, it is "ads\di69soz".
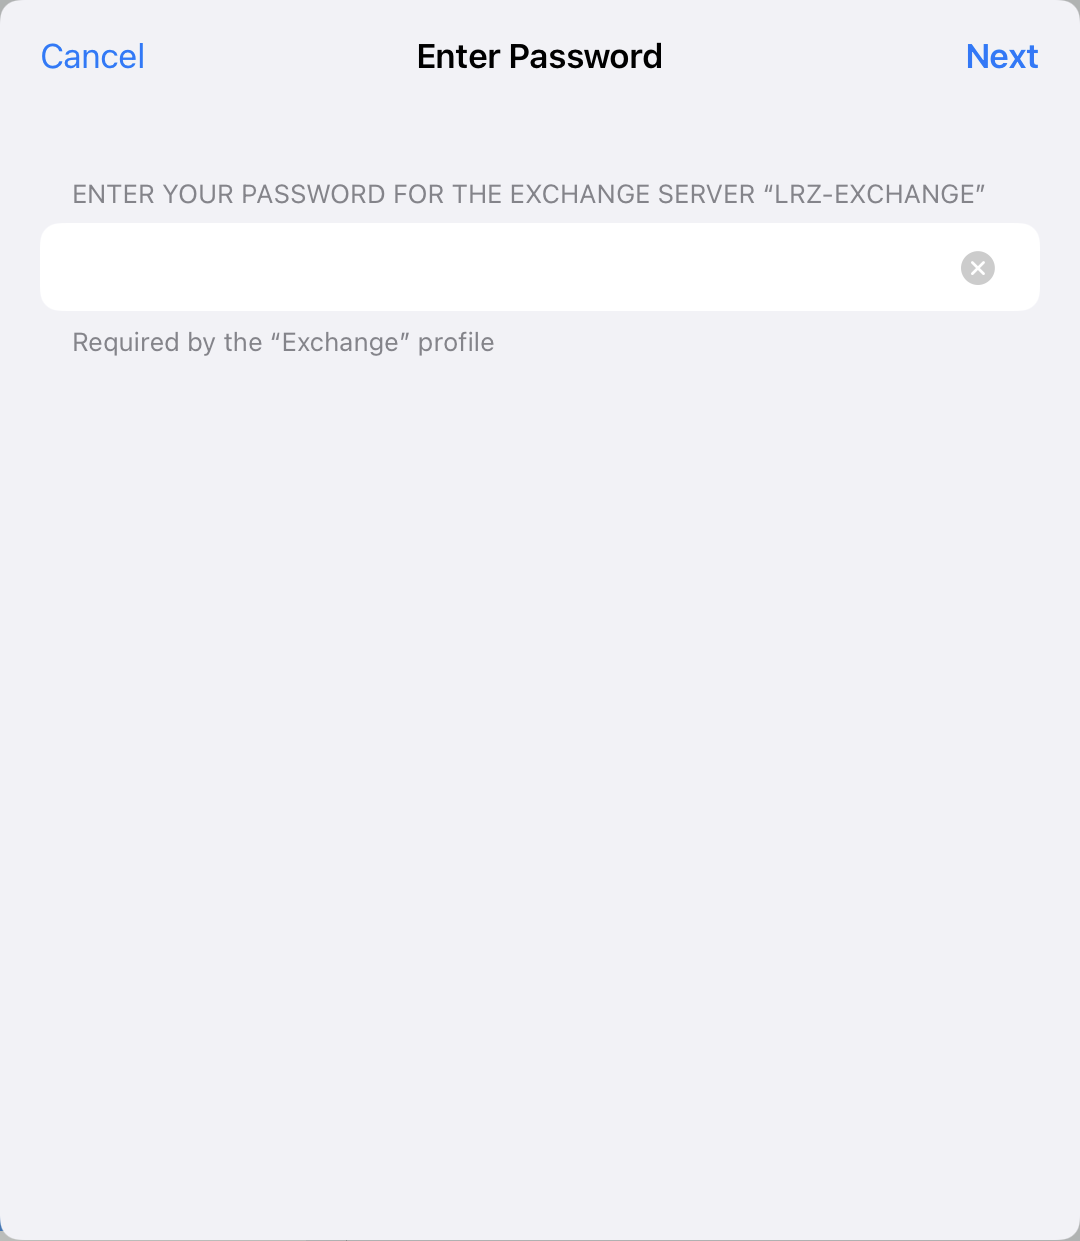
In the next step, enter the password of your account.
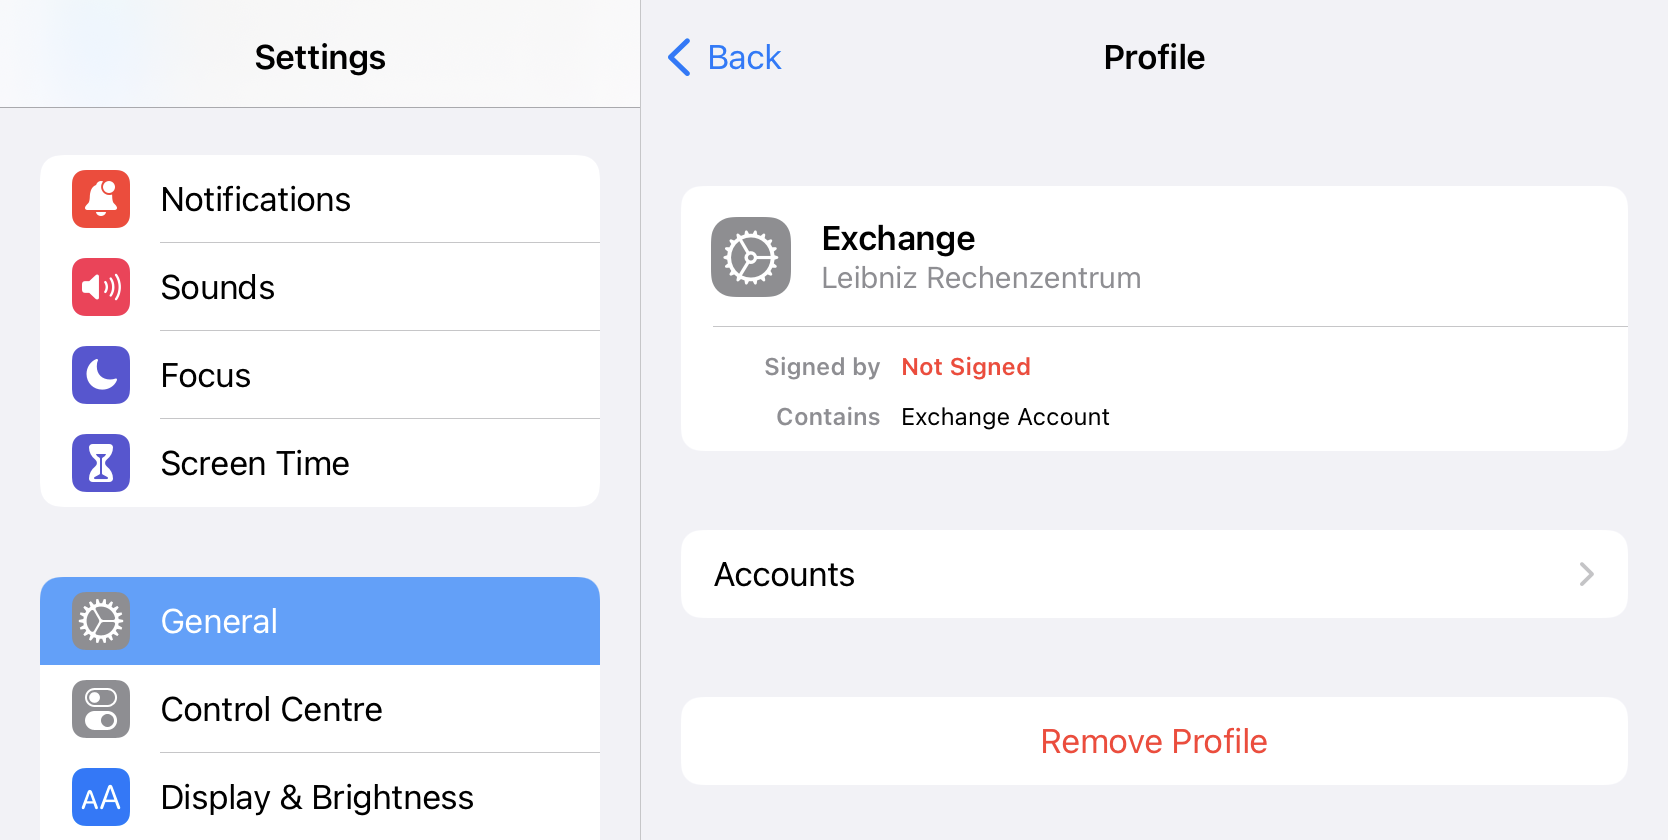
The profile was added in the settings under "General" and "VPN, DNS & Device Management". Here you can also delete the account if you no longer want to have your Exchange account on your iOS device.
Manual setup
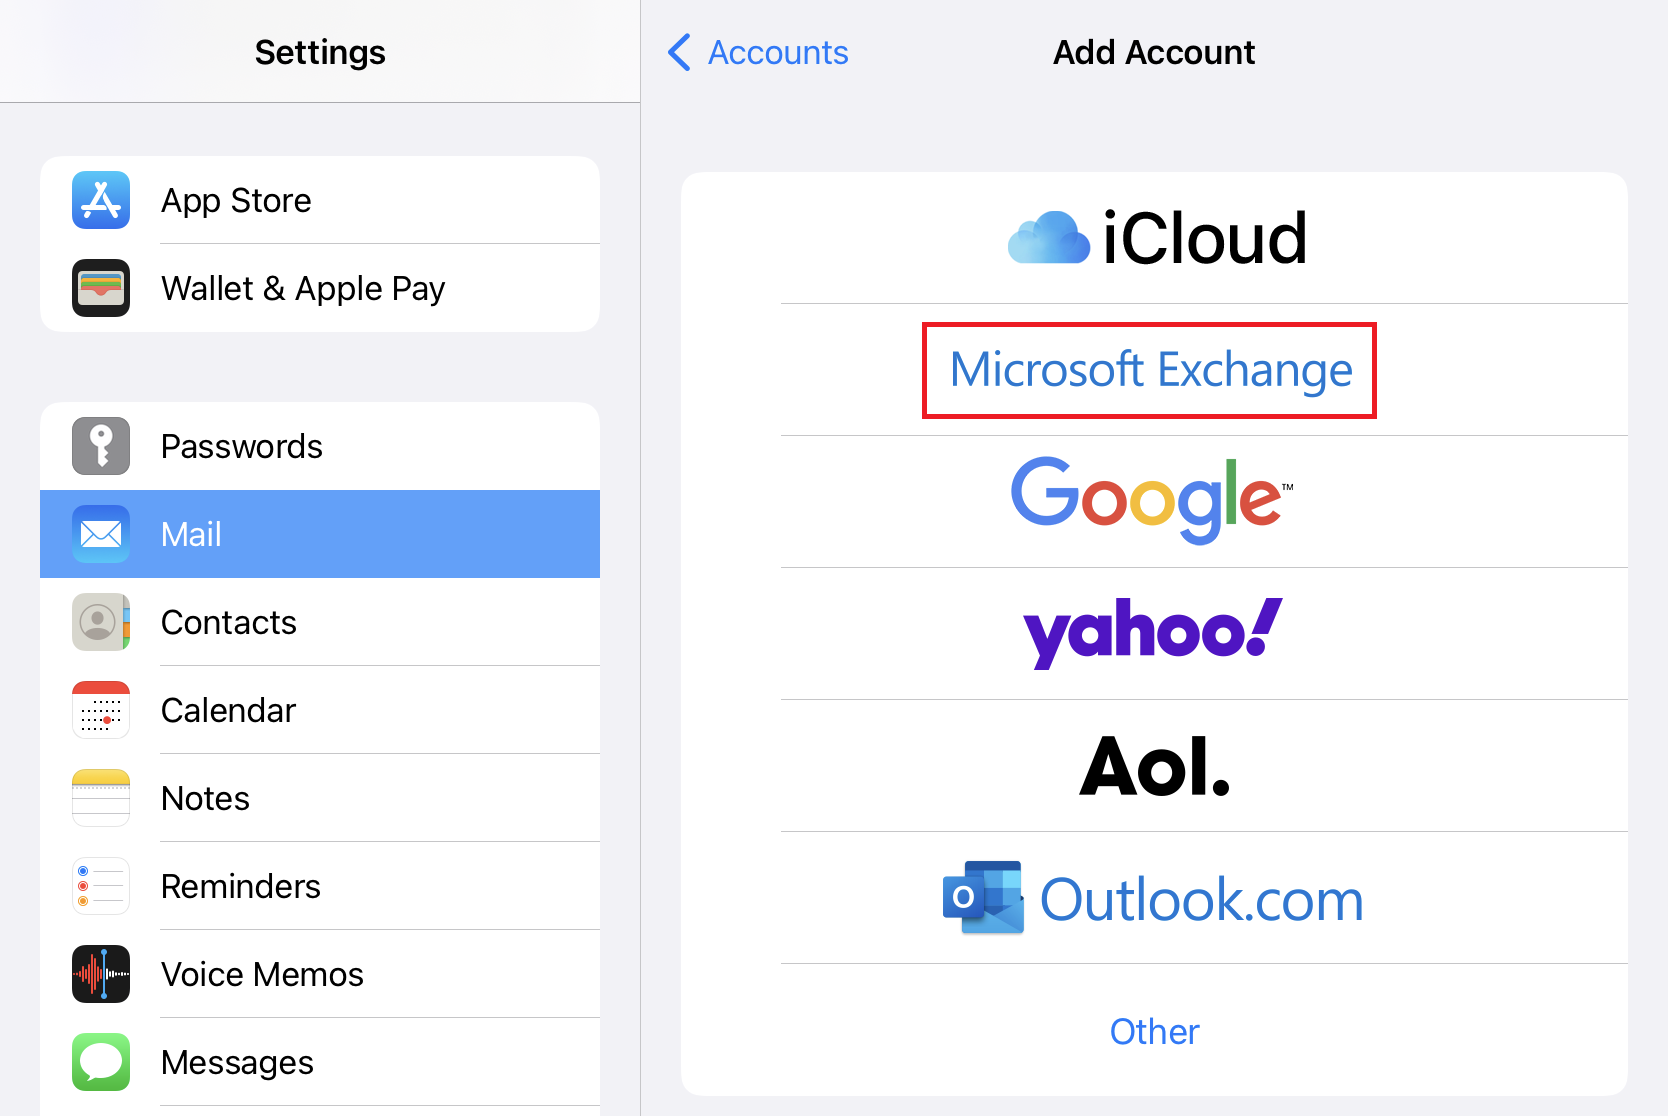
Open the settings and select "Mail". For the Exchange account, select "Accounts" and "Add Account" and then "Exchange".
If this is the first account you are setting up, you can also do this from the Mail app.
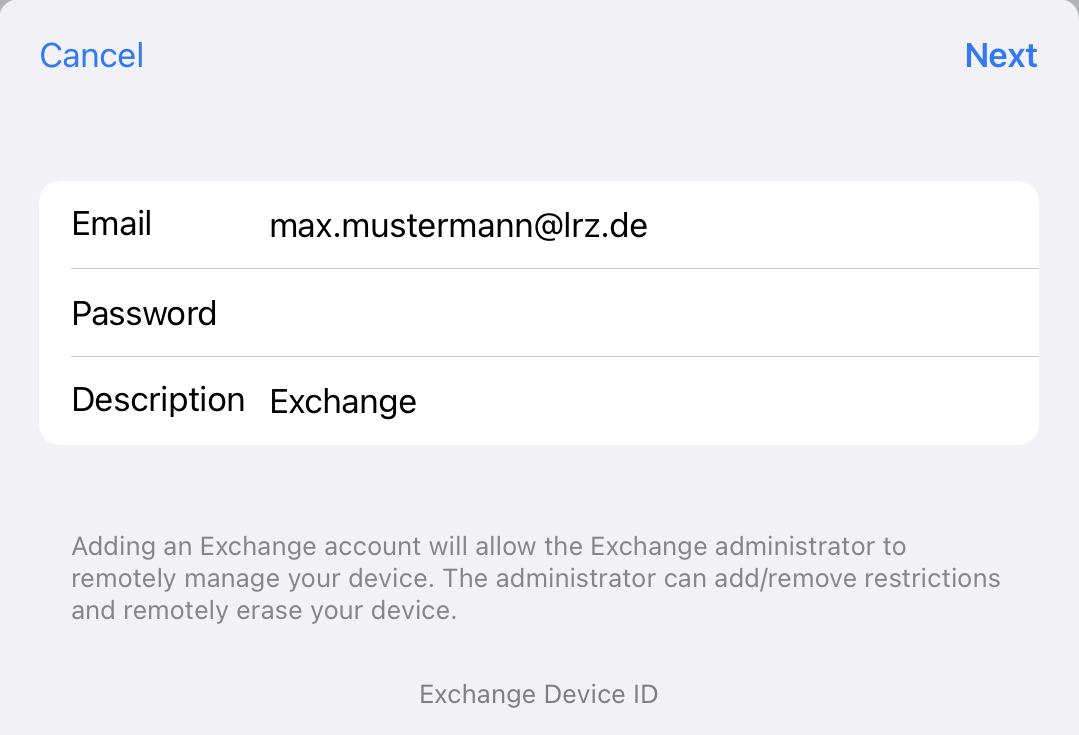
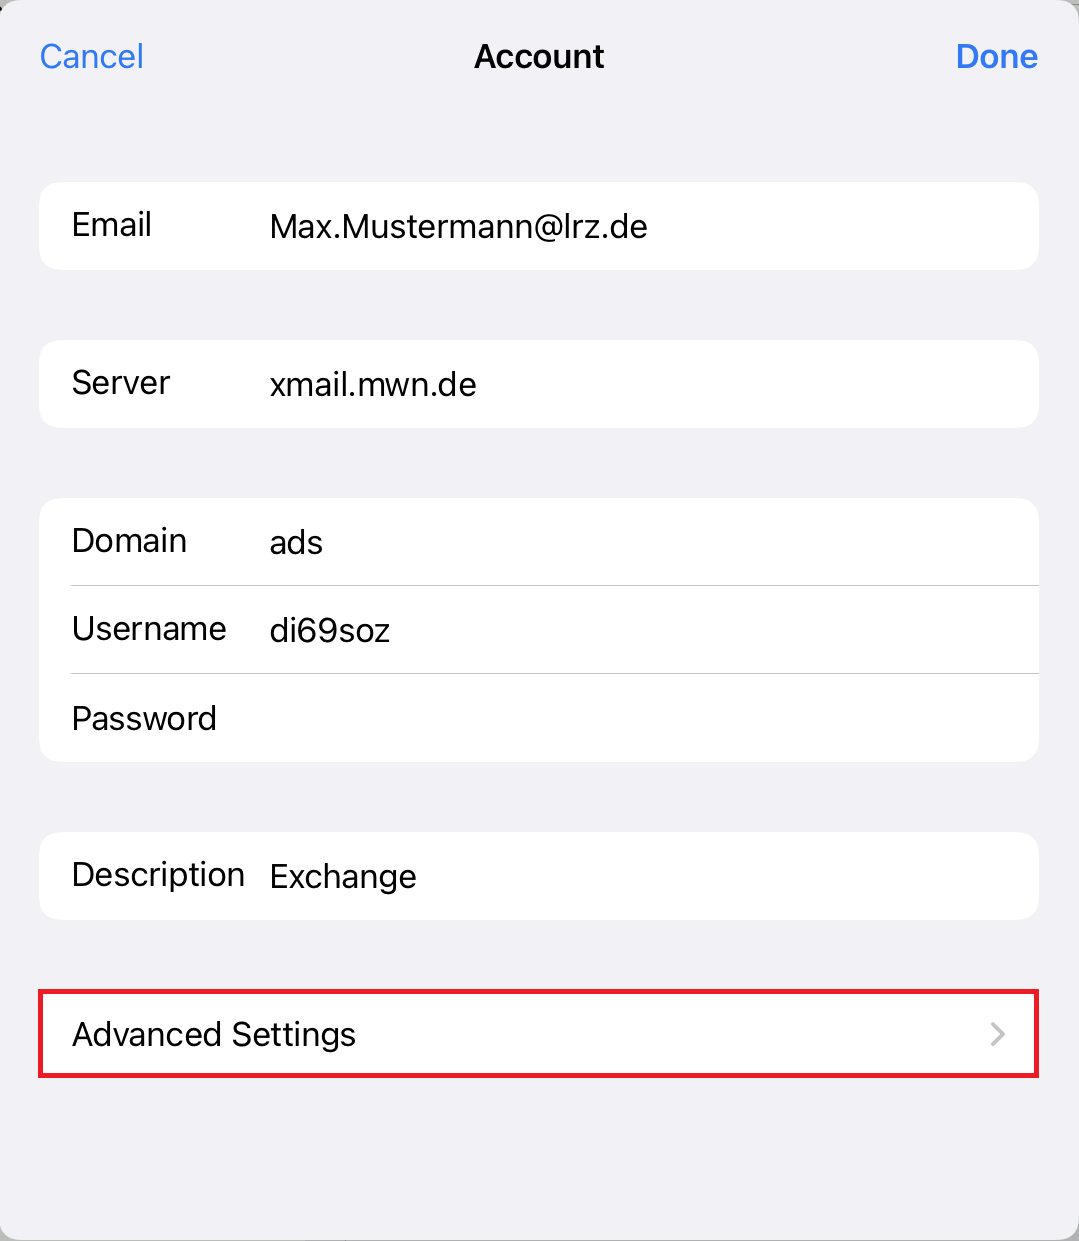
Enter your Email, your Password and an (arbitrary) Description. Then select "Next".
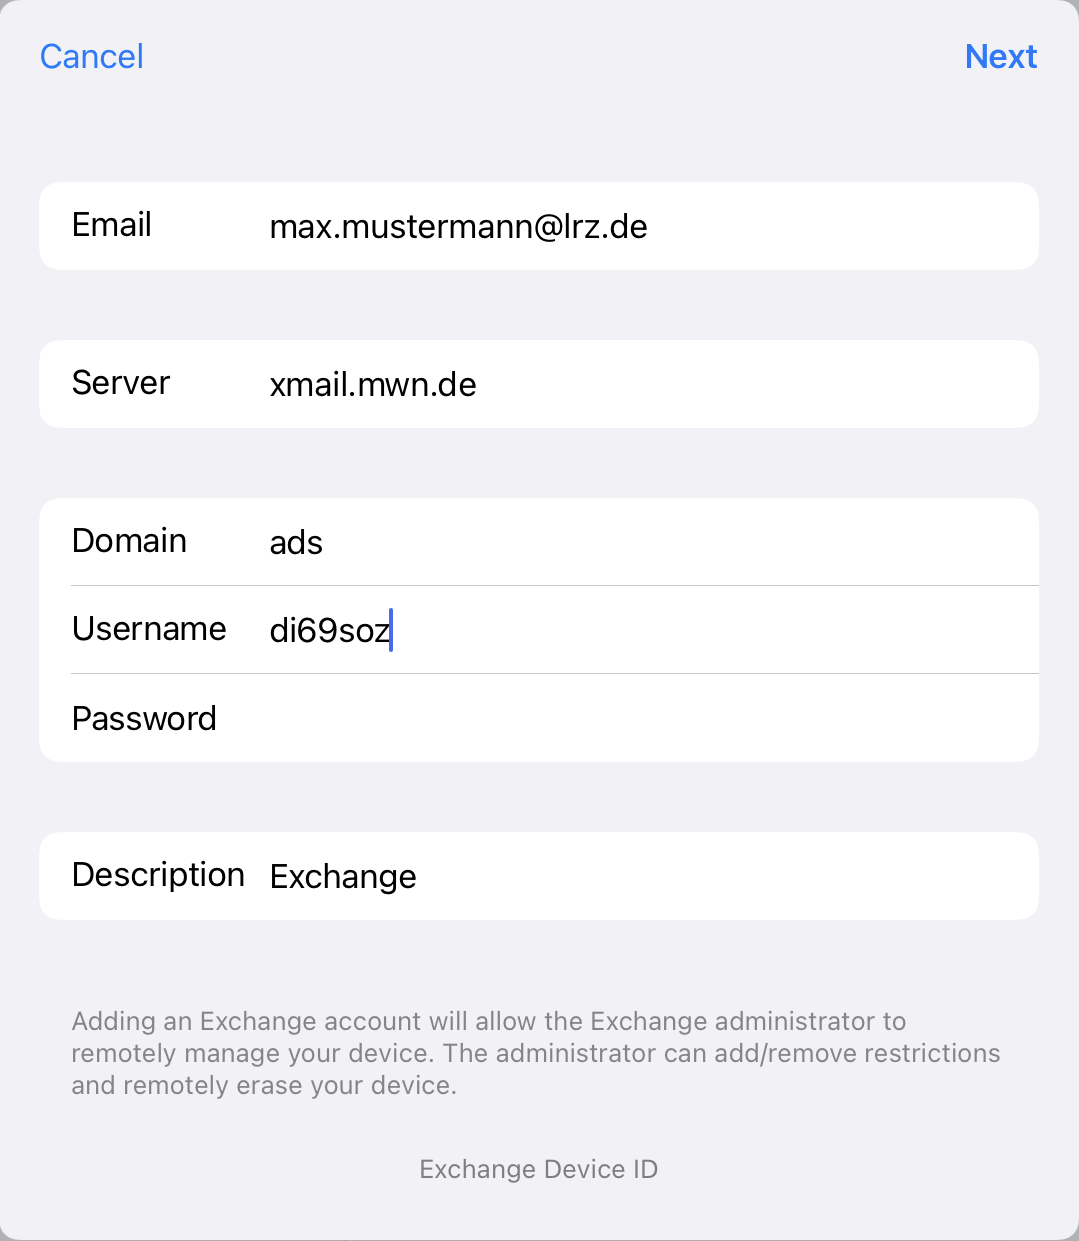
Enter "xmail.mwn.de" as the server and your account and the domain "ads" as the user name. In the example of Max Mustermann it looks like this:
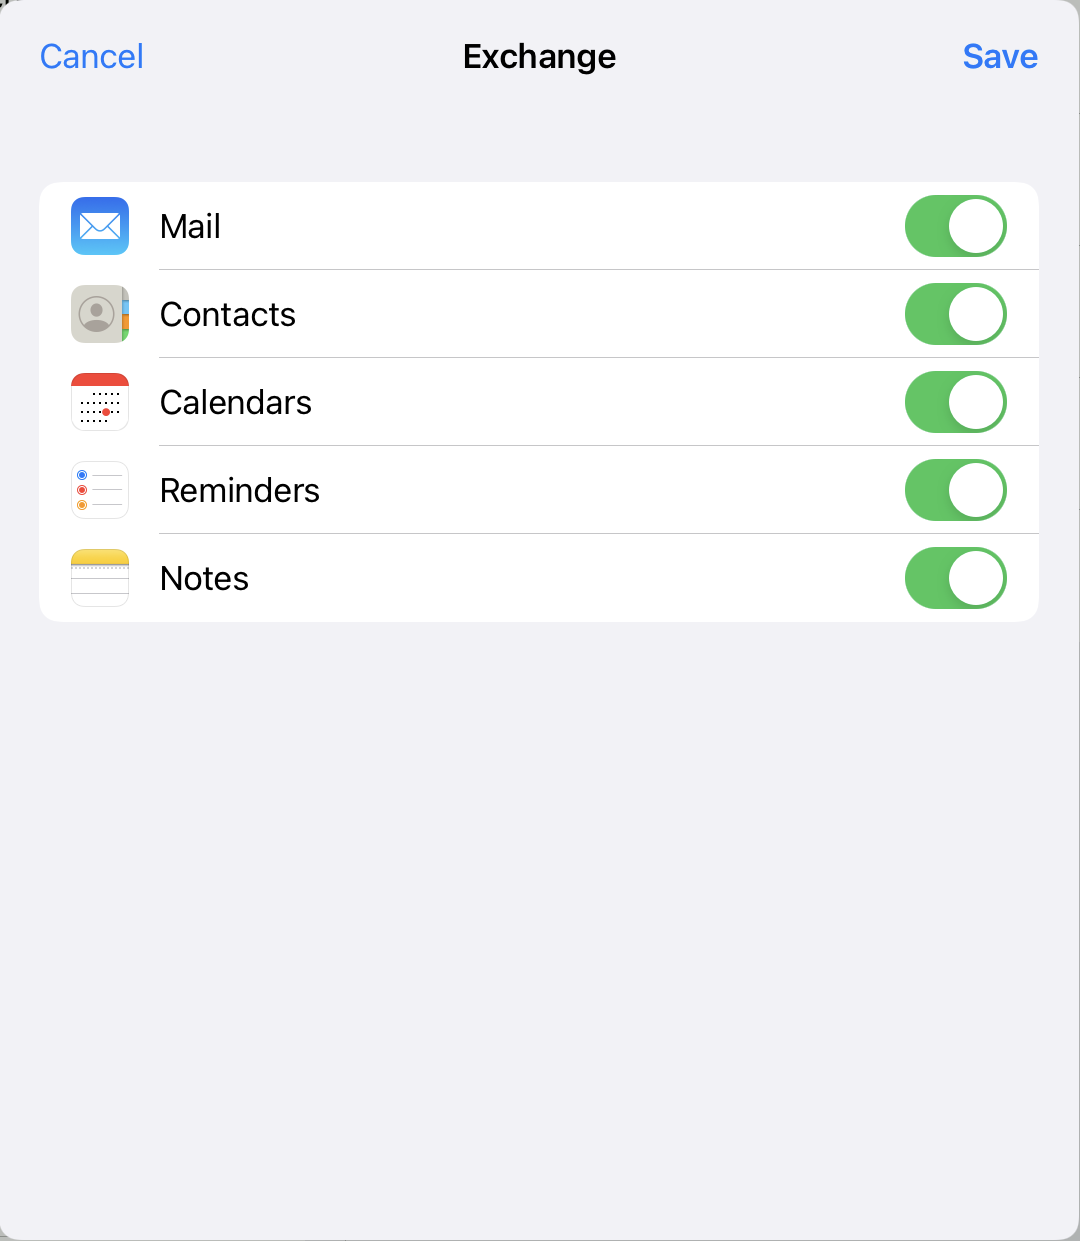
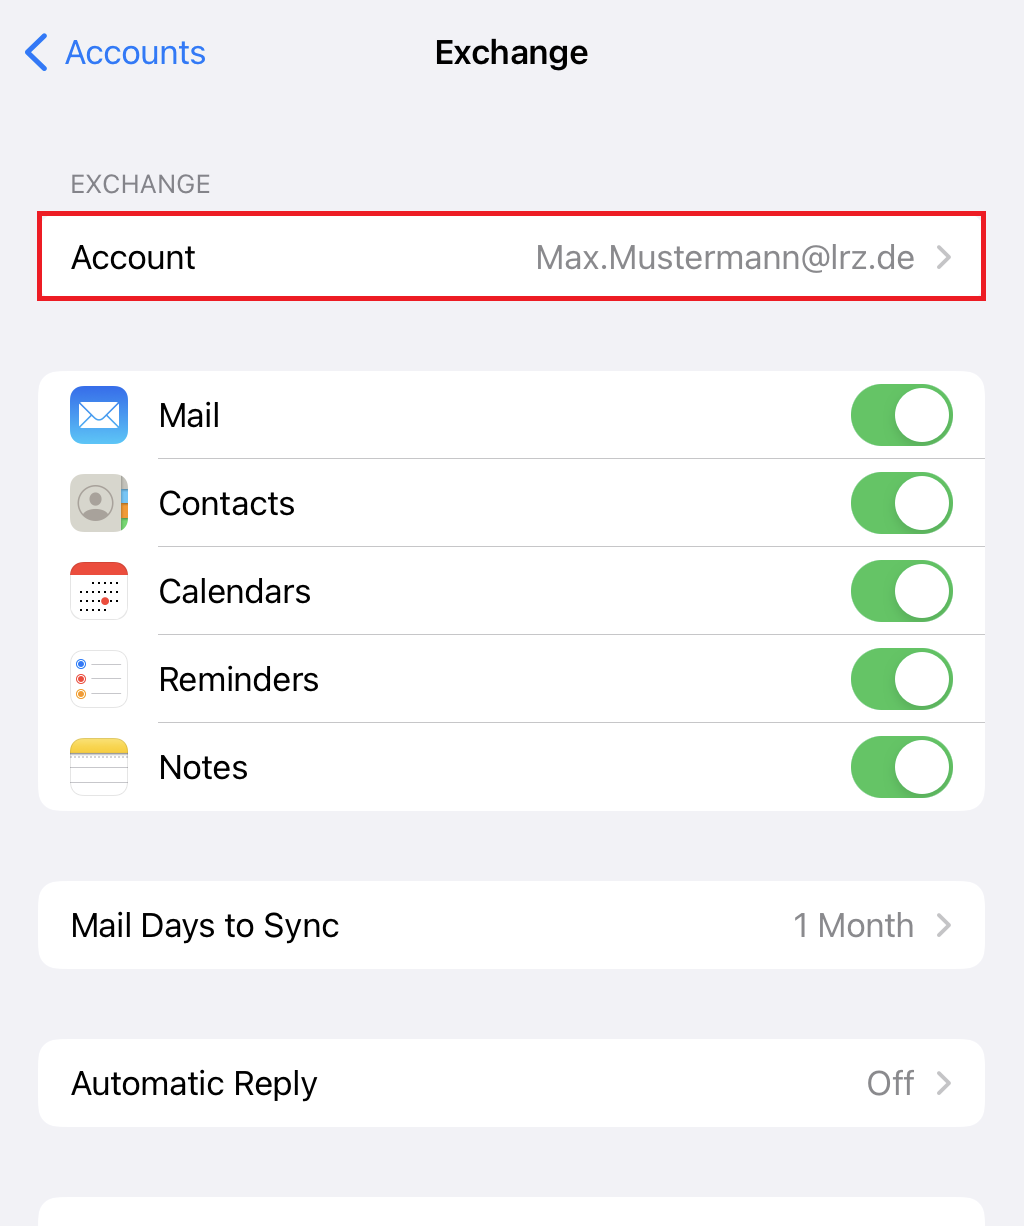
Once the settings for your account have been verified, the next step is to select whether you want to have only your emails on your device or also use the calendar and contacts. In the example, everything was selected.
Shared mailboxes
If you are using iOS 14 or 15, it is unfortunately not possible to include a shared mailbox on an iOS device. With iOS 16 it is again possible to include a shared mailbox.
Shared mailboxes cannot be included like an Exchange account. You have to include them as an IMAP account.
It is also not possible to include the calendar of a shared mailbox on mobile devices.
Including a shared mailbox
Open the settings and select first "Mail" and then "Accounts".
When you tap on "Add Account" you will get a selection of options on how to include your account. There you have to tap on "Other". You can add the mailbox via "Add Mail Account".
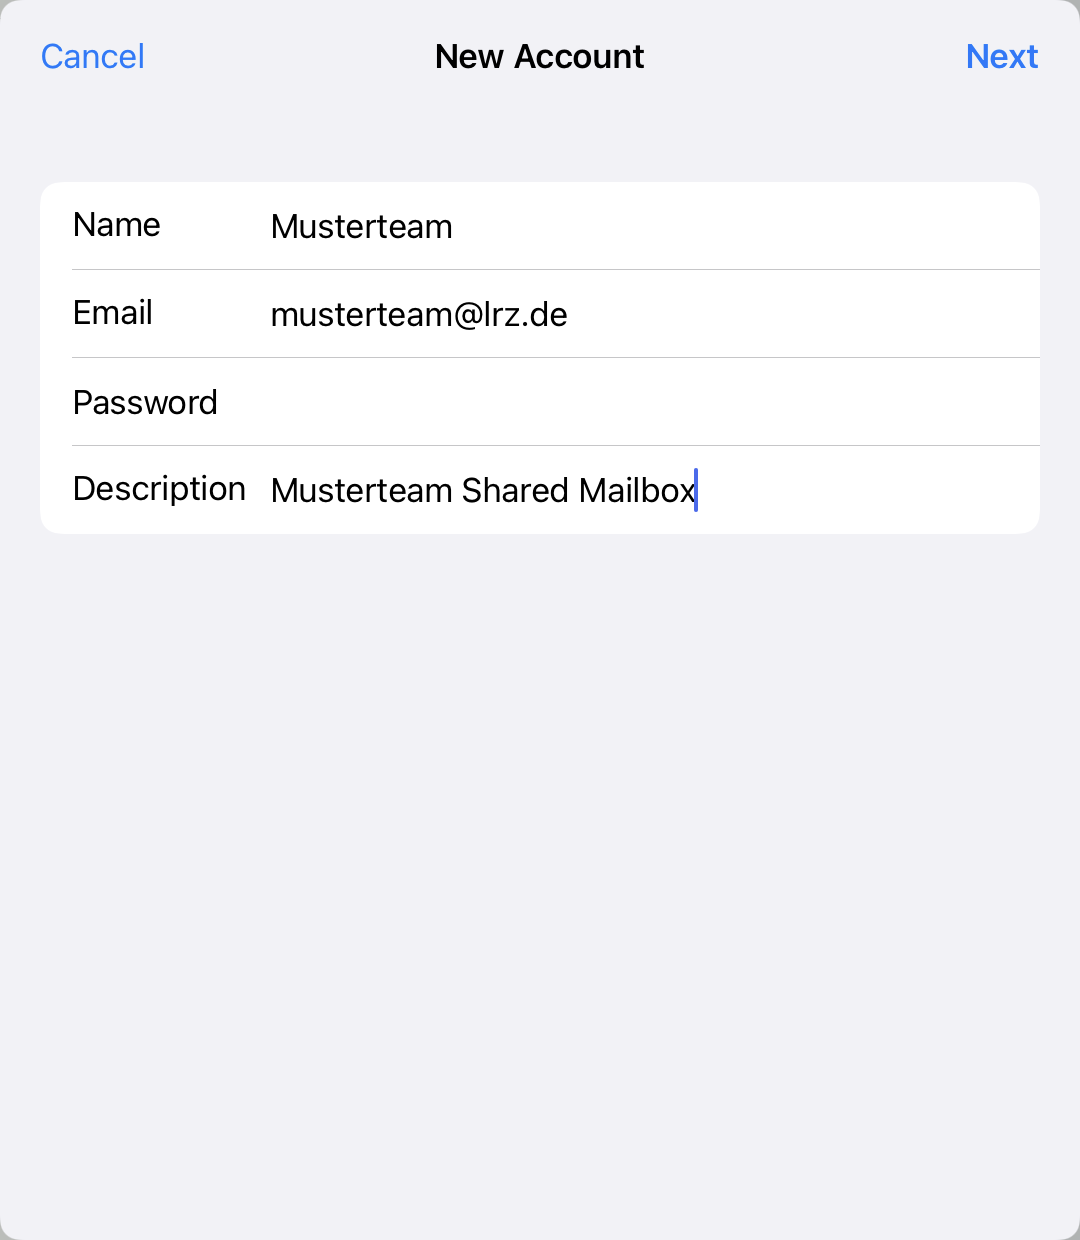
Enter the information in the fields. For Email, enter the address of the shared mailbox. Be sure to use your own password and not the password of the shared mailbox.
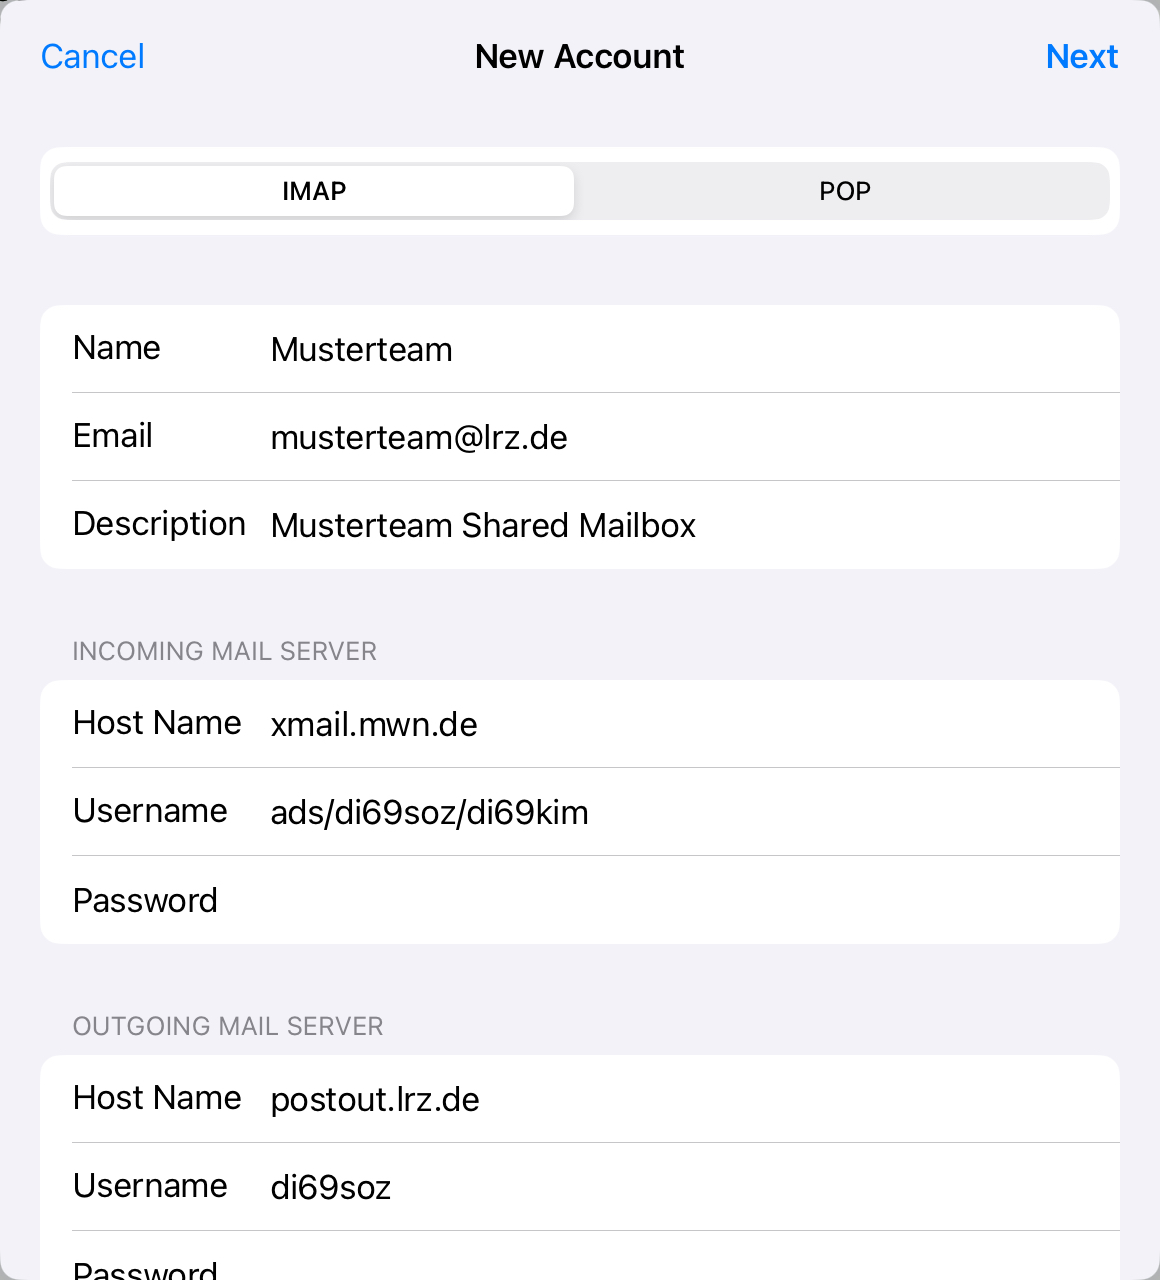
Incoming Mail Server:
Enter "xmail.mwn.de" for Hostname.
It is important to specify the user name in the following form:
ads/<your account>/<account of the shared mailbox>
Example: Your account is di69soz and the shared mailbox account is di69kim. The correct username is then ads/di69soz/di69kim.
Here you have to enter your own password again, if it is not already entered. In the example it is the password of di69soz.
Outgoing Mails Server:
For Host Name, enter "postout.lrz.de".
For the user name enter your own account, without the shared mailbox identifier or the preceding "ads/", and again your own password.
Encrypt and sign
In order to send messages signed or encrypted with S/MIME, you need a personal user certificate.
As a member of TUM, you can find information on how to apply for a certificate at https://www.it.tum.de/en/it/certificates/. If you have any difficulties in doing so, please contact the IT support of TUM (it-support@tum.de).
For the other institutions of the MWN, we are currently not aware of any way to obtain a personal user certificate.
Please pay attention to the correct format when downloading your certificate. Unfortunately, some operating systems (e.g. Windows, MacOS) only support TripleDES-SHA1.
For further information, please visit https://doku.tid.dfn.de/de:dfnpki:tcs:usercert#auswahl_des_key_protection_algorithms_in_formularen_fuer_p12-dateien.
Please note that the encryption method with S/MIME described here is not compatible with the PGP method which is especially widespread under Unix/Linux. PGP is not supported by Outlook and Outlook on the Web.
Briefly, the essential properties of signed and encrypted e-mails:
- Signing an message ensures that it cannot be manipulated unnoticed on its way from the sender to the recipient. Whether the message is transmitted in encrypted form depends on whether the mail systems involved support transport encryption.
- By encrypting an message, the content is already encrypted before it is sent and is therefore transmitted in encrypted form (and also stored in the mailbox in encrypted form) regardless of the properties of the mail systems involved. When working with encryption, it is essential to keep your own certificate (especially the private key) in a loss-proof manner, as otherwise encrypted messages can no longer be read - neither those you have encrypted yourself nor those you have received.
General preparations
Before you can sign or encrypt messages, you must import your user certificate to your device.
If you want to send digitally signed or encrypted messages from multiple devices, you must import the certificate on each of them. This also applies if you want to read encrypted messages on multiple devices.
Transfer your certificate to your iOS device, for example, via Email. Open the message and tap the attachment, then the following message opens:
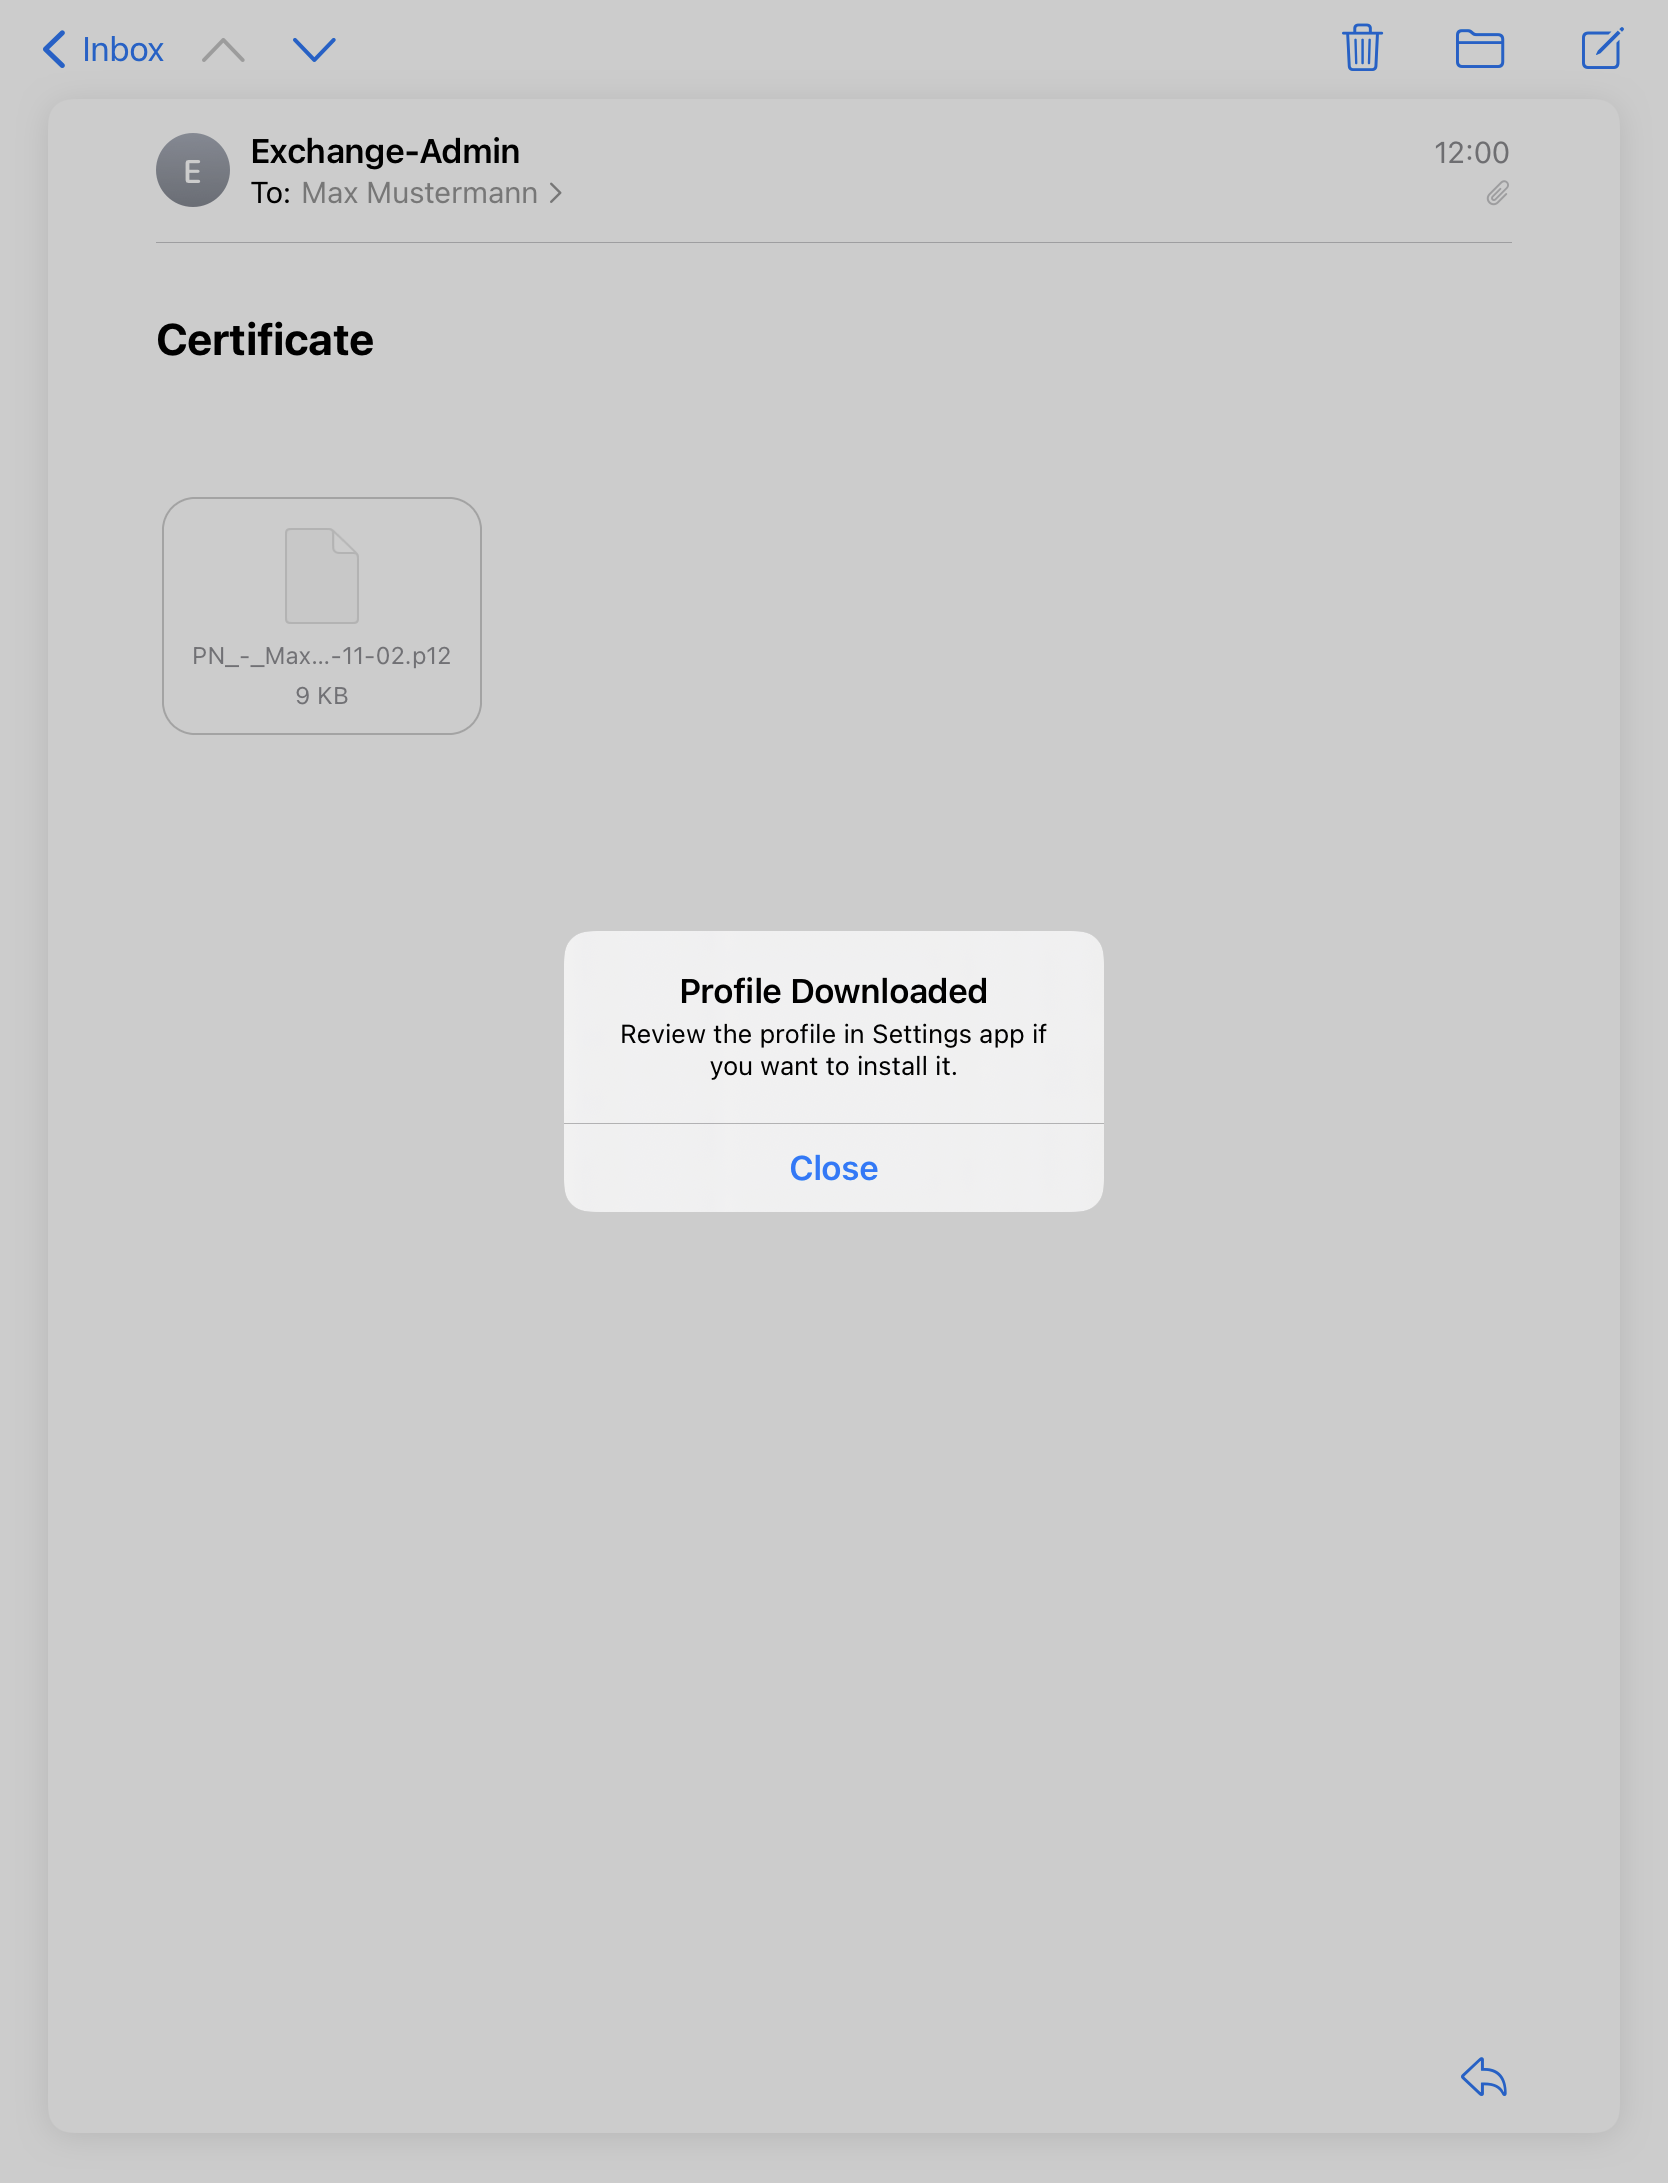
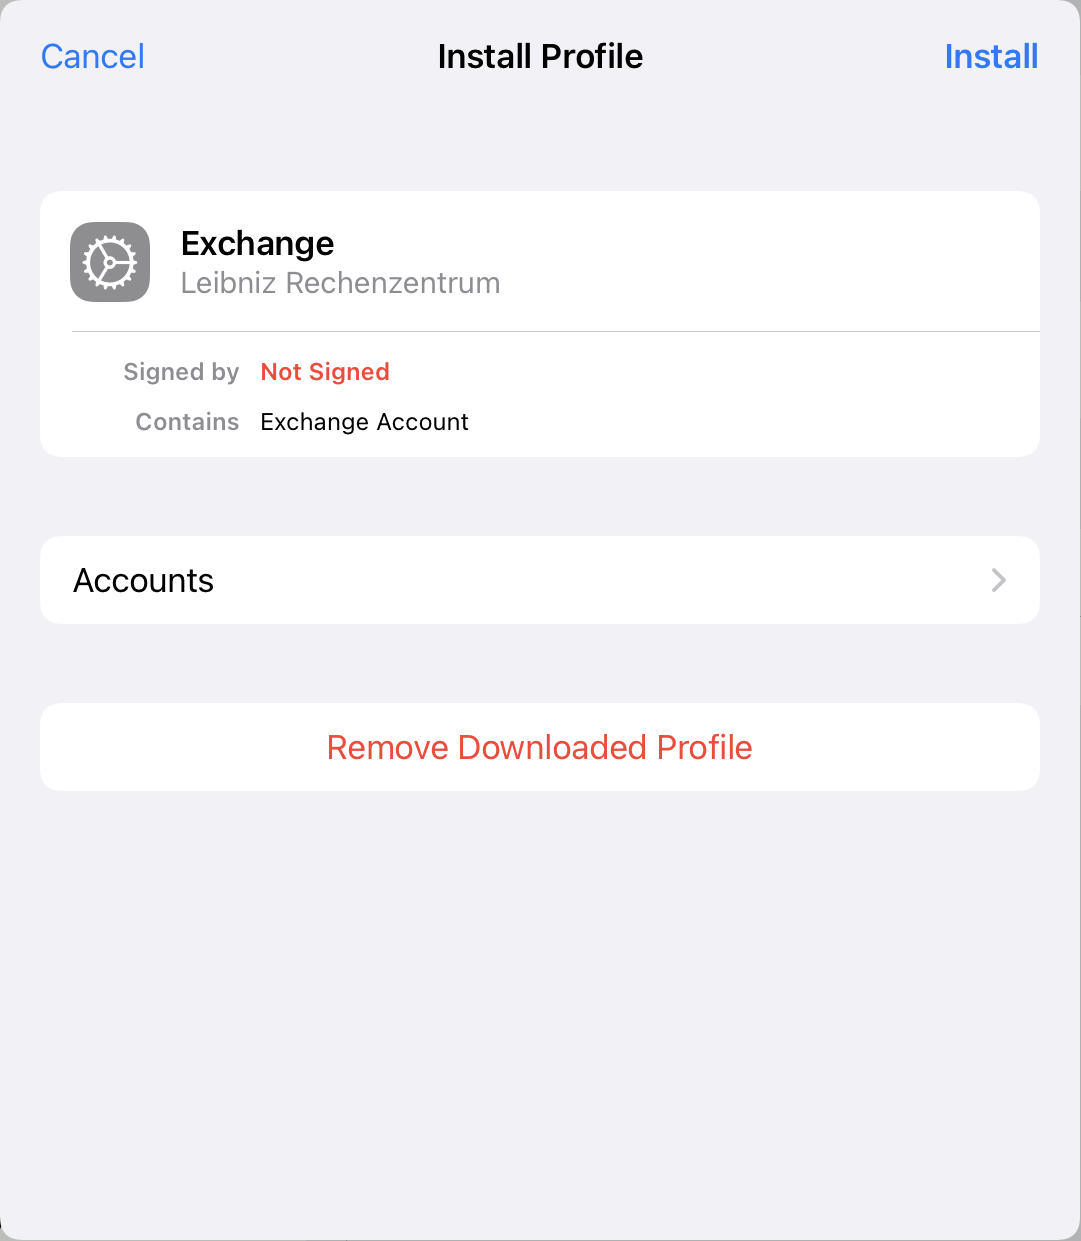
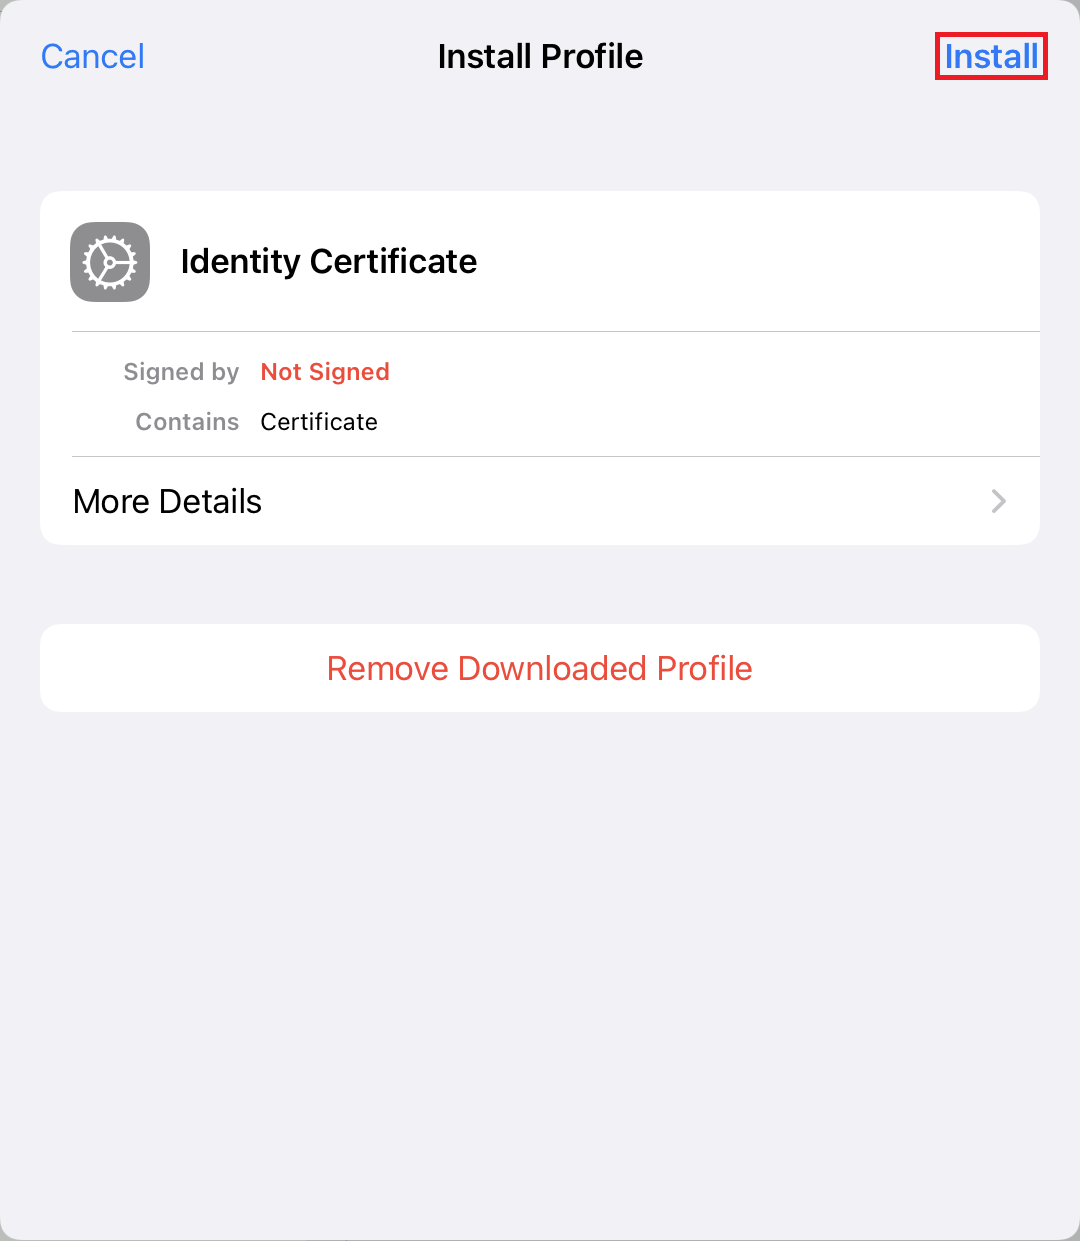
Then install the certificate. To do this, open the Settings, as already described in the notification, and tap on "Profile Downloaded".

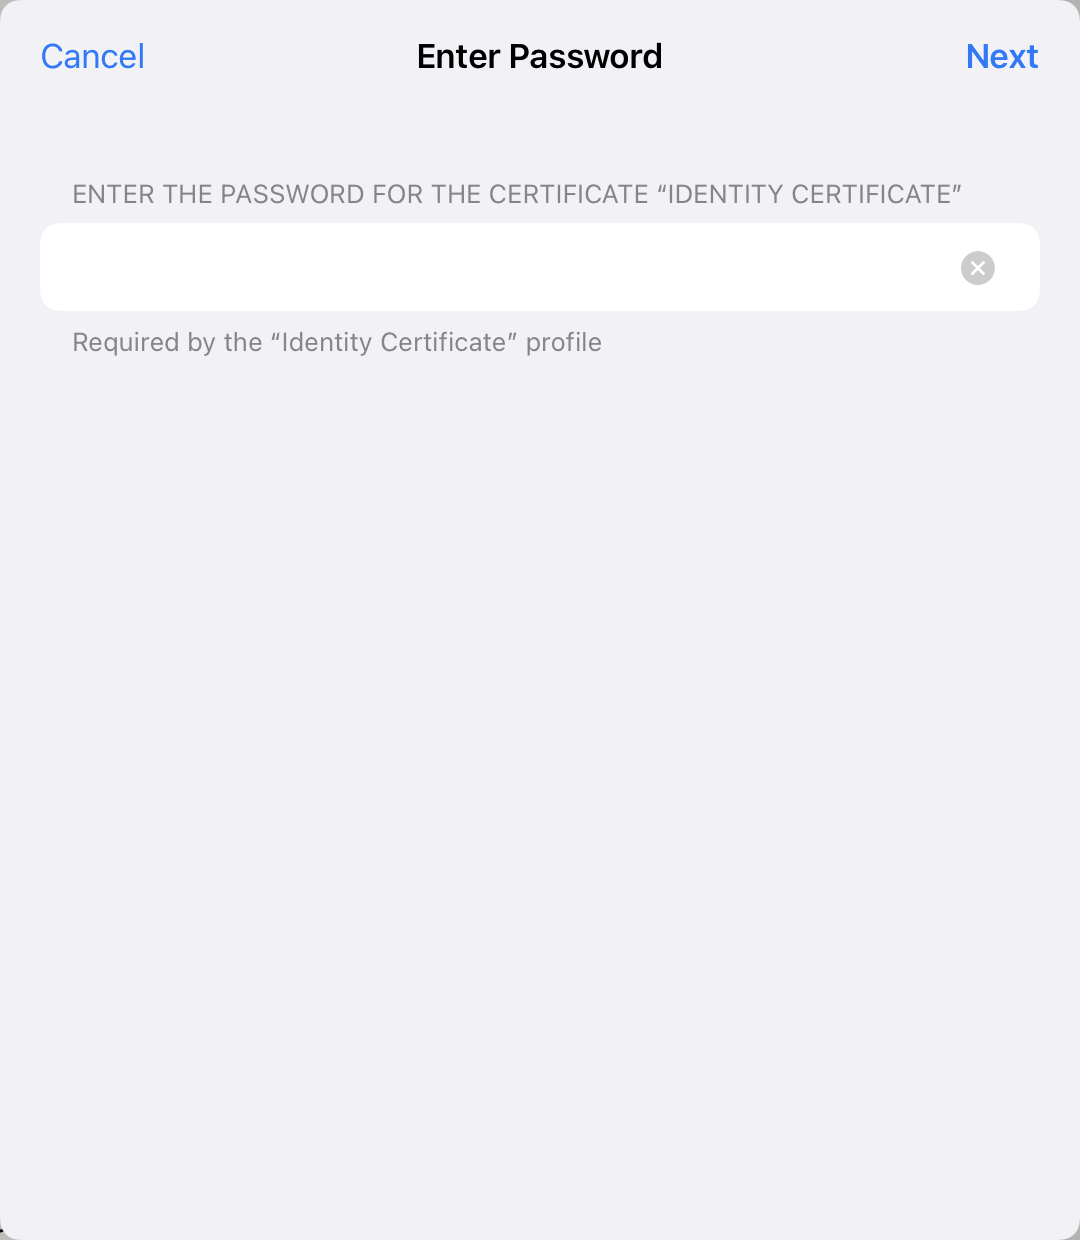
Then tap Install and enter your password for the certificate. Then confirm twice more that you want to install the unsigned profile.
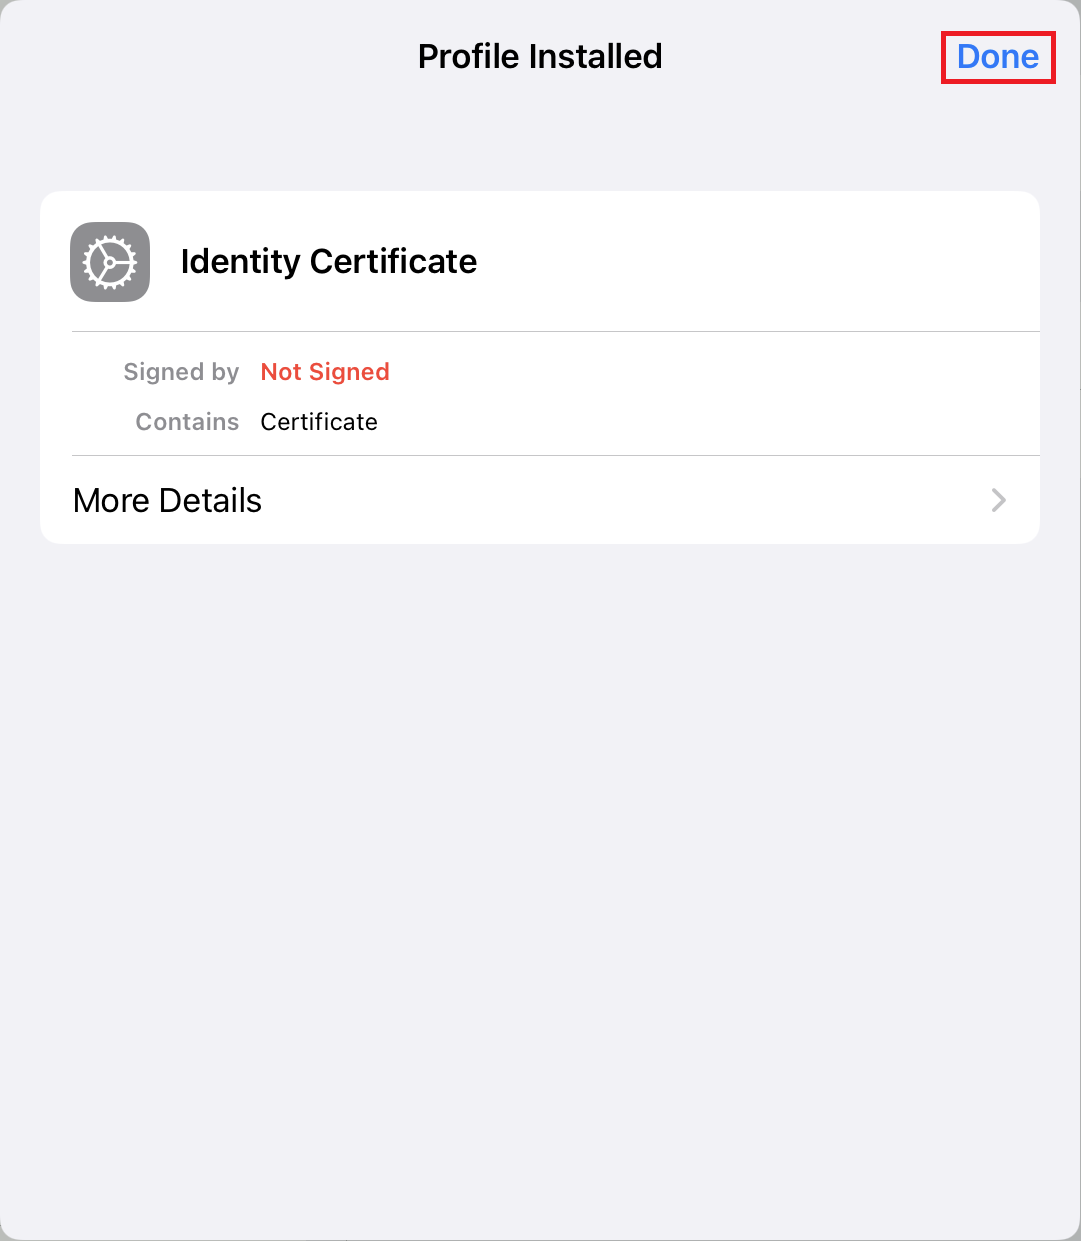
When you have successfully installed the profile, it will appear in the list of your profiles.
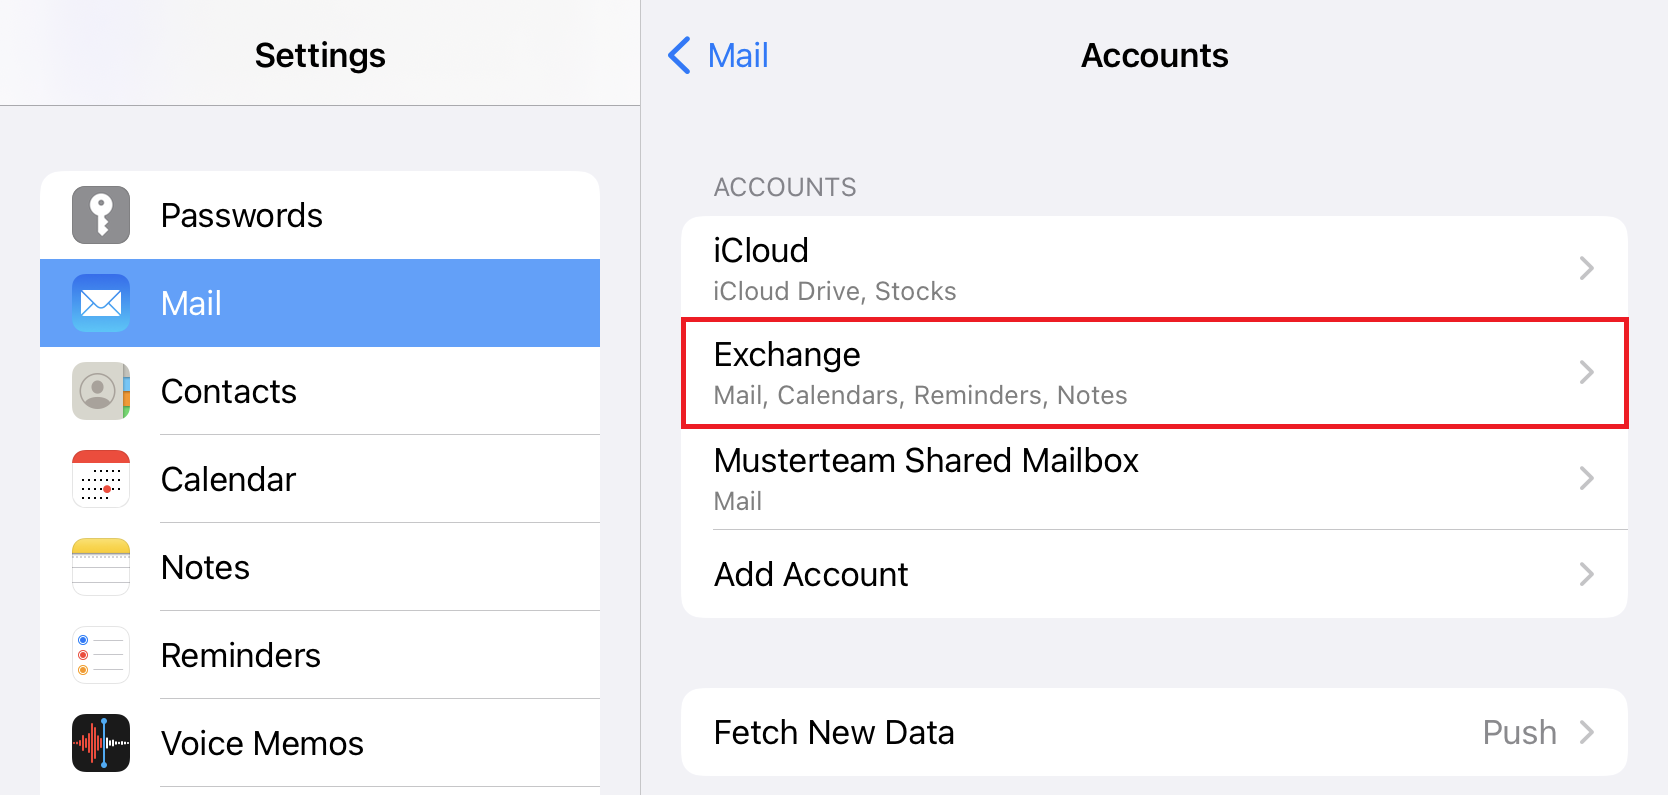
Now switch to "Mail" in the Settings and select "Accounts".
Then select your Exchange mailbox for which you have the certificate you just installed.
Now tap on your email address to open the mailbox settings.
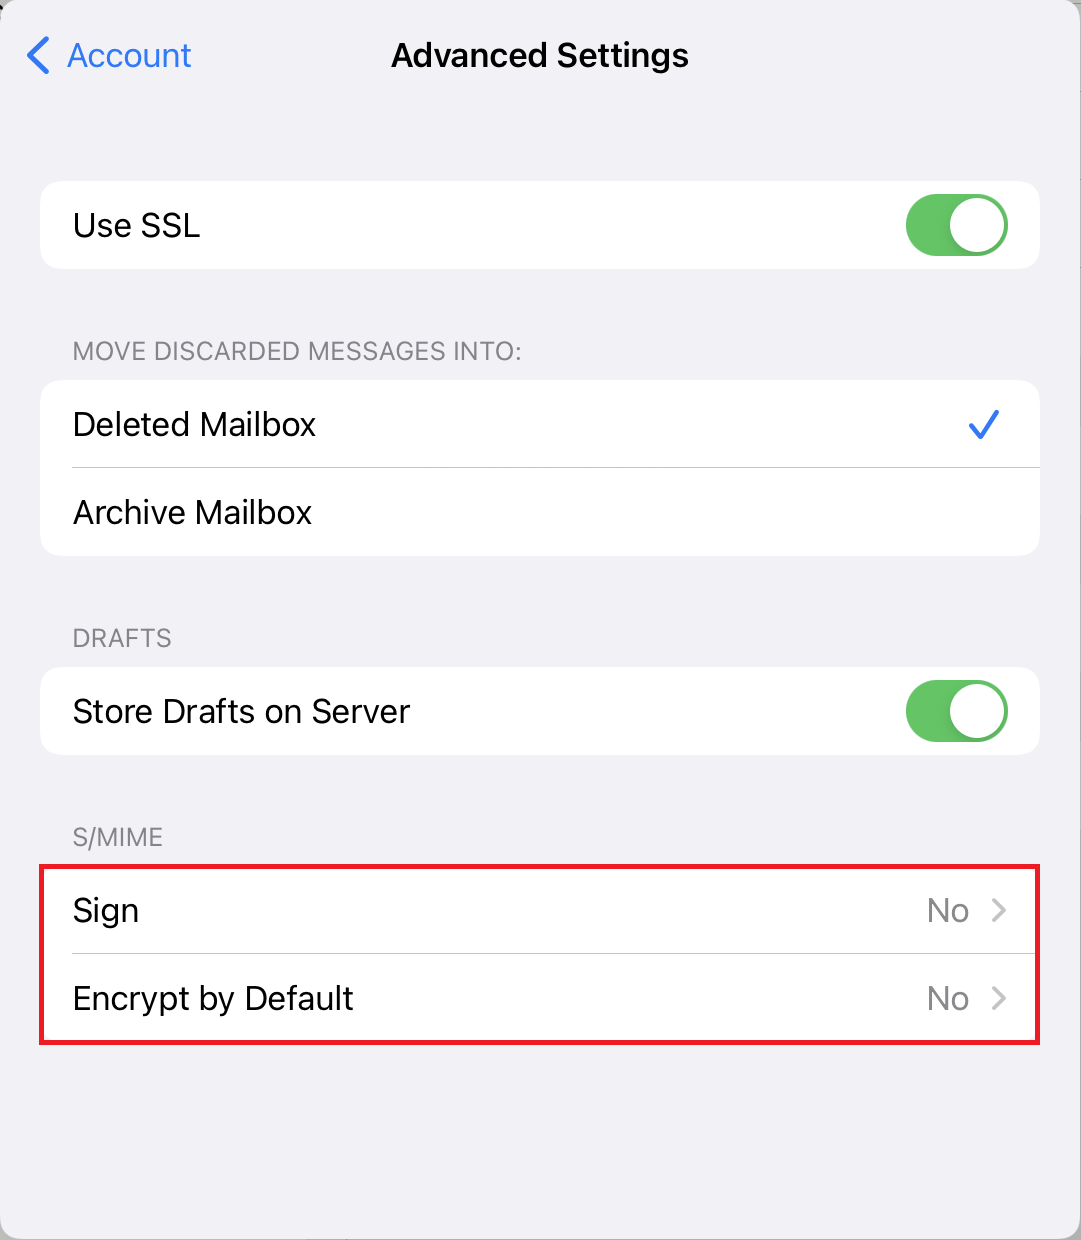
Then select "Advanced settings".
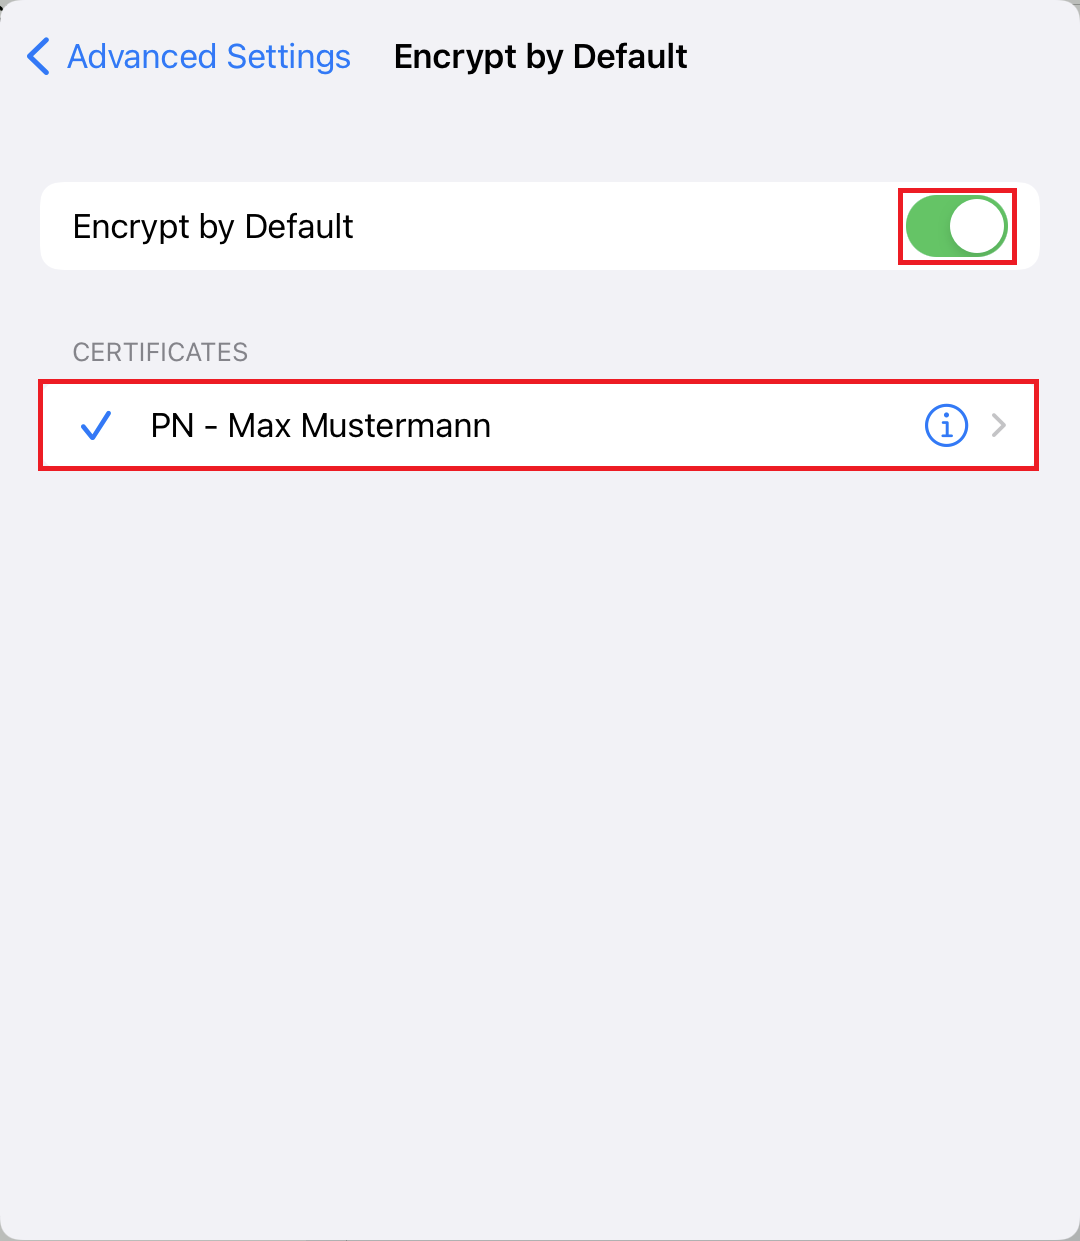
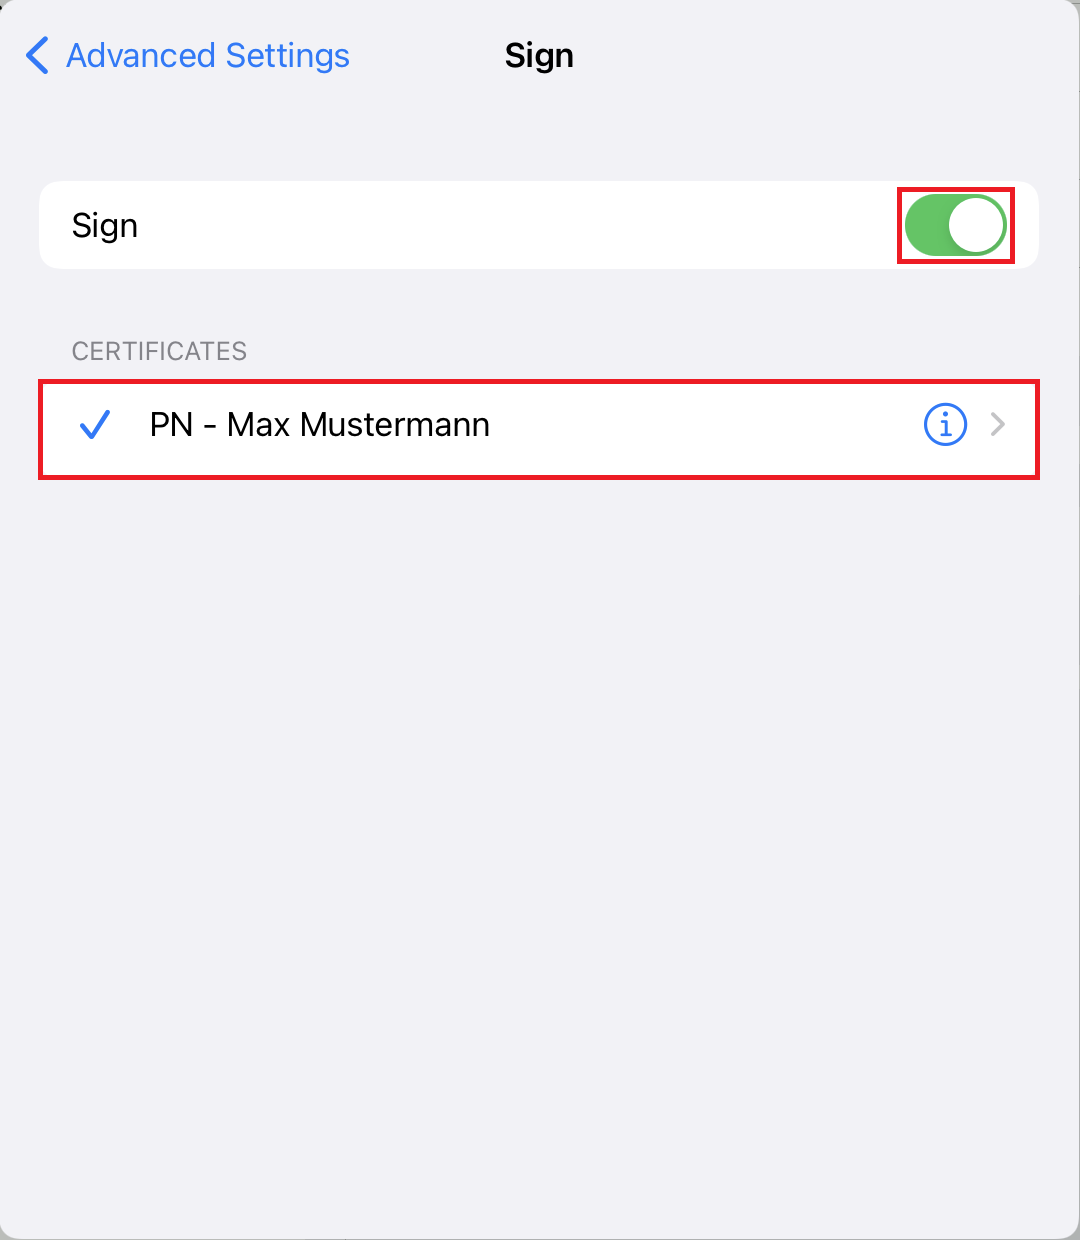
In the Advanced Settings you will find the S/MIME options at the very bottom. To encrypt or sign, you have to assign your certificate here at both points.