


CoolWP: Remote Desktop Container
Remote Desktop Container can be accessed by selecting it from the drop-down list under the Desktop Apps section in the upper menu bar, or by clicking the Remote Desktop Container icon on the dashboard.
|
|---|
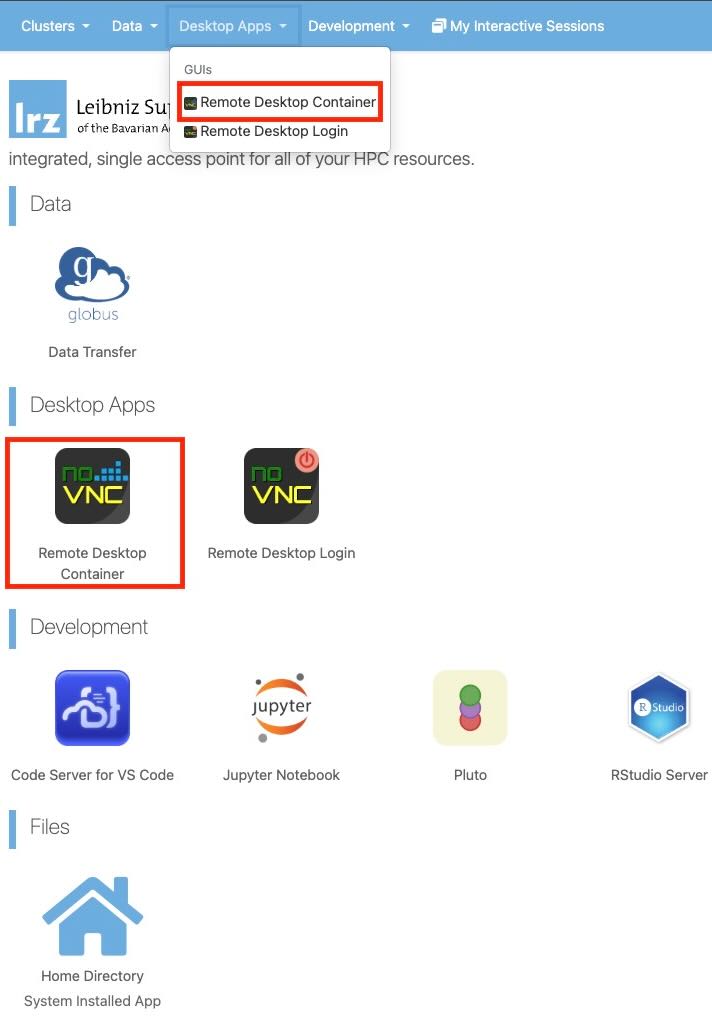
After clicking Remote Desktop Container from the panel, you will be taken to an overview page that provides important information about the resources you want to use.
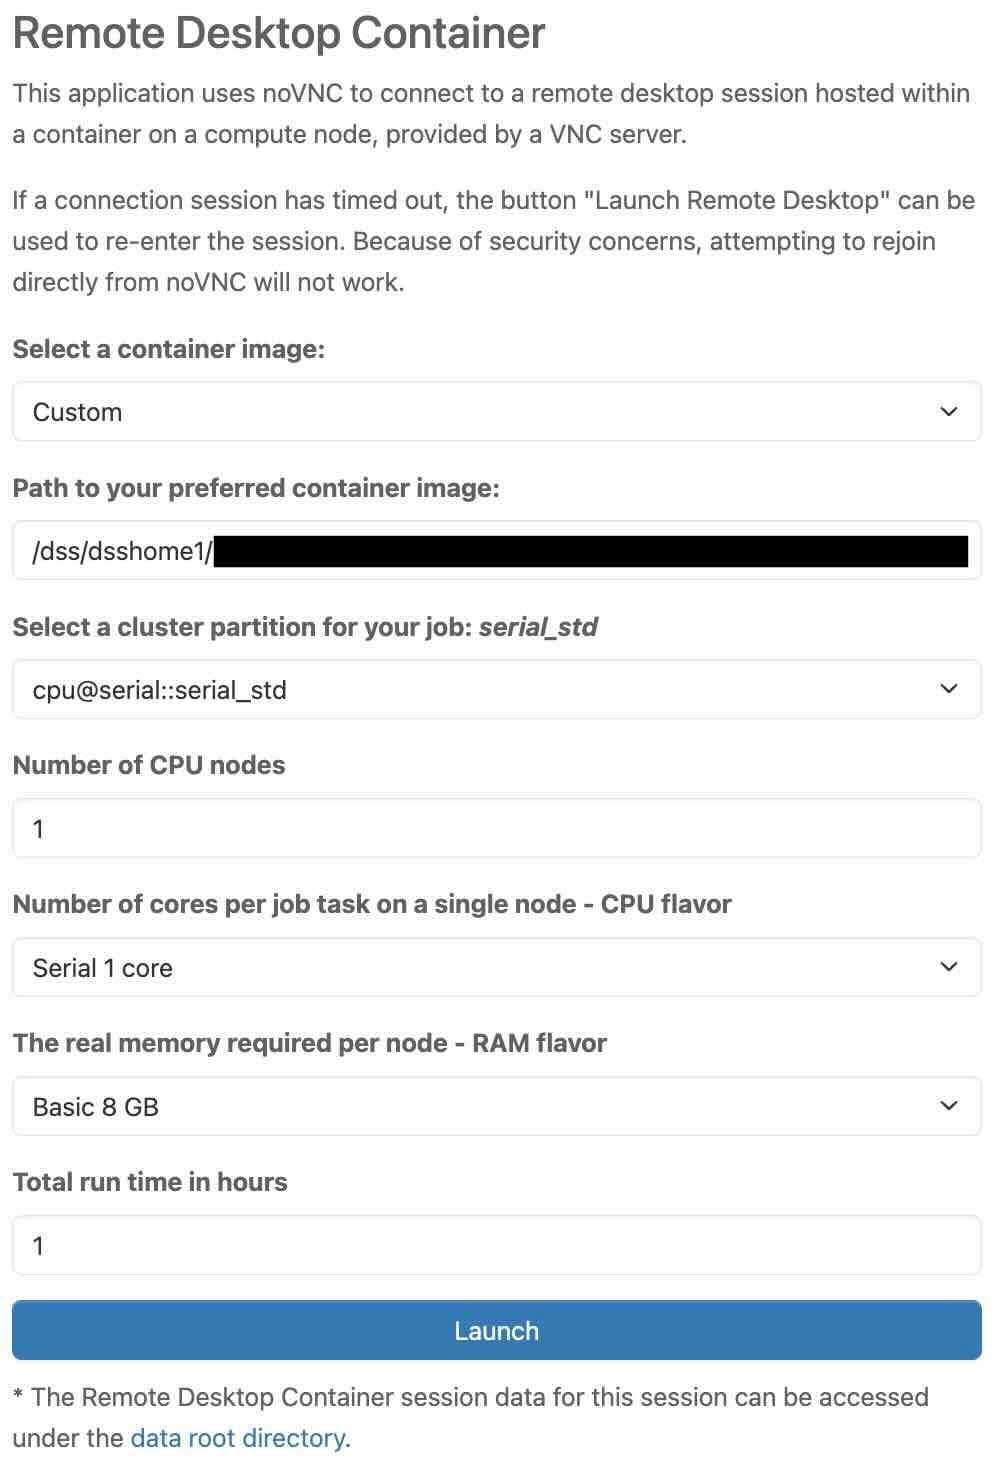
Before launching Remote Desktop Container, you must provide some information about the resources you want to use.
|
|---|
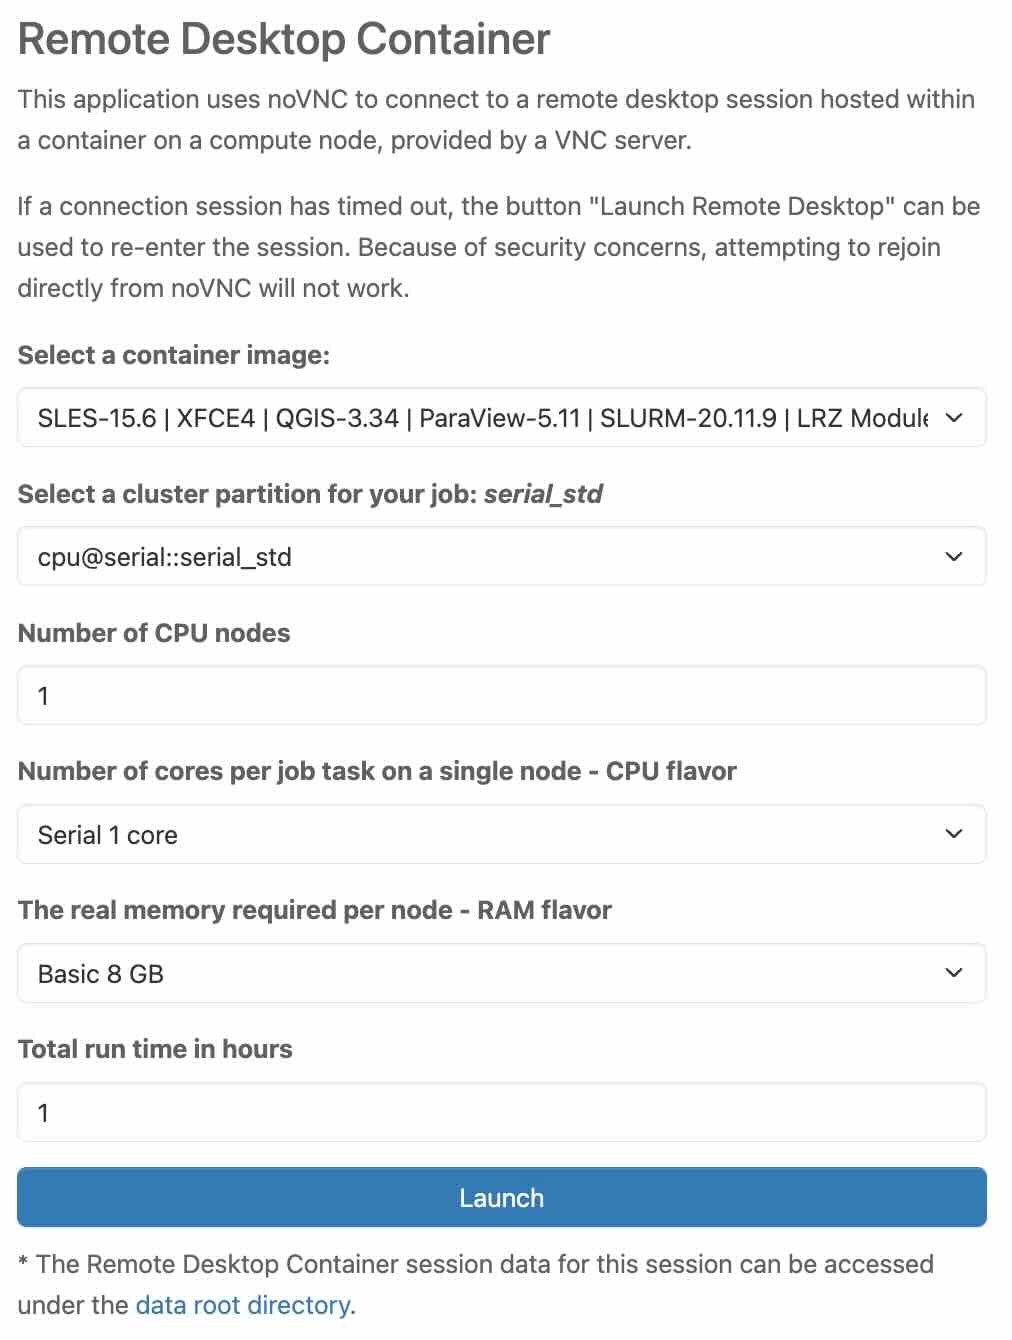
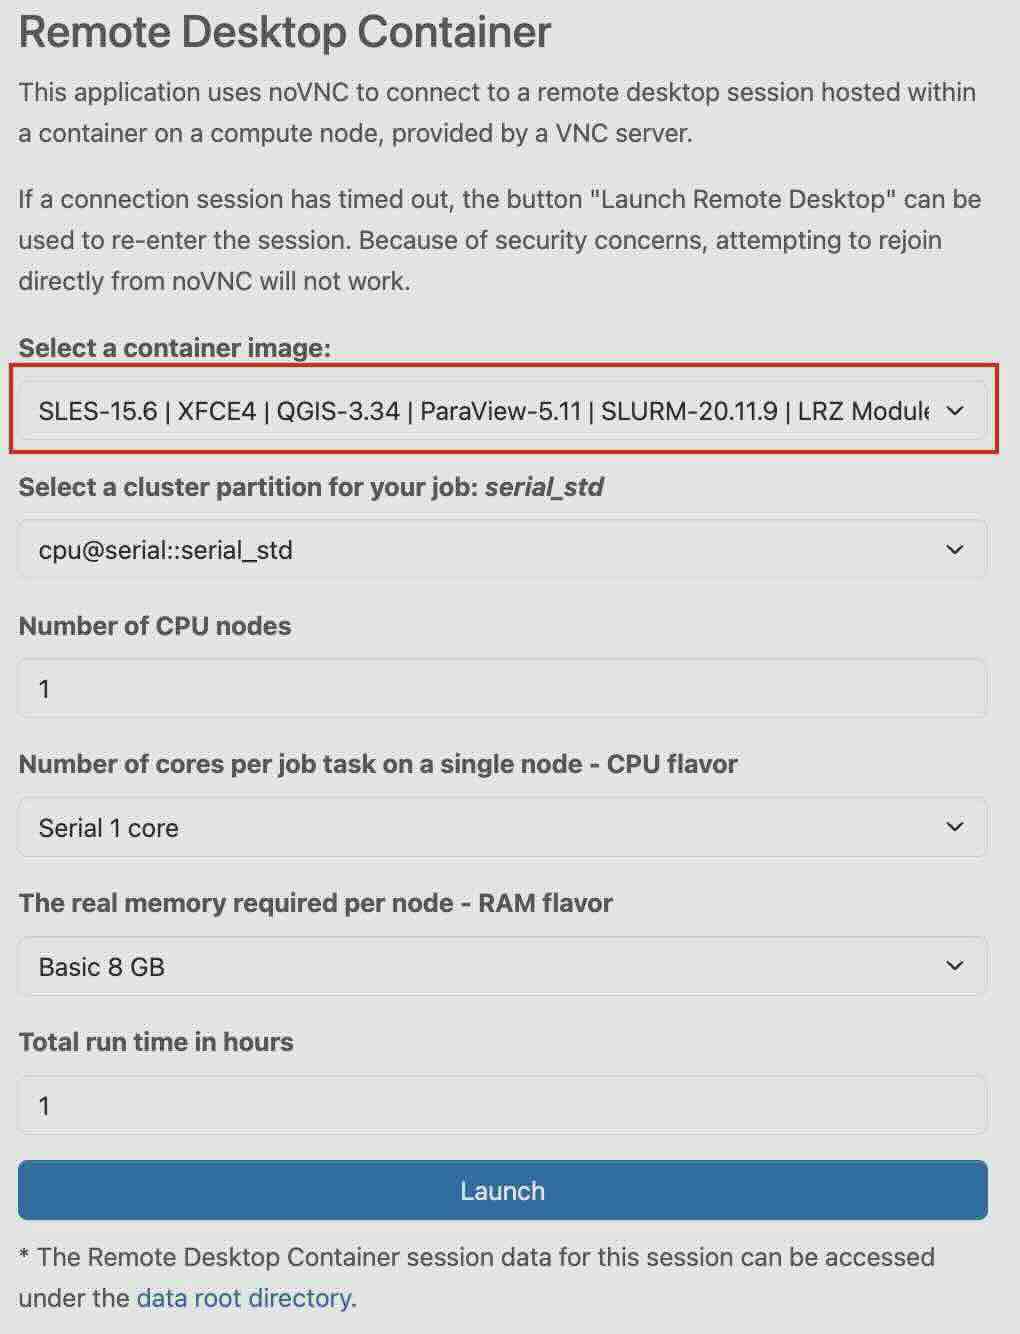
Select a container image
In this section, you select a container image from a list of predefined images.
If you need to use a different container image or your own container, you have the option to do that as well. To create your own container, refer to the example provided in the Creating a Custom Container section for detailed instructions.
|
|---|
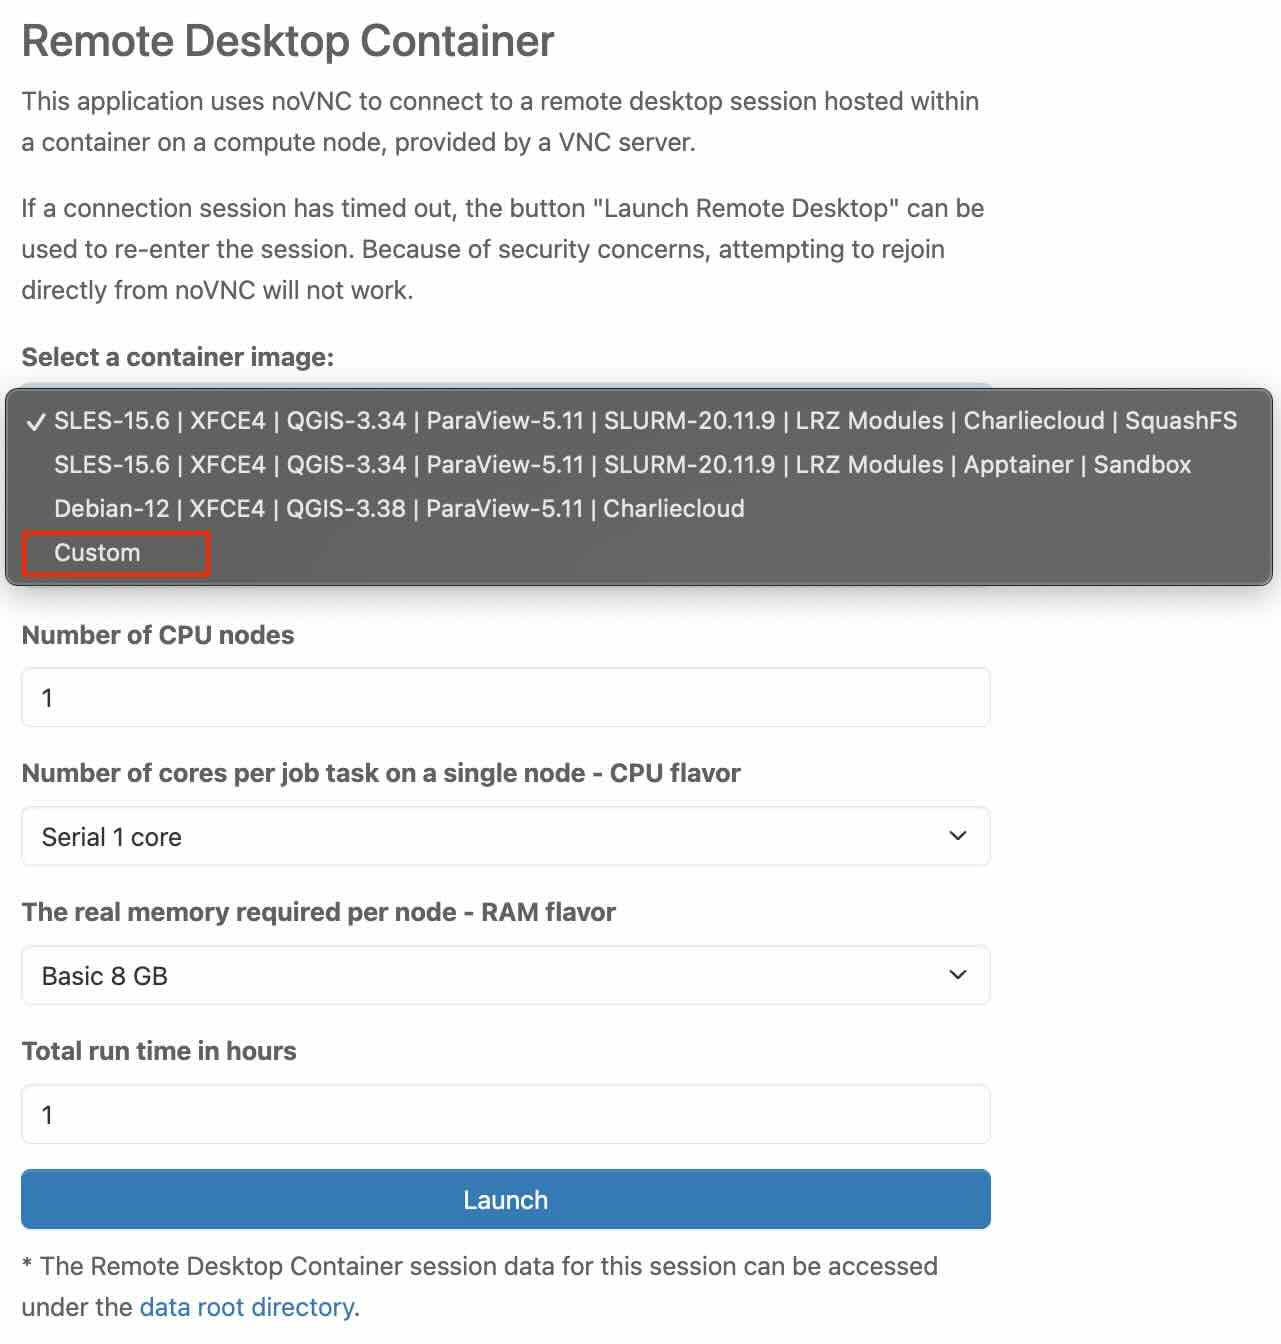
In the tab, scroll to the bottom and select “Custom”.
|
|---|
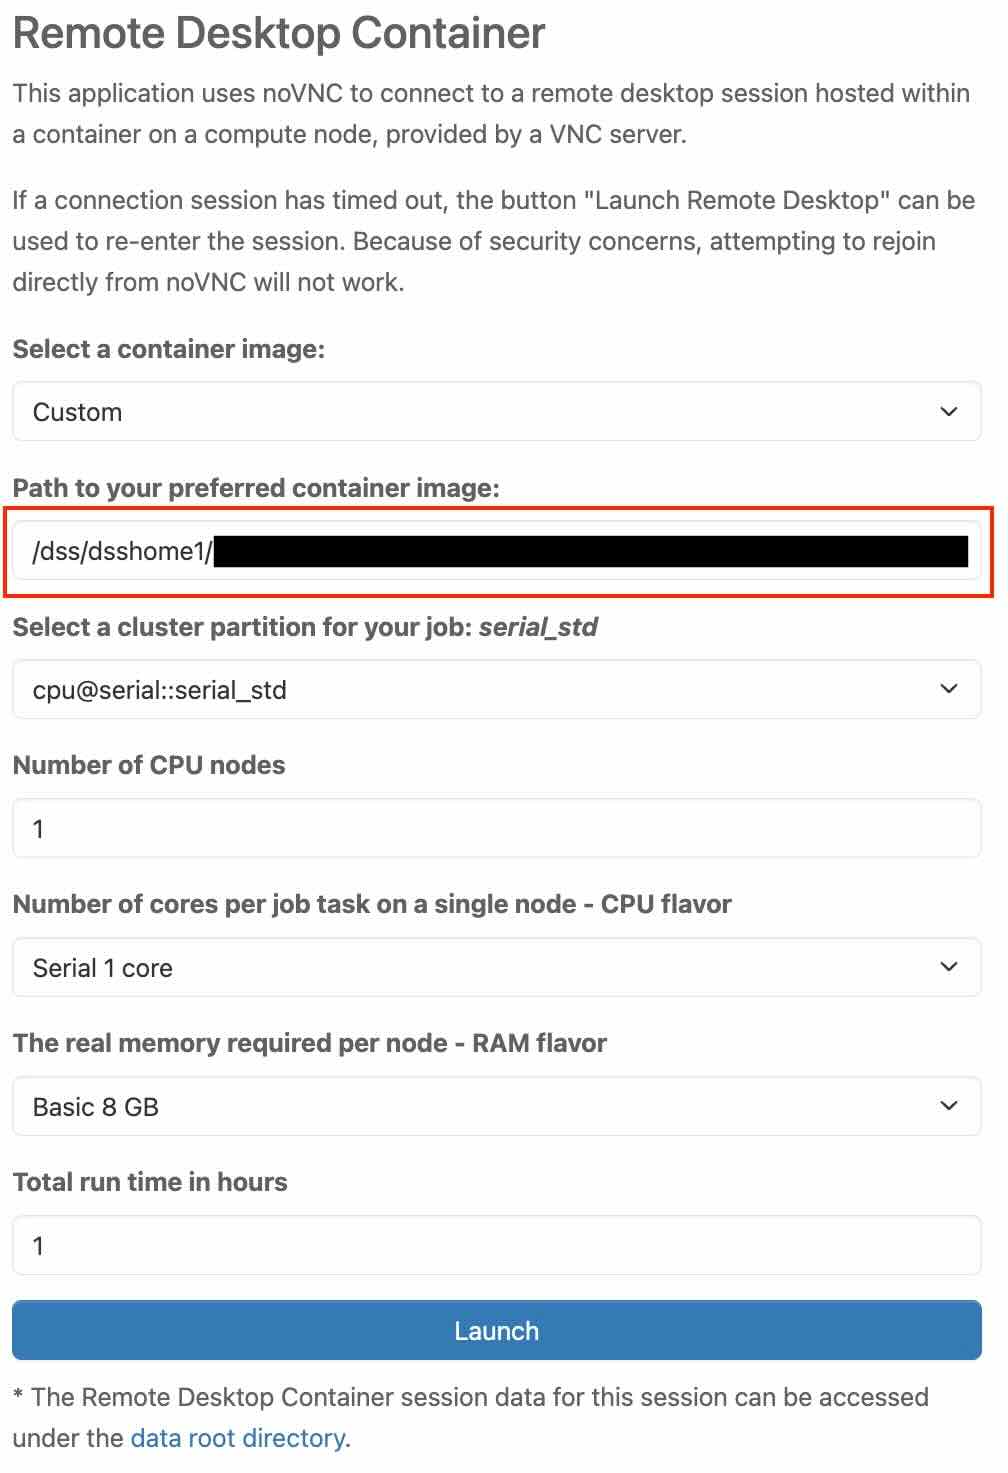
"Path to your preferred container image" tab should appear below.
|
|---|
In the "Path to your preferred container image" tab, you enter the name or path of your container that you previously created in your home folder.
|
|---|
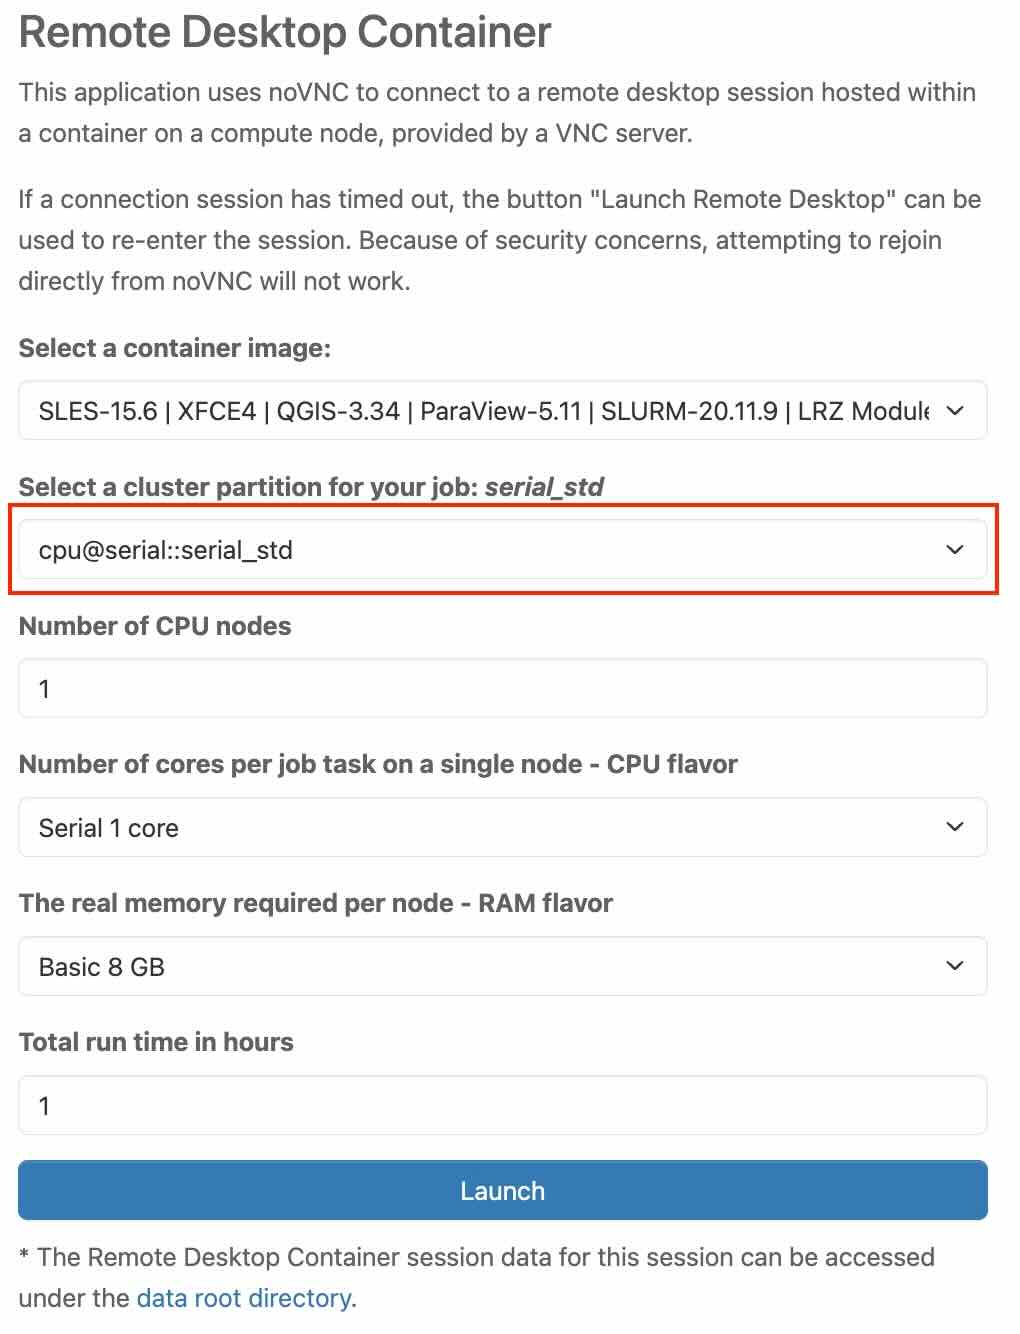
Select a cluster partition for your job
In this section, you choose a cluster partition from a list of predefined resource profiles.
Select a cluster partition based on your requirements. Further information can be found under Job Processing on the Linux-Cluster documentation.
|
|---|
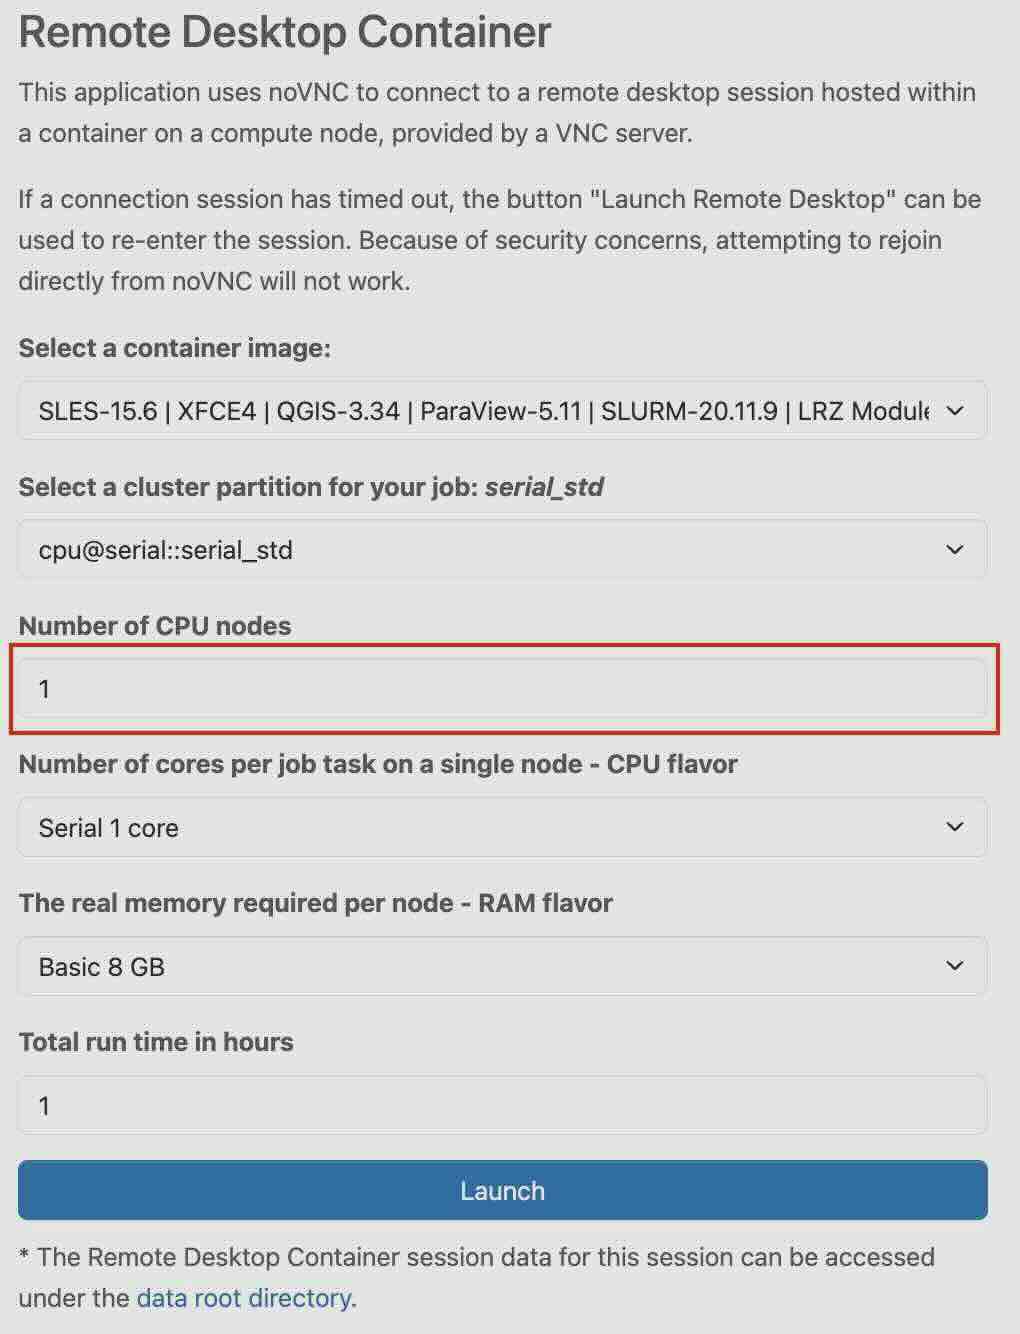
Number of CPU nodes
You select the number of CPU nodes by clicking on the "Number of CPU nodes" drop-down menu and then giving the desired value
This refers to the number of nodes allocated for a job in the cluster. You can check the availability of nodes and find further information on Job Processing on the Linux-Cluster documentation.
|
|---|
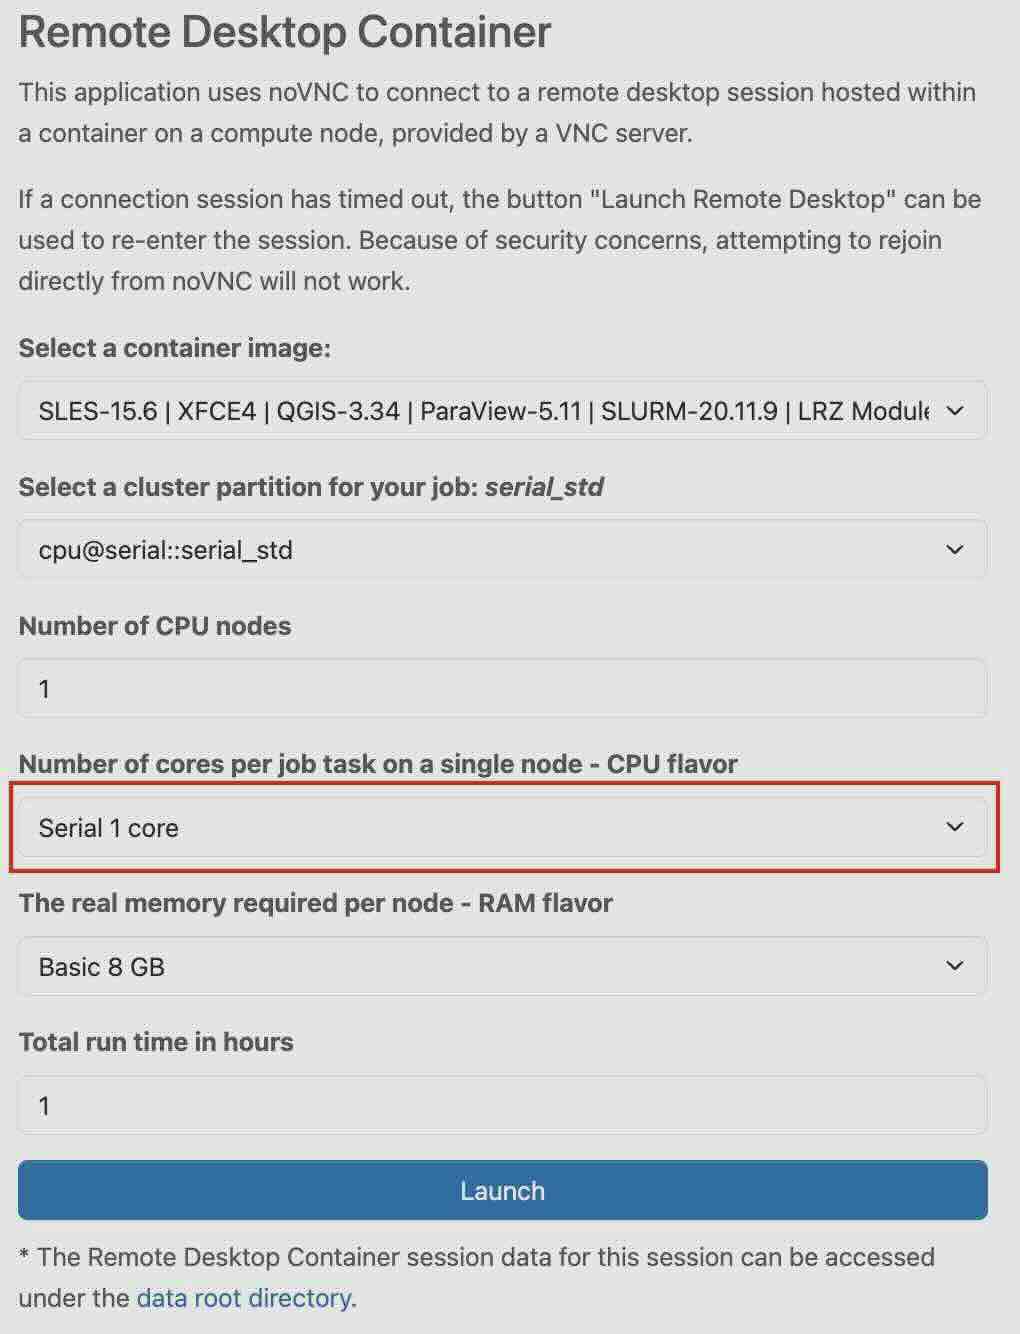
Number of cores per job task on a single node - CPU flavor
In this section, you choose from a list of predefined resource profiles.
Each profile defines the number of cores per job task. It tells you how many CPU cores each task of your job will use on one node in the cluster, and what type of CPU (flavor) you want to use.
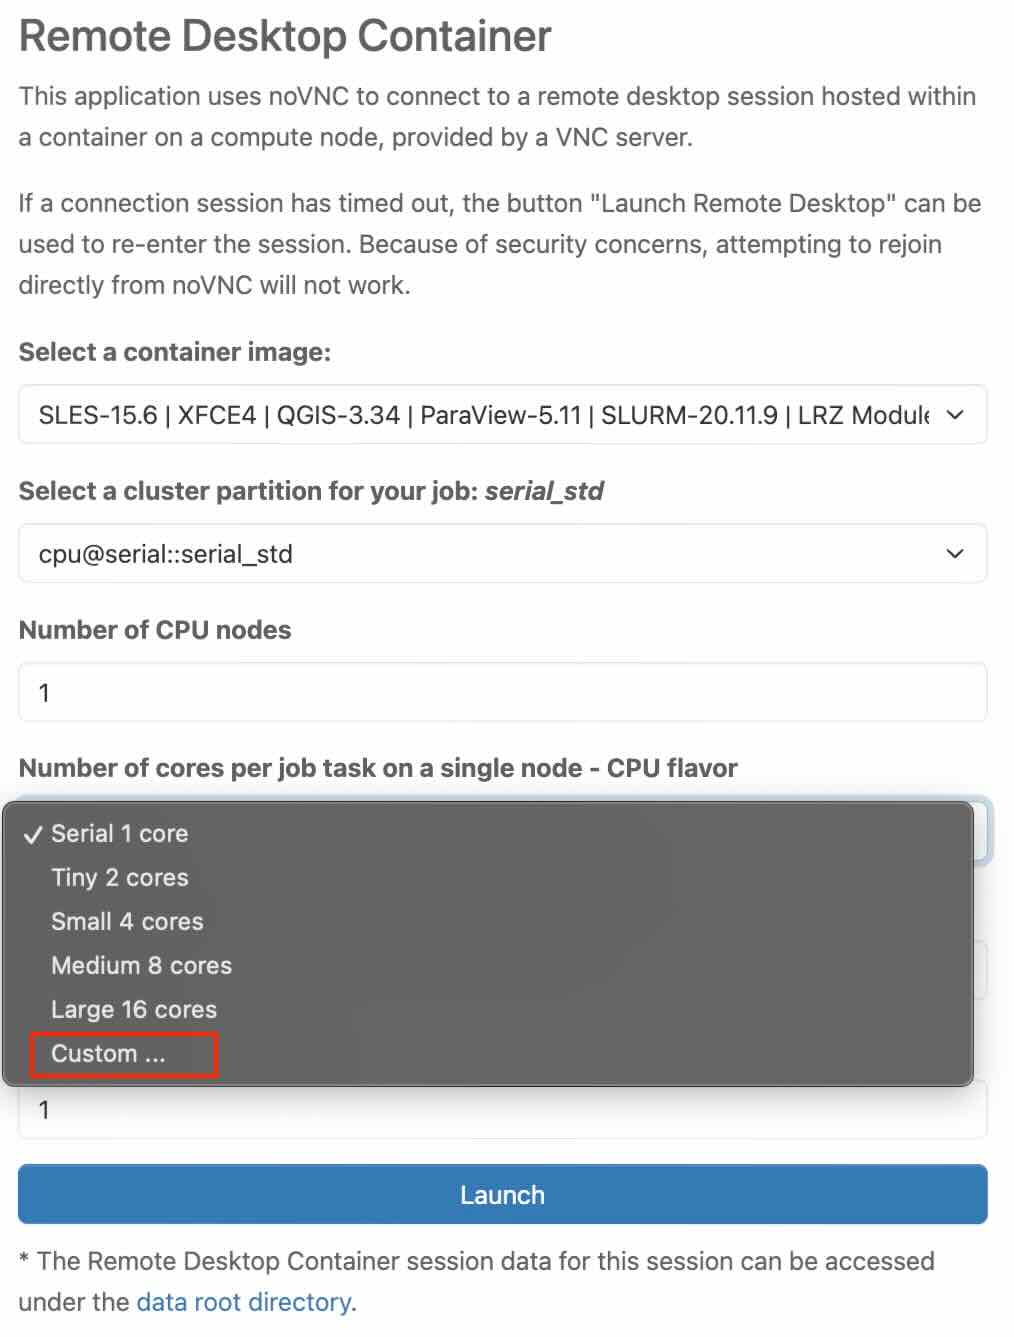
If you need a different number of cores per job task, you have the option to do that as well with "Custom"
|
|---|
In the tab, scroll to the bottom and select “Custom”.
|
|---|
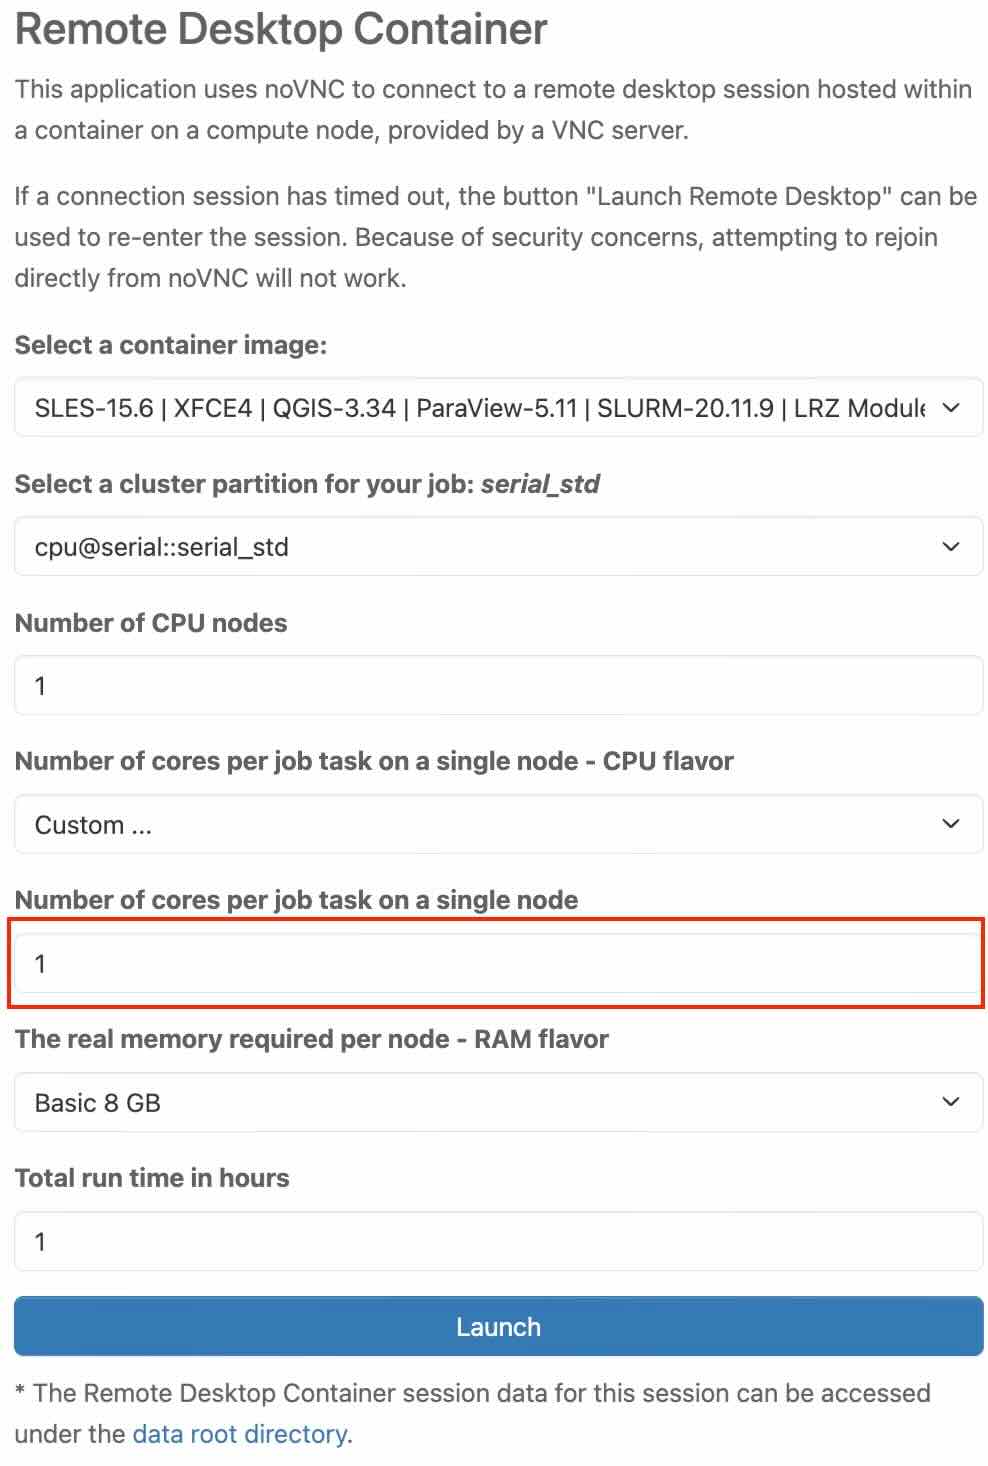
Number of cores per job task on a single node
In this section, you can increase or decrease the number of CPU cores for your task.
Further information can be found under Job Processing on the Linux-Cluster documentation.
|
|---|
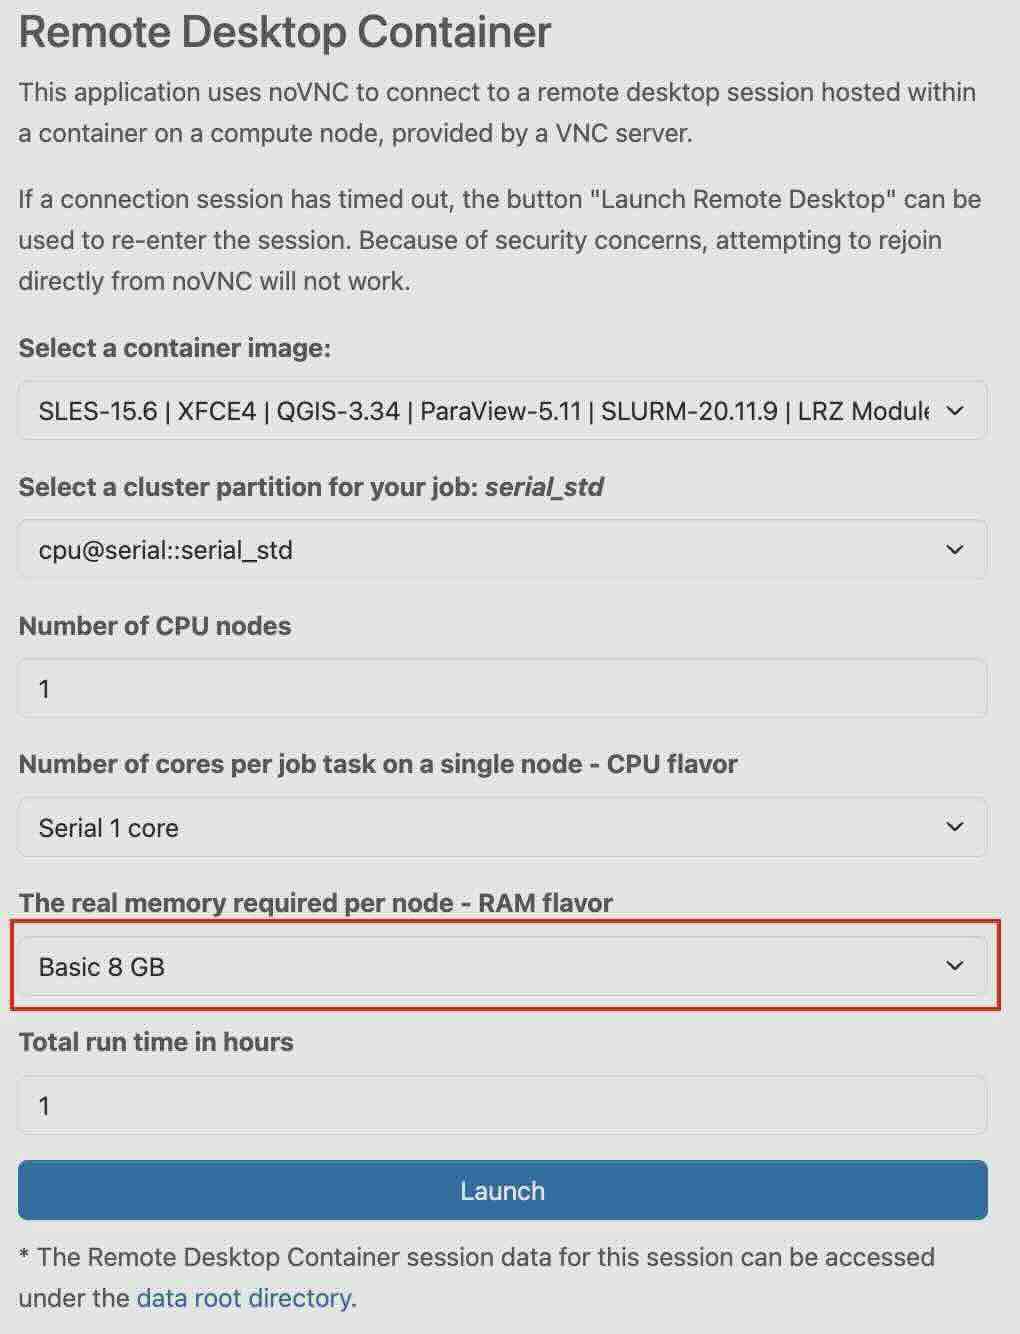
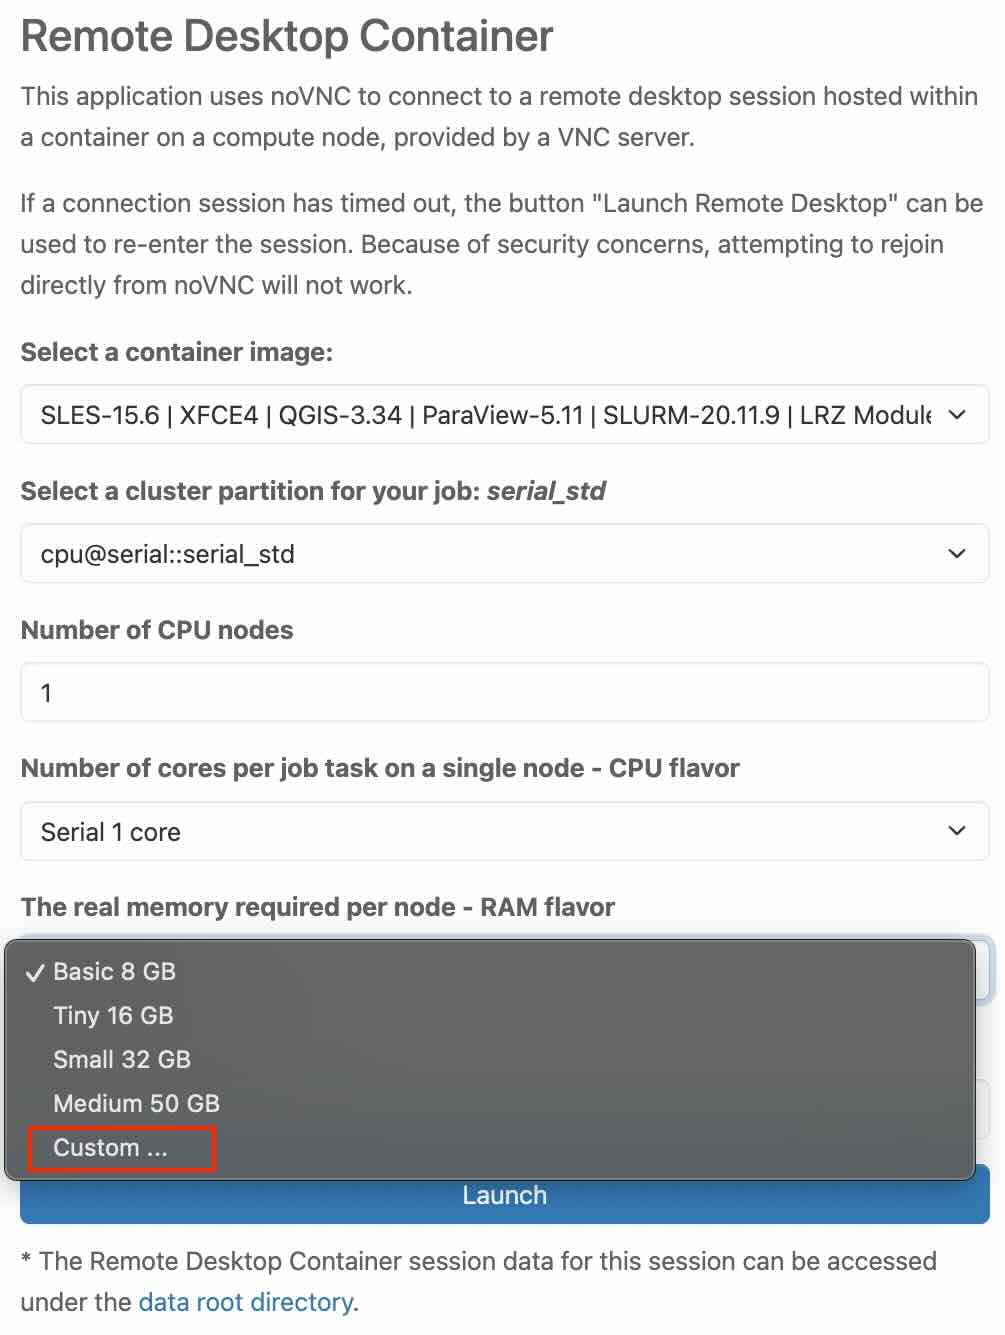
The real memory required per node - RAM flavor
In this section, you choose from a list of predefined resource profiles.
Each profile defines the memory per node. It essentially defines how much memory the job needs to function properly on a specific node.
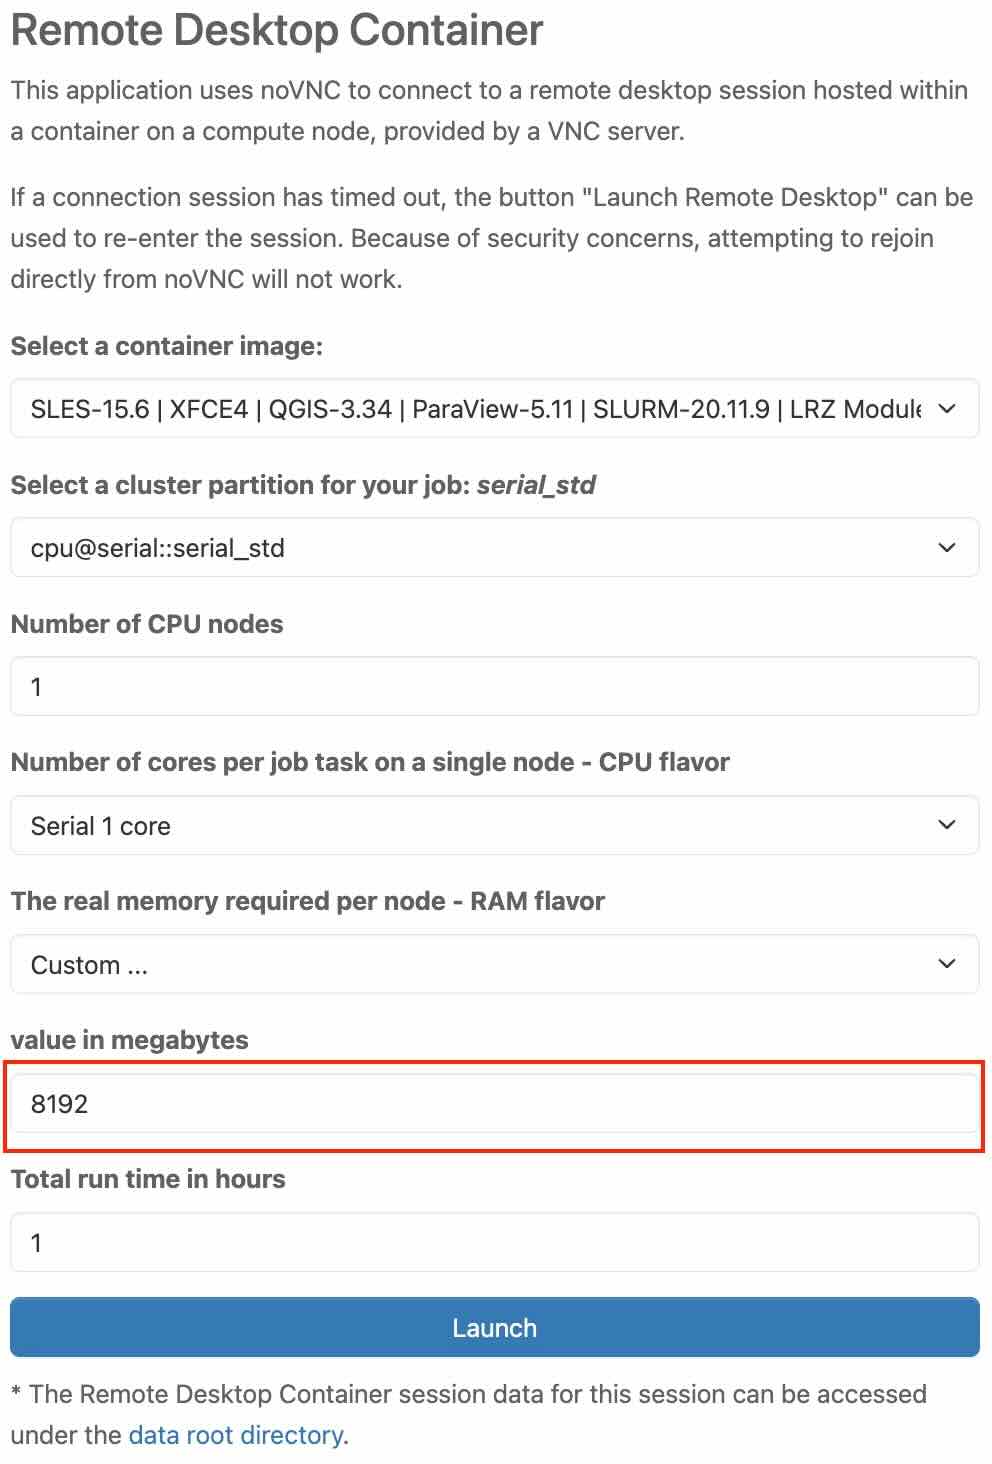
If you need a different amount of memory per node, you have option to do that as well with "Custom".
|
|---|
In the tab, scroll to the bottom and select “Custom”.
|
|---|
"value in megabytes" tab should appear as shown below, allowing you to enter the desired amount of RAM. Further information can be found under Job Processing on the Linux-Cluster documentation.
|
|---|
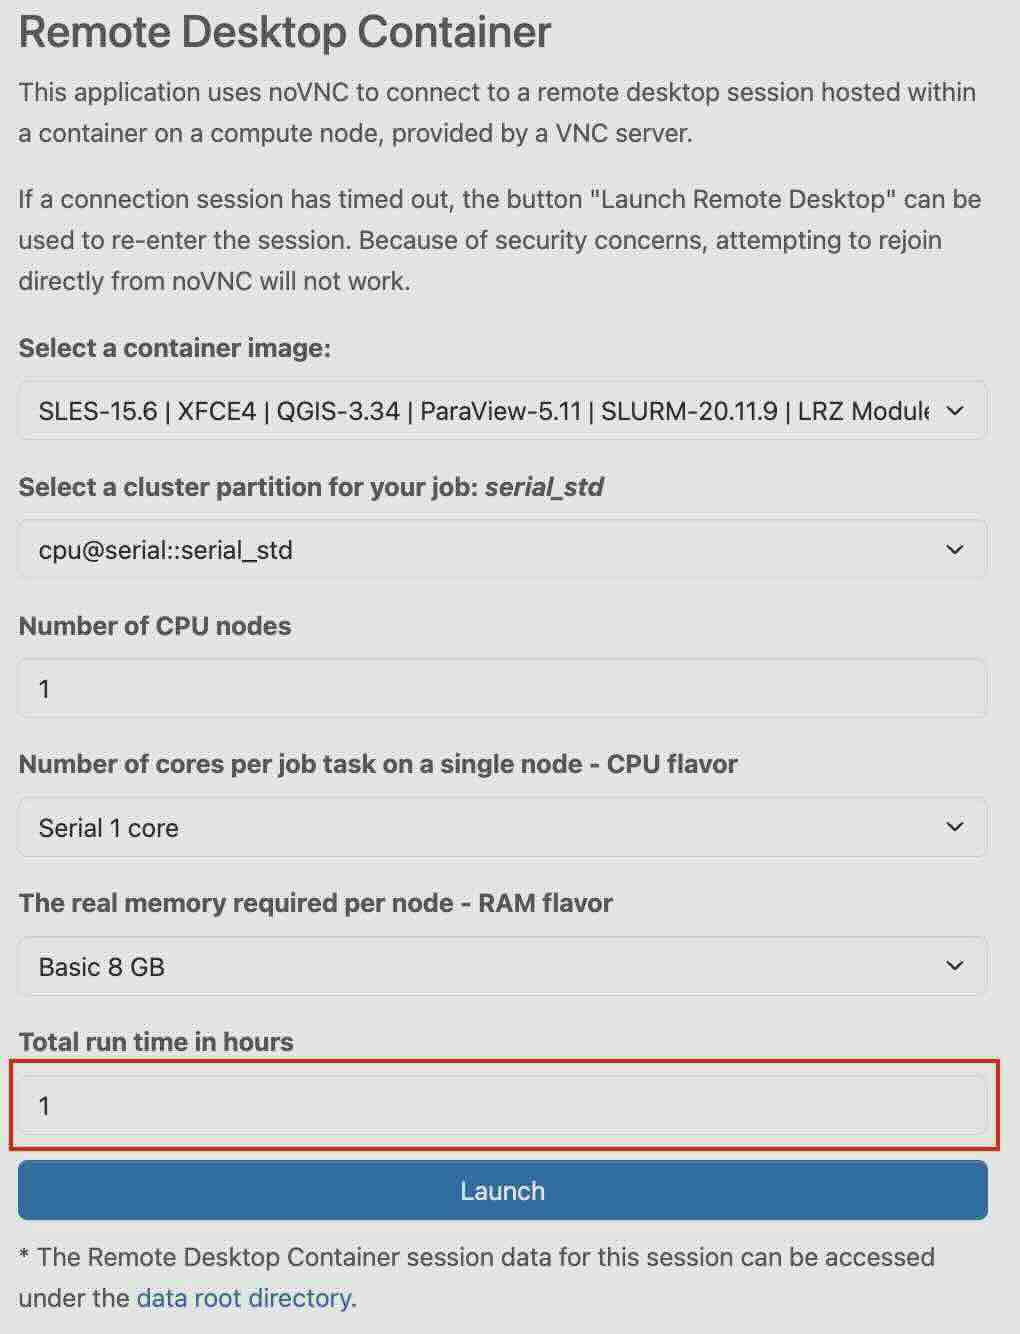
Total run time in hours
In the "Total run time in hours" tab, you need to choose the total runtime in terms of hours.
|
|---|
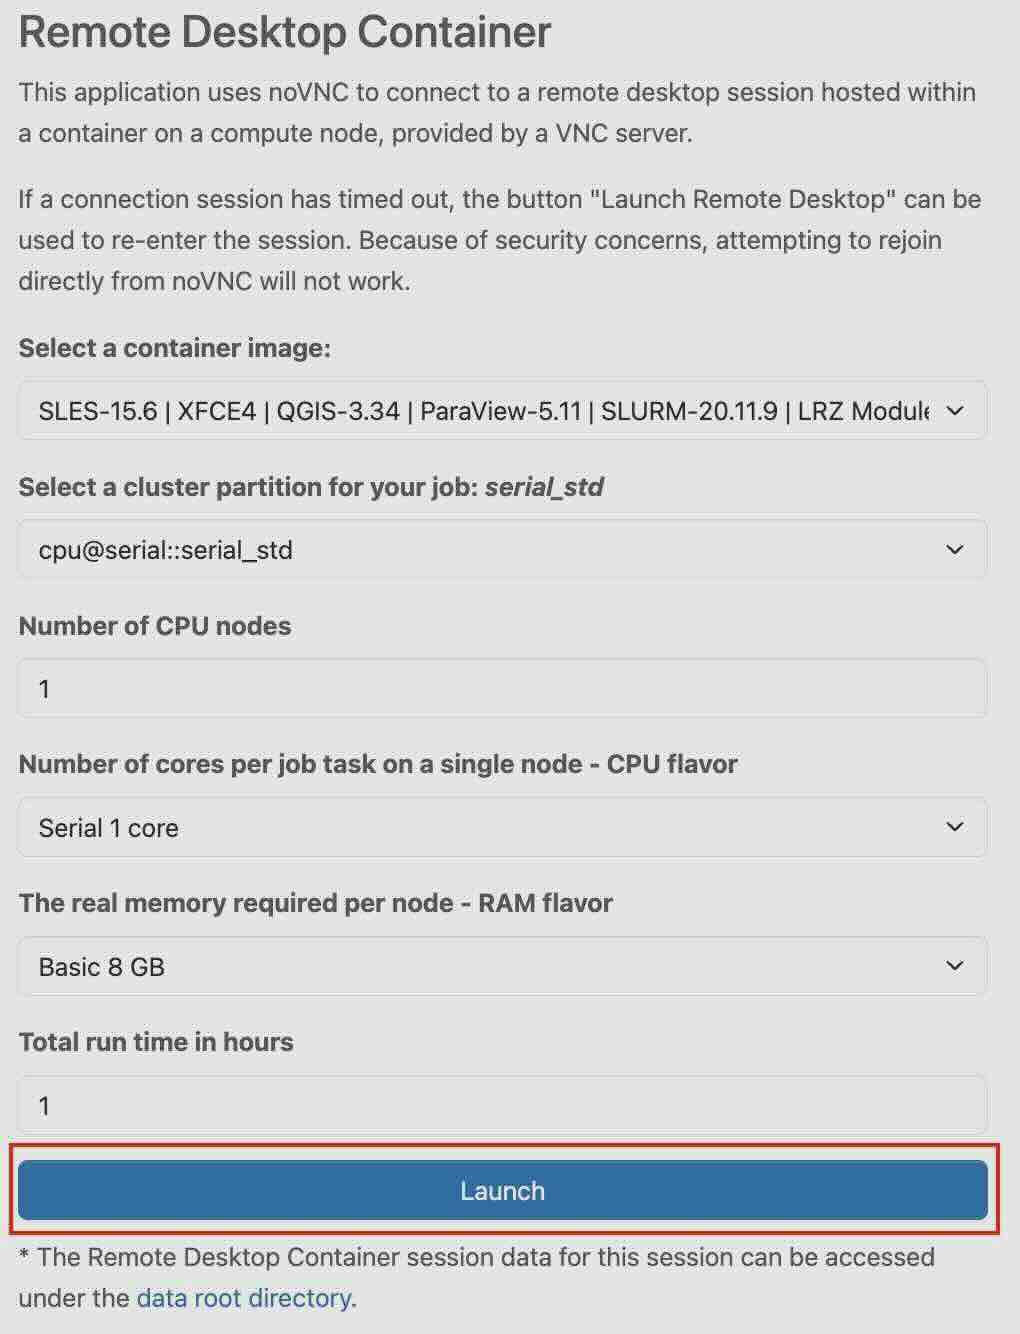
Launch
Finally, click the “Launch” button to start the application.
|
|---|
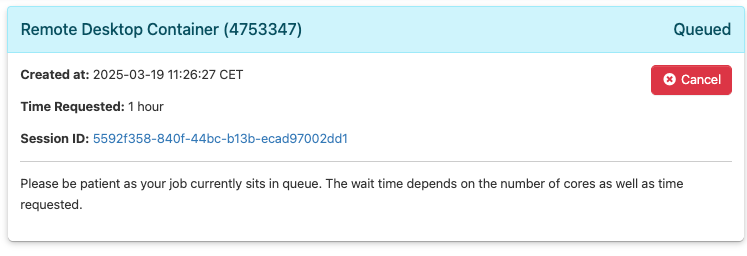
After you click the “Launch” button, you will find yourself on a page showing the starting status of your application. You need to wait as your job will be in the queue. The wait time depends on the number of cores as well as the time requested.
|
|---|
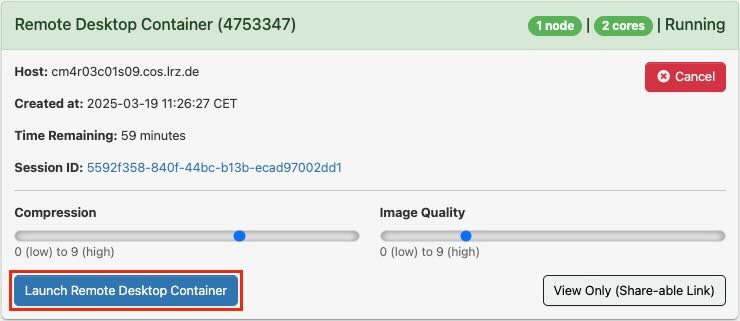
Once the resources are allocated, you can click on “Launch to Remote Desktop Container“ to log into the Remote Desktop Container.
|
|---|
If the connection session expires, click the Launch to Remote Desktop Container button to restore access.
Creating a Custom Container
To create your custom Charliecloud container, you can easily convert an existing Docker image into a Charliecloud image. Below is an example of how to convert a Docker image into a Charliecloud image. You can also add any additional applications based on your specific requirements.
# 1) Install Charliecloud

# Download the latest release from the Charliecloud GitHub releases page
wget https://github.com/hpc/charliecloud/releases/download/<VERSION>/charliecloud-<VERSION>.tar.gz
#Extract the tarball:
tar -xvf charliecloud-<VERSION>.tar.gz
#Build and install Charliecloud:
cd charliecloud-<VERSION>
./configure
make
sudo make install


# 2)Convert Docker Image to Charliecloud Image

#Convert the Docker image to a Charliecloud tarball
ch-convert -i docker <docker_image_name> /path/to/output/charliecloud_image.tar.g
#Transfer the Charliecloud image to the login node
scp charliecloud_image.tar.gz <USER_ID>@login.terrabyte.lrz.de:/path/on/the/dss

# 3) Log into the Login Node

#Log into the login node and untar the Charliecloud image
ch-convert /path/on/the/dss/charliecloud_image.tar.gz /path/on/the/dss/charliecloud_image
#Create required folders in the container's root file tree
for f in lrz dss gpfs
do
    mkdir /target/folder/containers/test_image/$f
done


# 4) (Optional) Convert to SquashFS for Better Performance
# For better performance and a read-only format, you can convert the image to a compressed SquashFS:
ch-convert /path/on/the/dss/charliecloud_image /path/on/the/dss/charliecloud_image.sqfs
#Once the conversion is complete, your custom Charliecloud container is ready to use.