


127 - Wie genau funktionieren Upload Formulare?
When using Adblockers, the Share icon may not be visible. It is recommended to disable the adblocker for LRZ Sync+Share (see also FAQ 315).
With links, not only files and entire folders can be made available for download, but it is also possible to use links to upload files and folders via an upload form. This makes it easier to exchange information with external cooperation partners who do not necessarily have to register for a guest account.
Such an upload form can only be set up on top-level folders (= upload folders). As soon as one or more files or folders have been uploaded, you will receive a notification by e-mail. The uploaded files or folders are written into a new folder (name of the uploader) within the upload folder, so that several people can upload data into the same upload folder and the data is not mixed up.
You can also password protect the link to an upload form and/or set an expiration date.
To create an upload form proceed as follows:
- Log in via the web browser at https://syncandshare.lrz.de.
- Click on the "Share" icon in the far right corner of a top-level folder
 .
. - Click on "Create upload form" in the middle of the bottom of the page.
- Now you can enter the following information.
- Headline of the upload form (mandatory field).
- Description of the upload form (mandatory field).
- Validity date (optional).
- Additional e-mail address for notifications in case of an upload (optional). The owner and persons invited to the folder with admin rights will automatically receive an e-mail!

Password for using the upload form (optional).
Click on "Save" and the upload form will be created.
Now you can copy the created link and distribute it e.g. by e-mail.
Individual files or entire folders can be uploaded via WEB link using the upload form by persons who have received this link:
- Copy the link of the upload form into the WEB browser.
- Please enter your name and e-mail address. The name will be used to provide the owner of the upload form with the data.
- Click on "Upload" and upload one or more files via "Add file" or folders via "Add directory" and press "Upload" again.

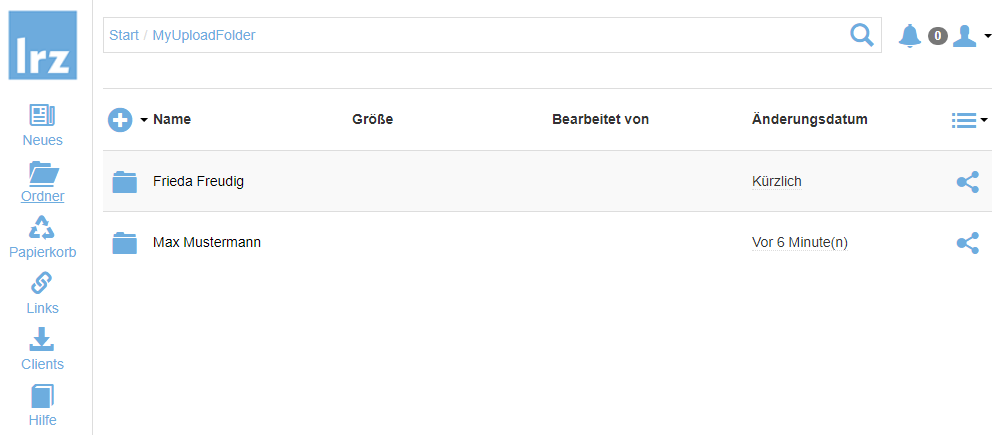
As soon as one or more files or folders have been uploaded, the owner of the upload form will receive a notification by e-mail. The uploaded files or folders are written into a new folder (name of the uploader) within the upload folder, so that several people can upload data into the same upload folder and the data is not mixed up. In this example, data from "Frieda Freudig" and "Max Mustermann" were uploaded using the same upload form.
For each upload a link to the corresponding subfolder is created. To manage or delete these links, click on "Links" in the left margin. If you want to ensure that a link is only valid for a certain time, you can also configure an expiration date for the link. Additionally, a WEB link can be protected with a password. Please remember to transfer the password securely to the recipient.
You can edit or delete the upload form by clicking the Share icon of the top-level folder.
Please follow the LRZ Sync+Share security recommendations!
Manufacturer's documentation
PowerFolder: Creating and managing Upload Forms (last visited: )
Related contents
- FAQ 120 - How do I create a download web link?
- FAQ 128 - How do combined upload & download WEB links work?
- FAQ 129 - How do public WEB-Links work?
- FAQ 111 - How exactly do invitations work?
- FAQ 131 - What is a top level folder at LRZ Sync+Share?