


Upload an ISO and create a VM from it
This tutorial describes how to upload a bootable ISO file containing installation files of a particular Operating System you want to use.
This tutorial targets users that want to use operating systems that we do not offer by default, e.g. for licensing reasons or because of broken cloud images provided by the OS provider. It allows users to install the exact OS they want.
For this tutorial I will install openSUSE Leap 15.1. from the official ISO images.
- Upload installation media (ISO) to the LRZ Compute Cloud
- Before you begin to create a virtual machine you need to download an installation ISO file for the particular operating system. It is sufficient to download a "netinst" ISO if available. These images are used to boot and initialize the installation process before recent versions of the packages to install are downloaded directly from the repository of the distributor.
ISO files for openSUSE leap 15.1 can be found here: https://download.opensuse.org/distribution/leap/15.1/iso/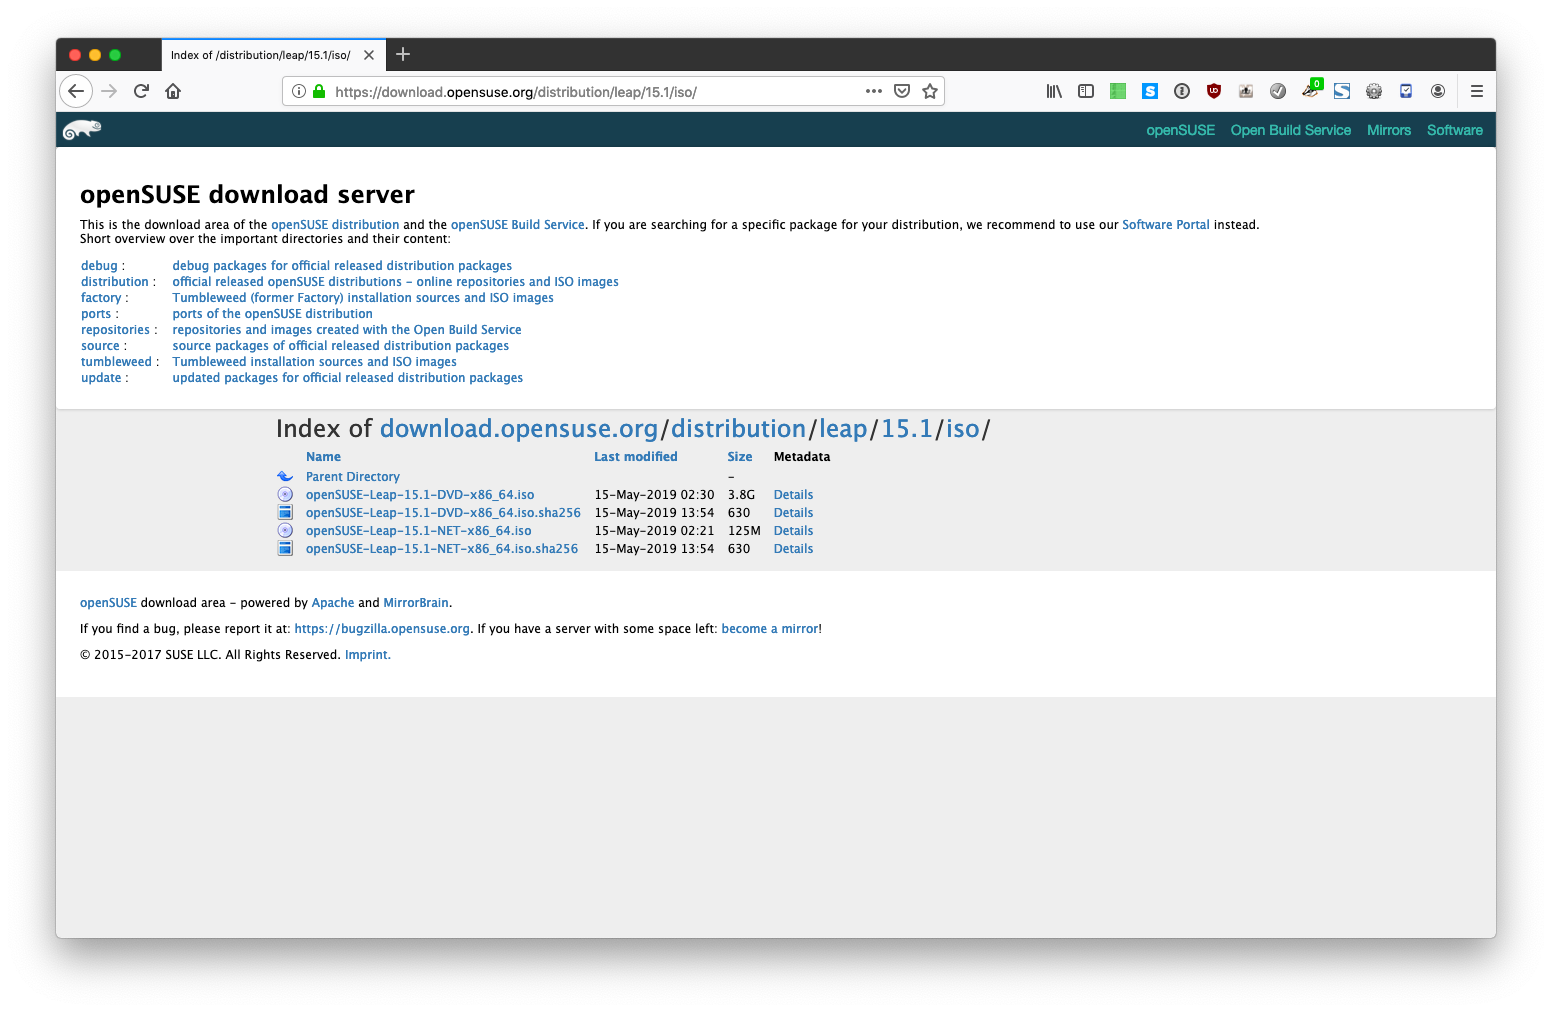
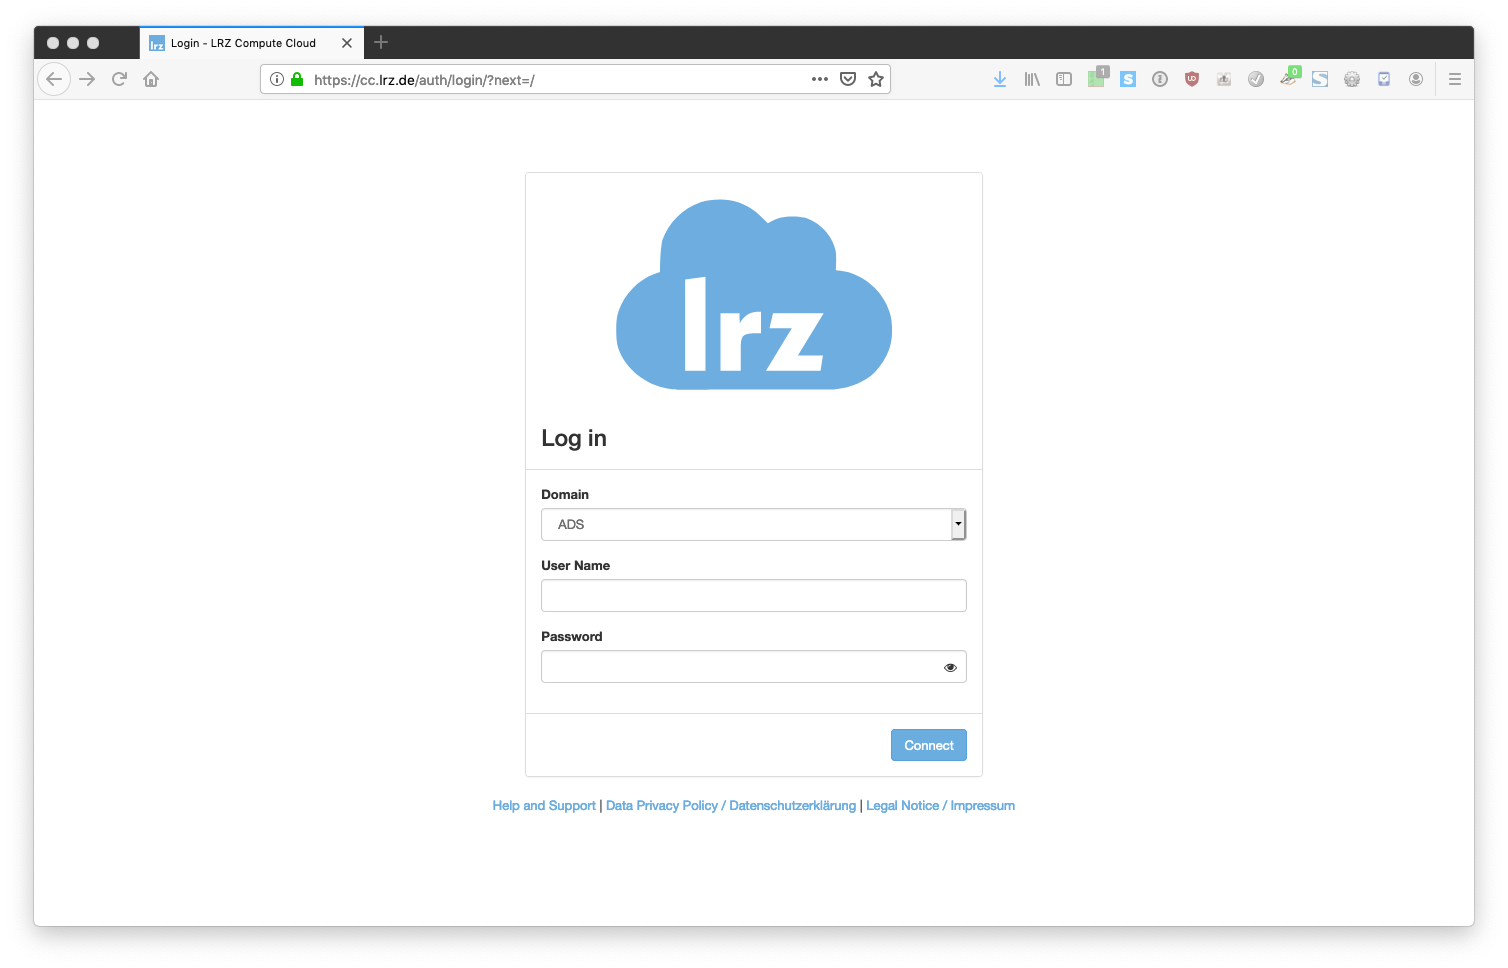
- Log in to https://cc.lrz.de
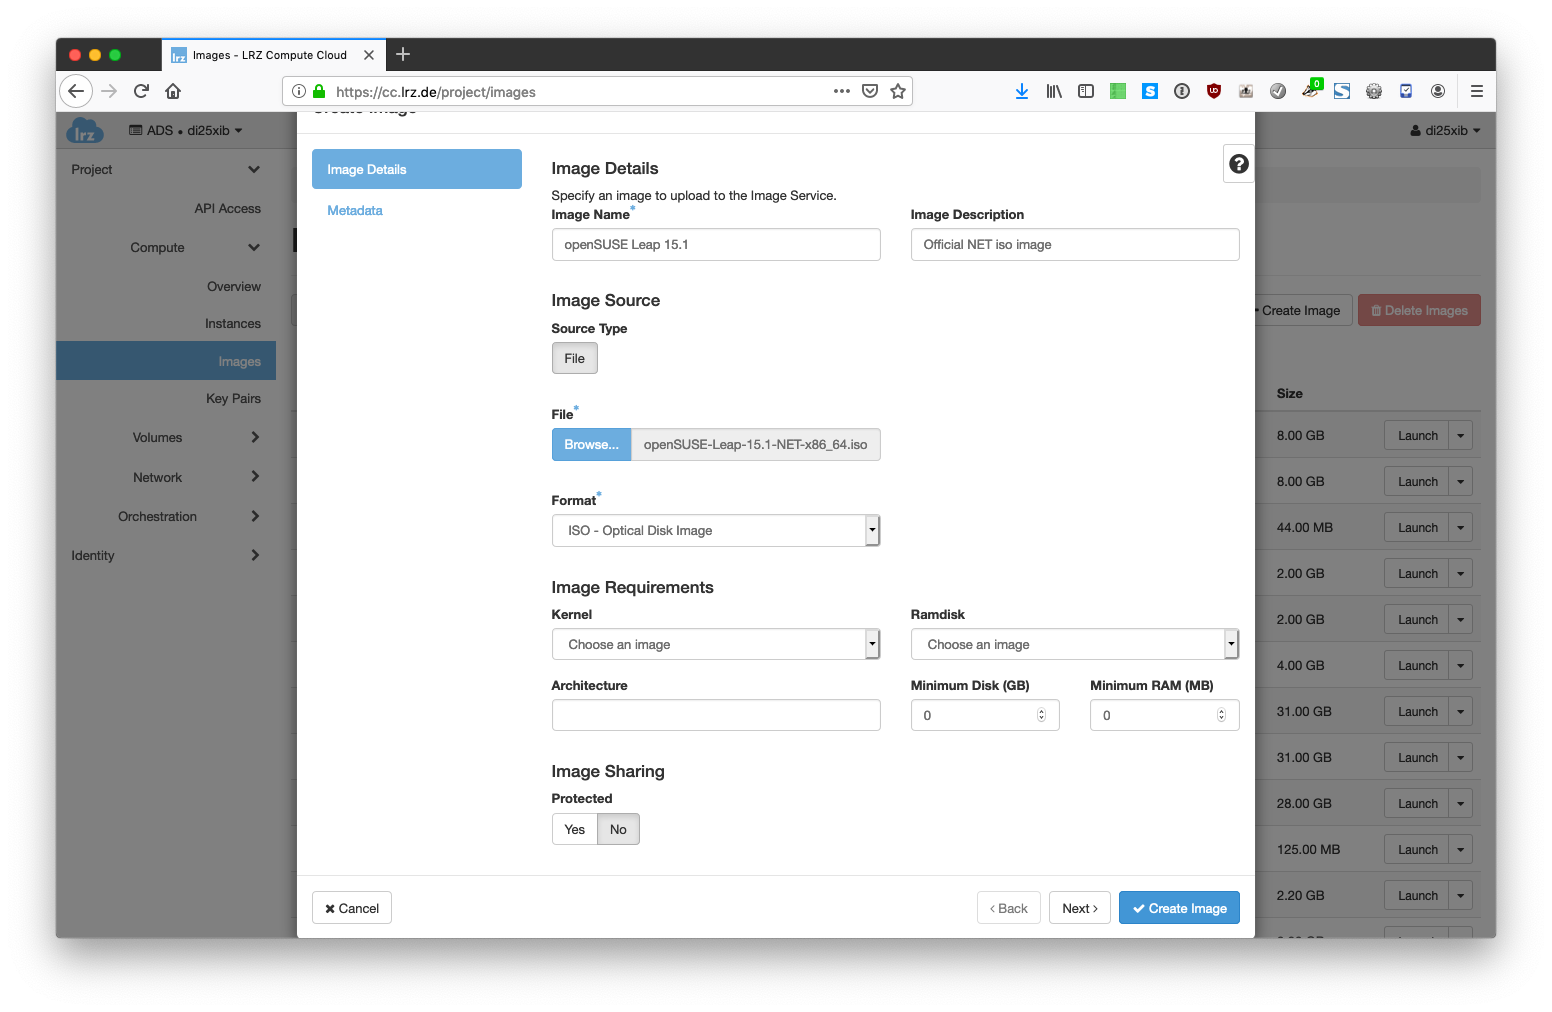
- Go to Compute → Images and click the "Create Image" button on the upper right of the page. You must provide (at least) an Image Name, select a File to upload (this is the ISO file you just downloaded in the first step) and specify the Format of this file - this should be ISO. Ignore the other options and click on "Create Image" on the lower right of this form.
- After a short while you will find yourself on the Images overview page and see that the image you have uploaded is in Status "Saving".

This might take a while and it will probably not update itself. Reload the web page after a short while and you should see that the image's status has changed to "Active".
It's visibiliy is "Private" which means that this image can only be access by you and is not visible for other cloud users.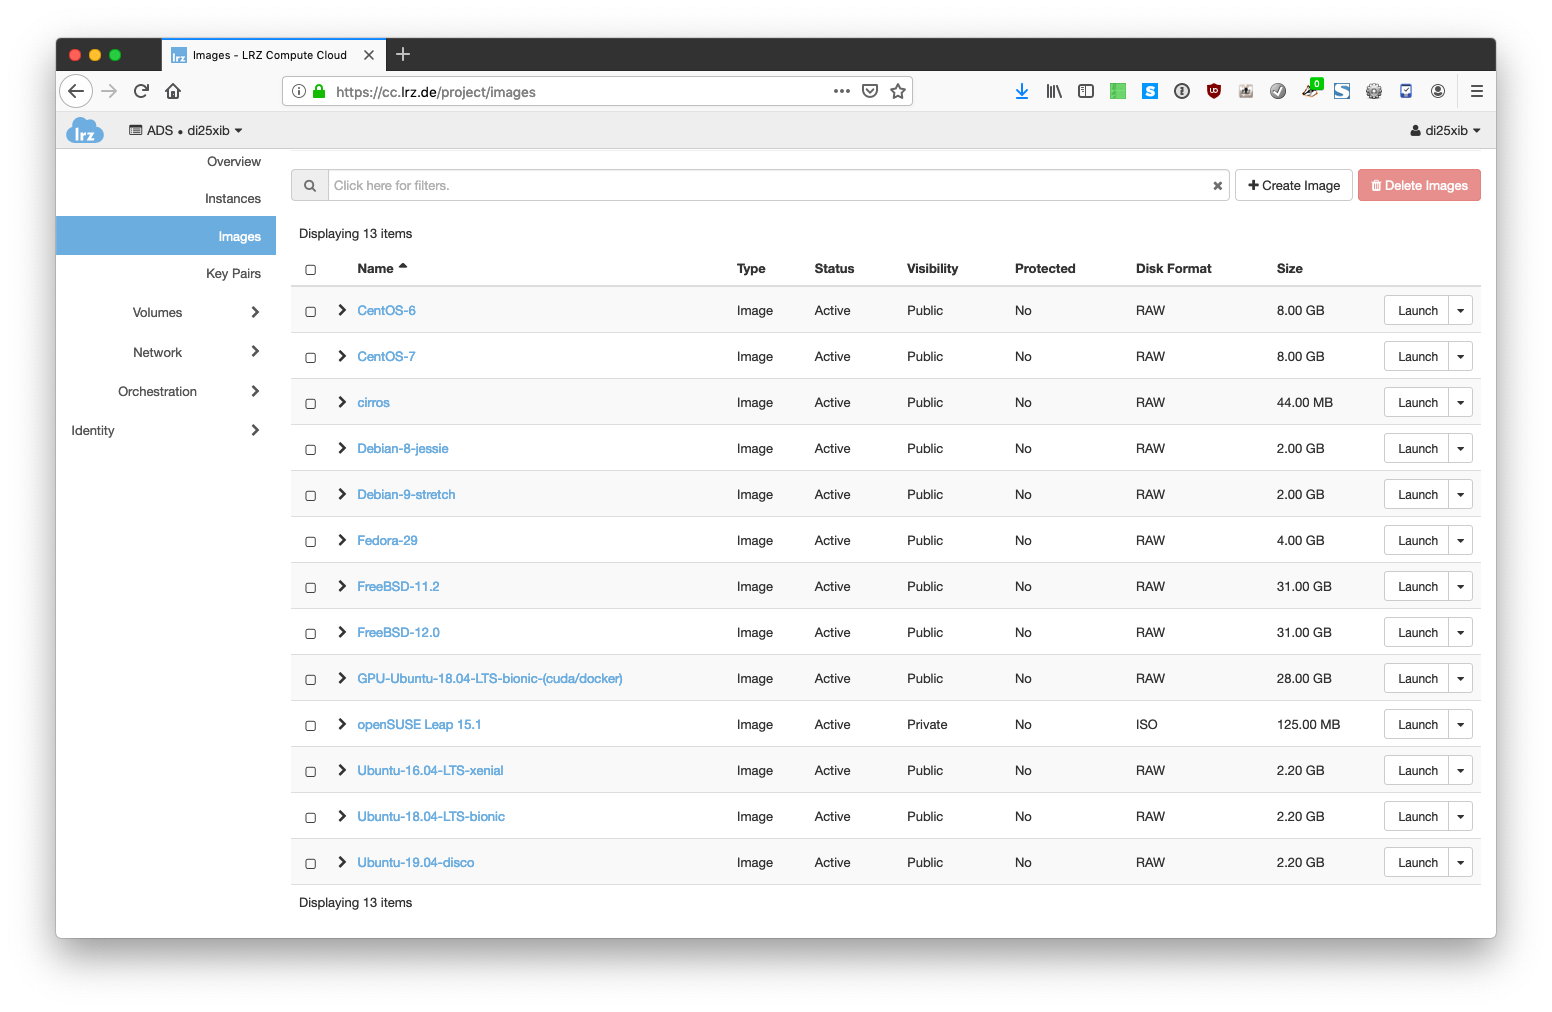
- Before you begin to create a virtual machine you need to download an installation ISO file for the particular operating system. It is sufficient to download a "netinst" ISO if available. These images are used to boot and initialize the installation process before recent versions of the packages to install are downloaded directly from the repository of the distributor.
- Create a volume to install the operating system on
- Change to Volumes → Volumes and click the "Create Volume" button. Provide a Volume Name that and specify the desired Size of the volume. Make sure that it is big enough to hold the operating system to install and all applications you need.

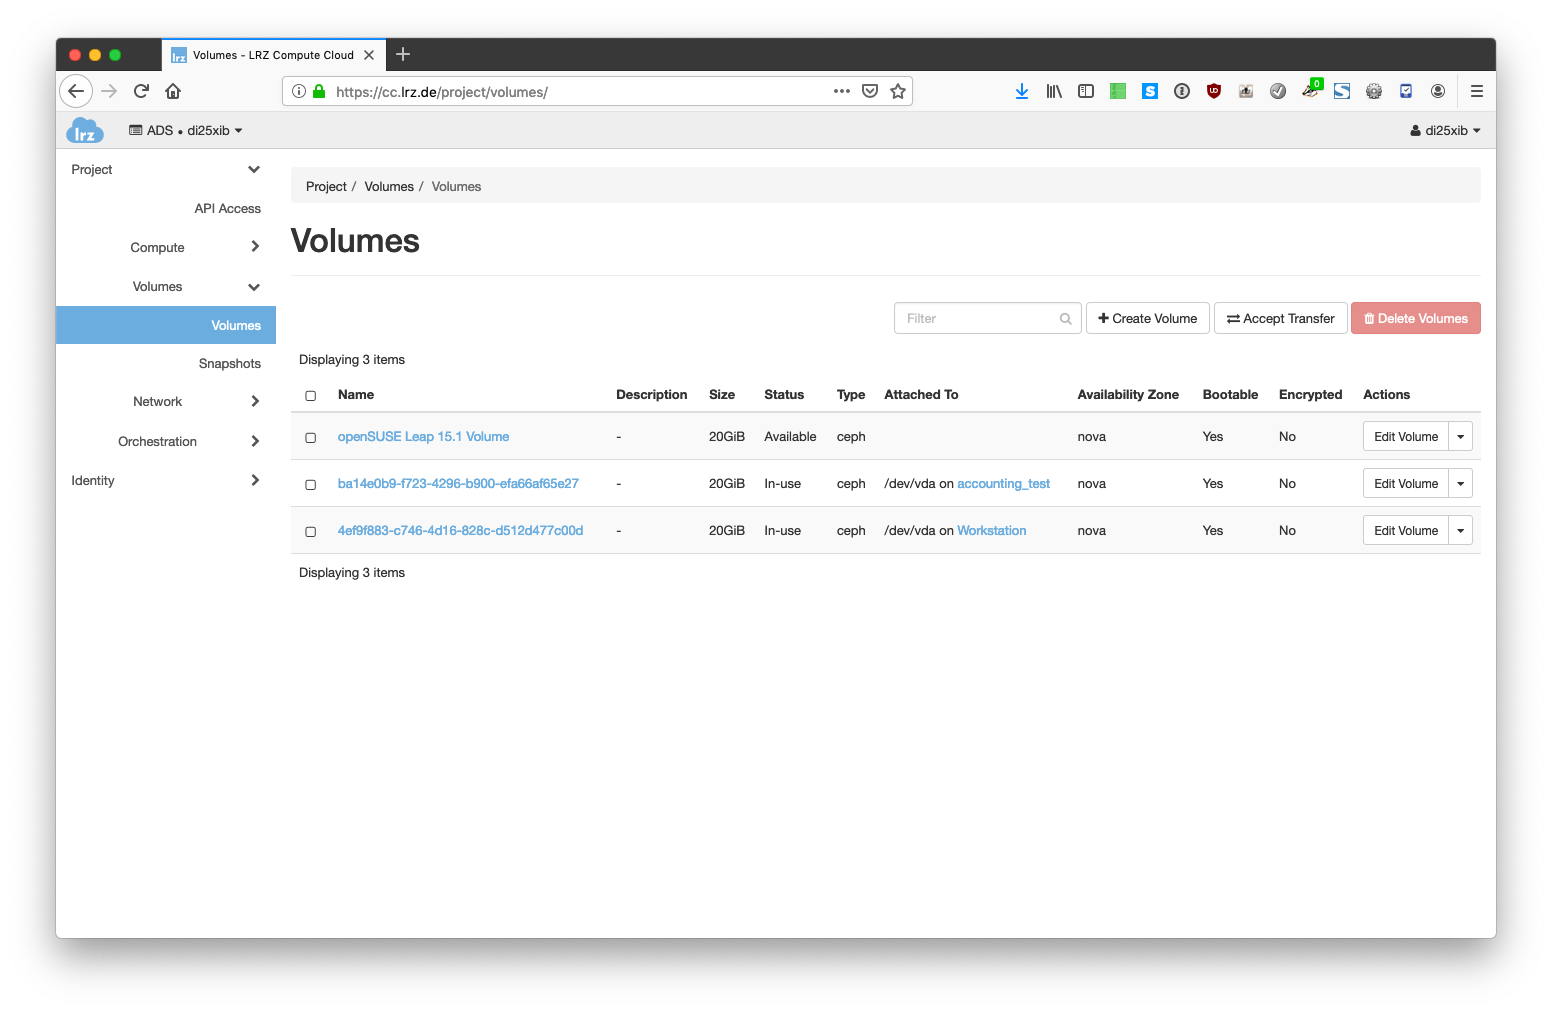
- After clicking on "Create Volume" you will find the new volume on the overview page.
- Change to Volumes → Volumes and click the "Create Volume" button. Provide a Volume Name that and specify the desired Size of the volume. Make sure that it is big enough to hold the operating system to install and all applications you need.
- Launch Instance to install the operating system
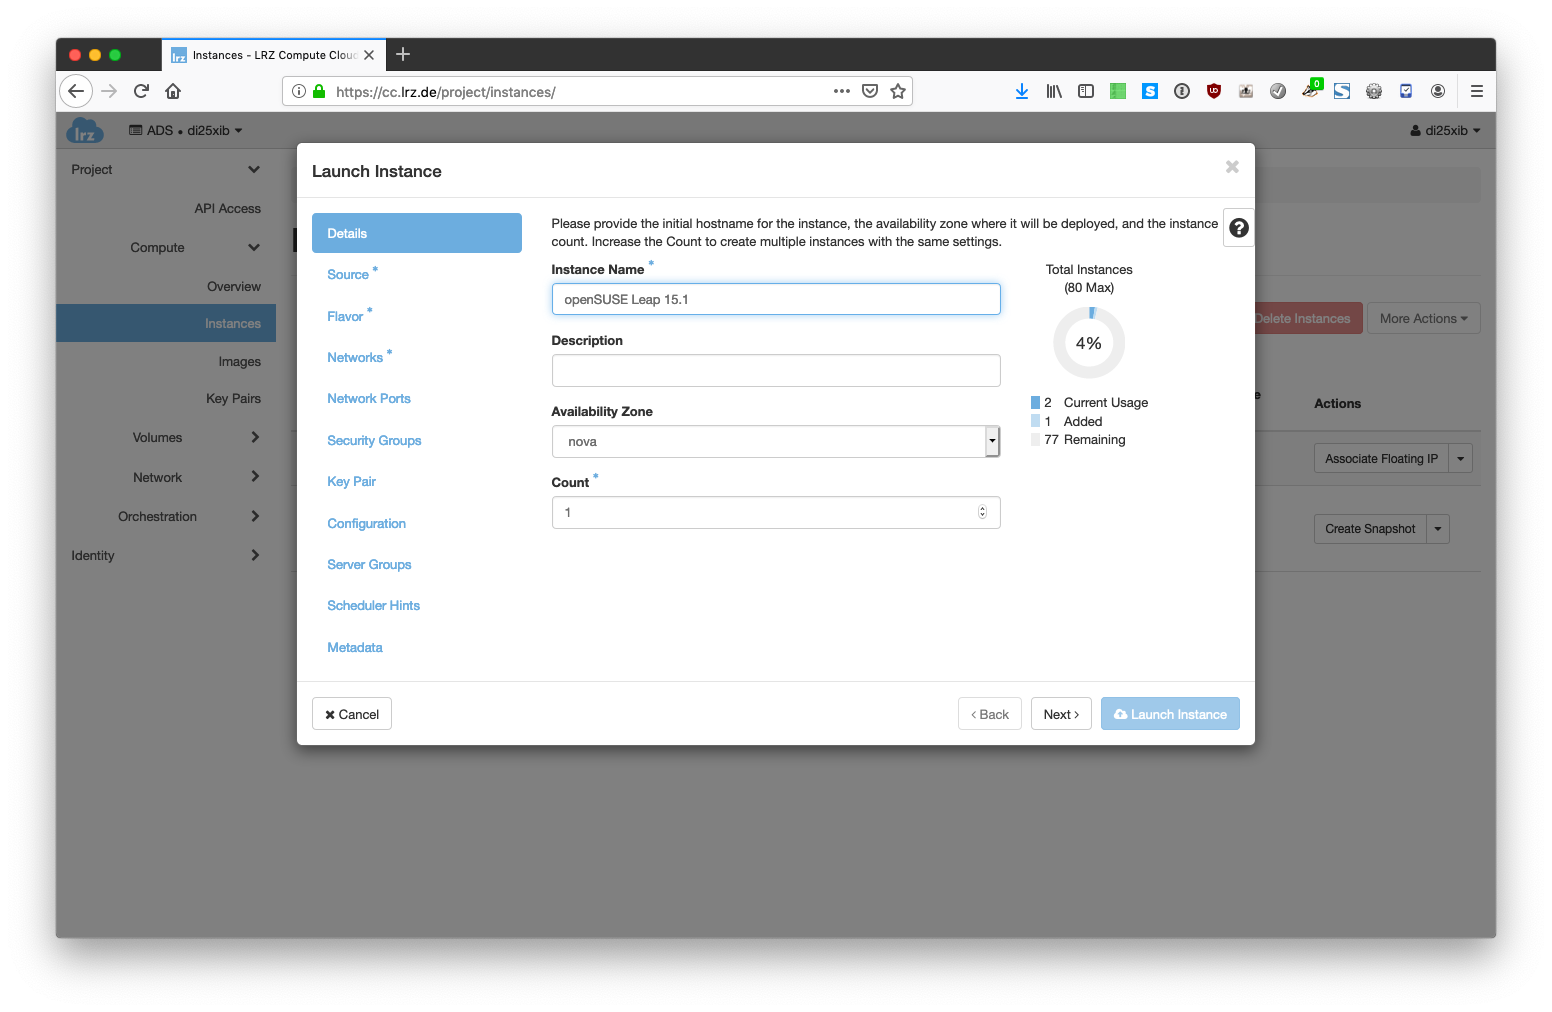
- Change to Compute → Instances and click on the "Launch Instance" button. Provide a name for the instance to launch.
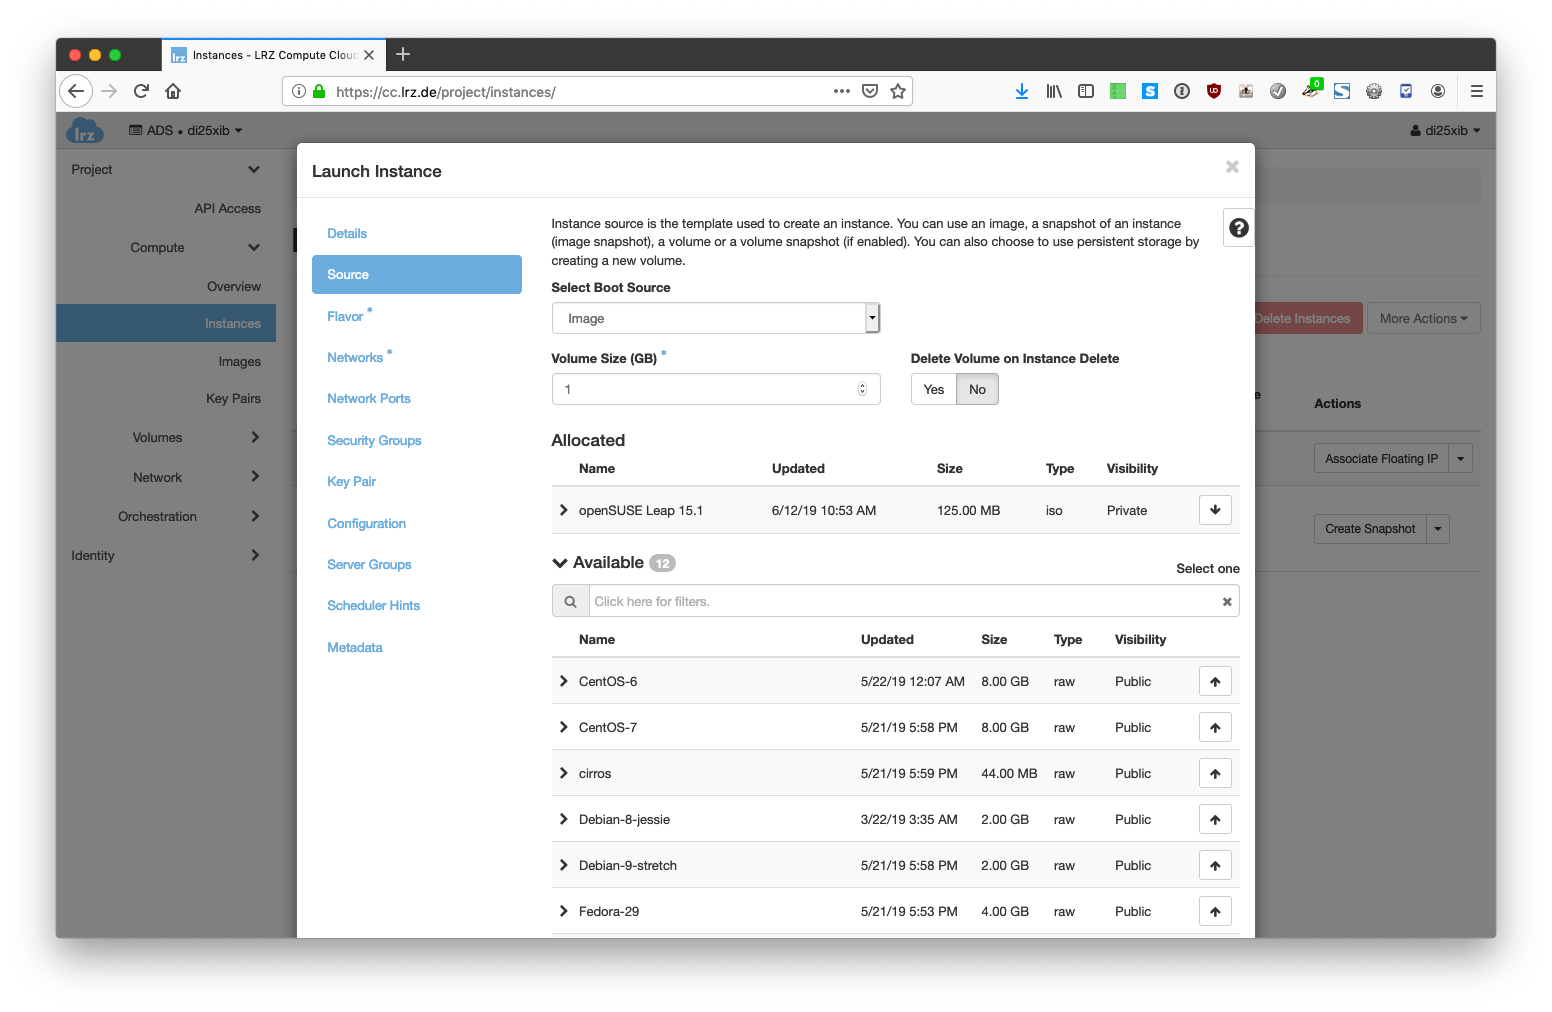
- Click on "Source" and specify the Volume Size as needed. Then click on the up arrow right next to the image you have created a couple of moments ago.
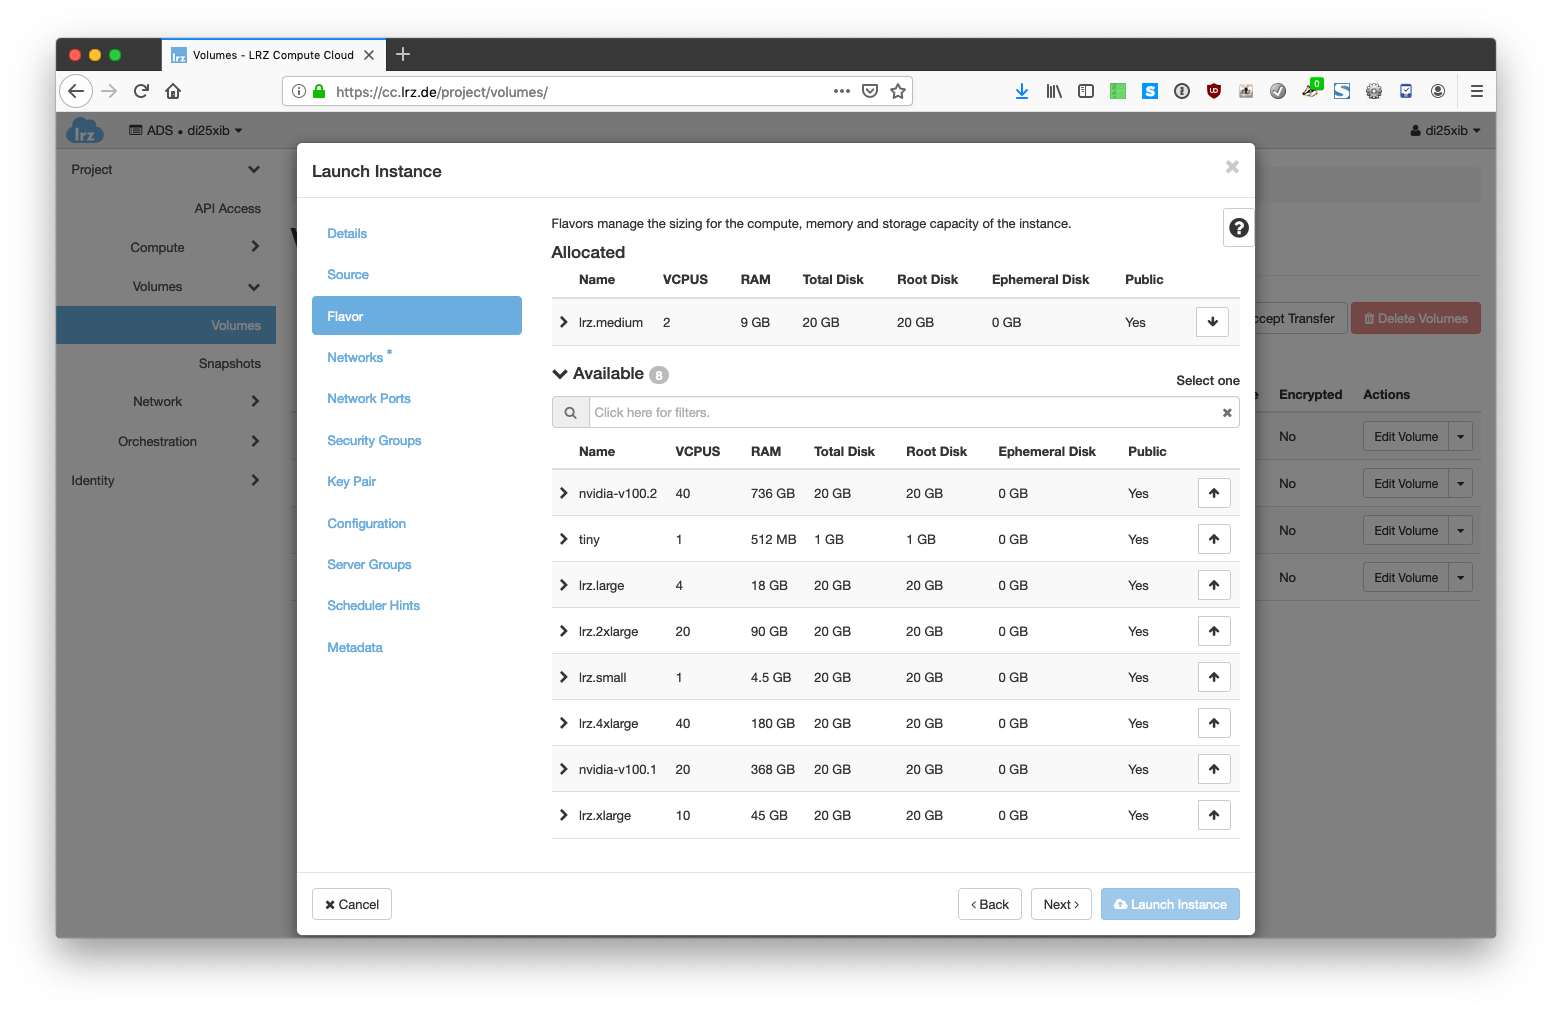
- Select the "Flavor" matching your needs (and quota
 ) by clicking on the up arrow right next to it.
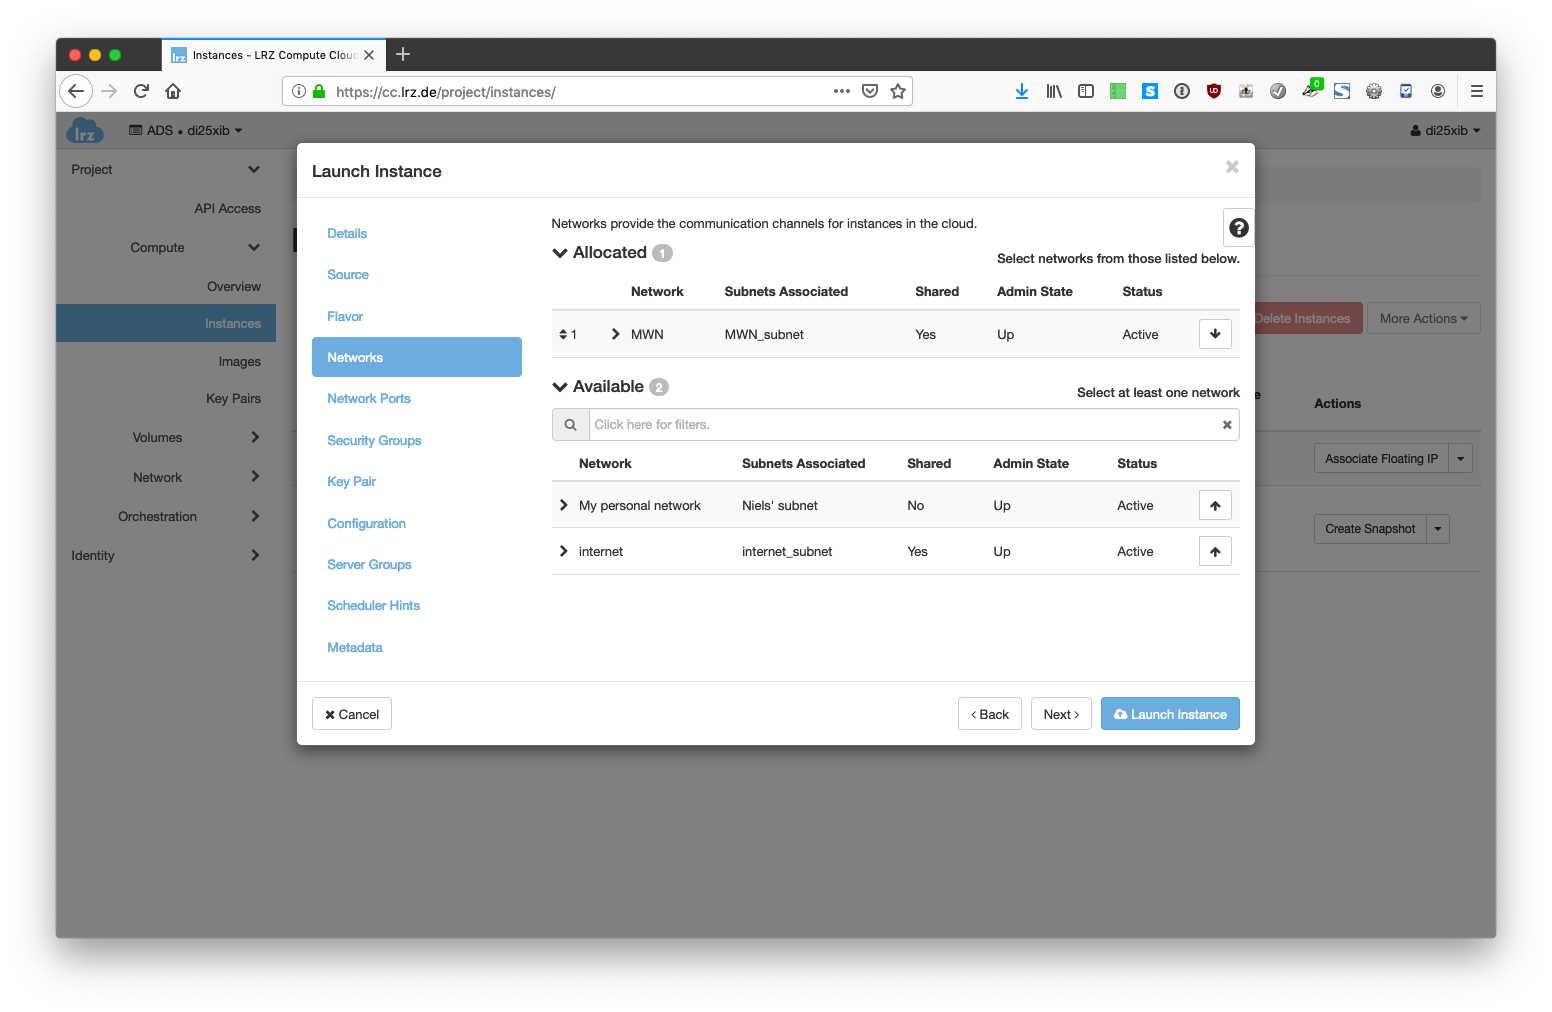
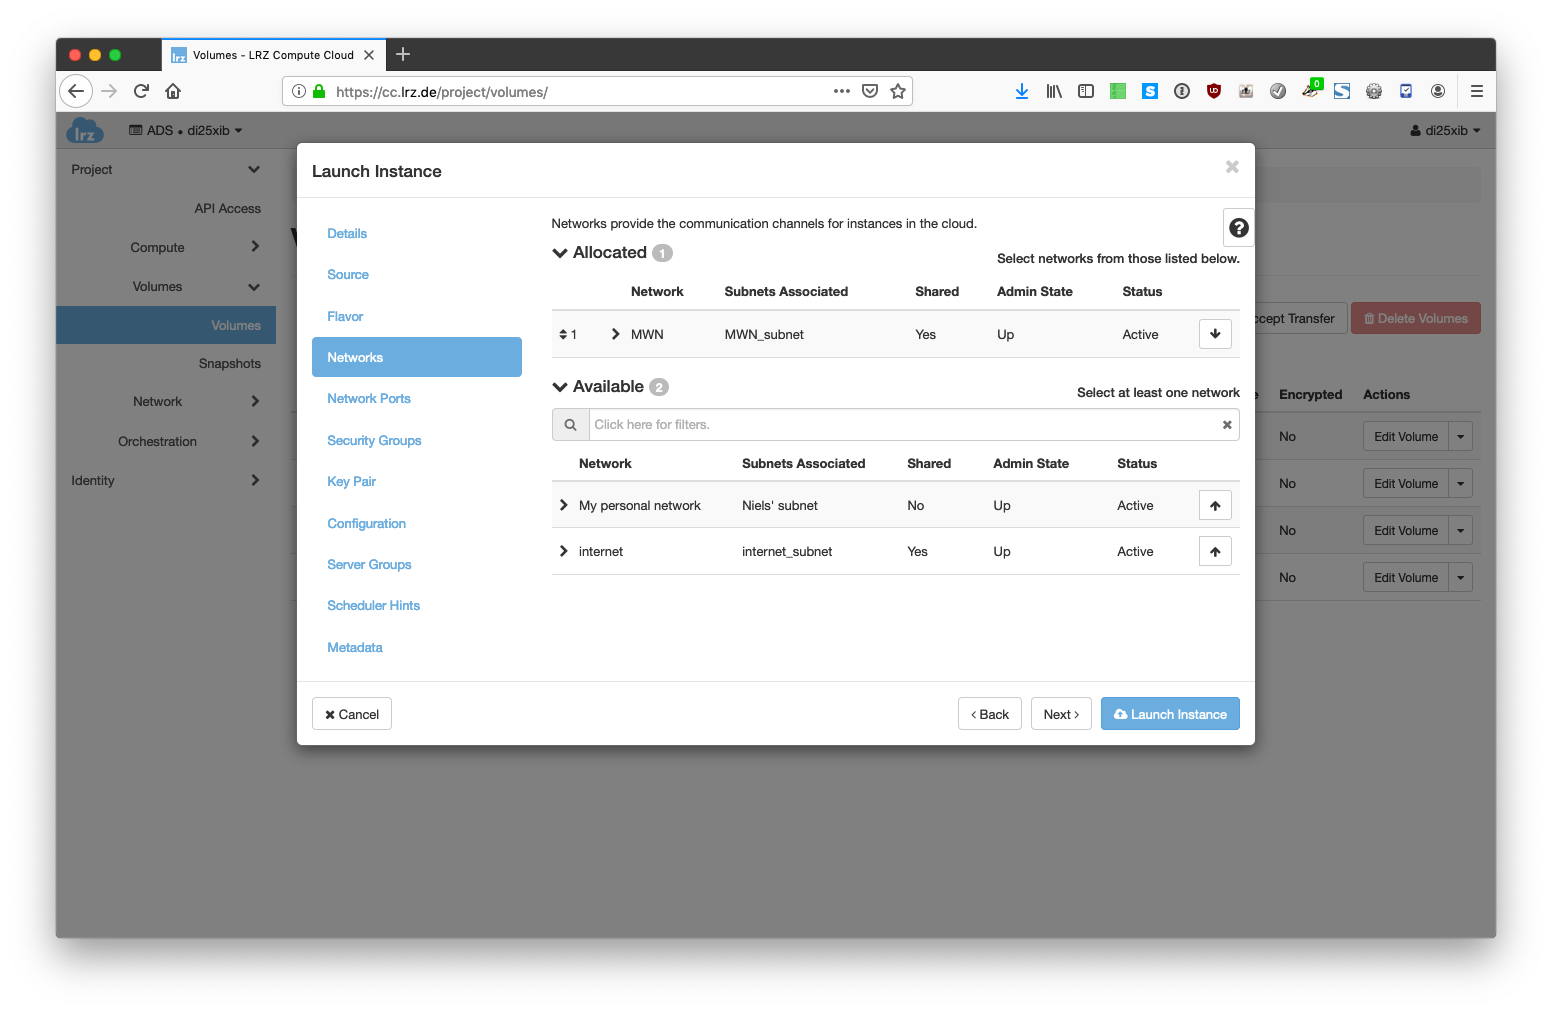
- Select a network by clicking on the arrow. In some cases it might make sense to create a private network as described in a different tutorial.
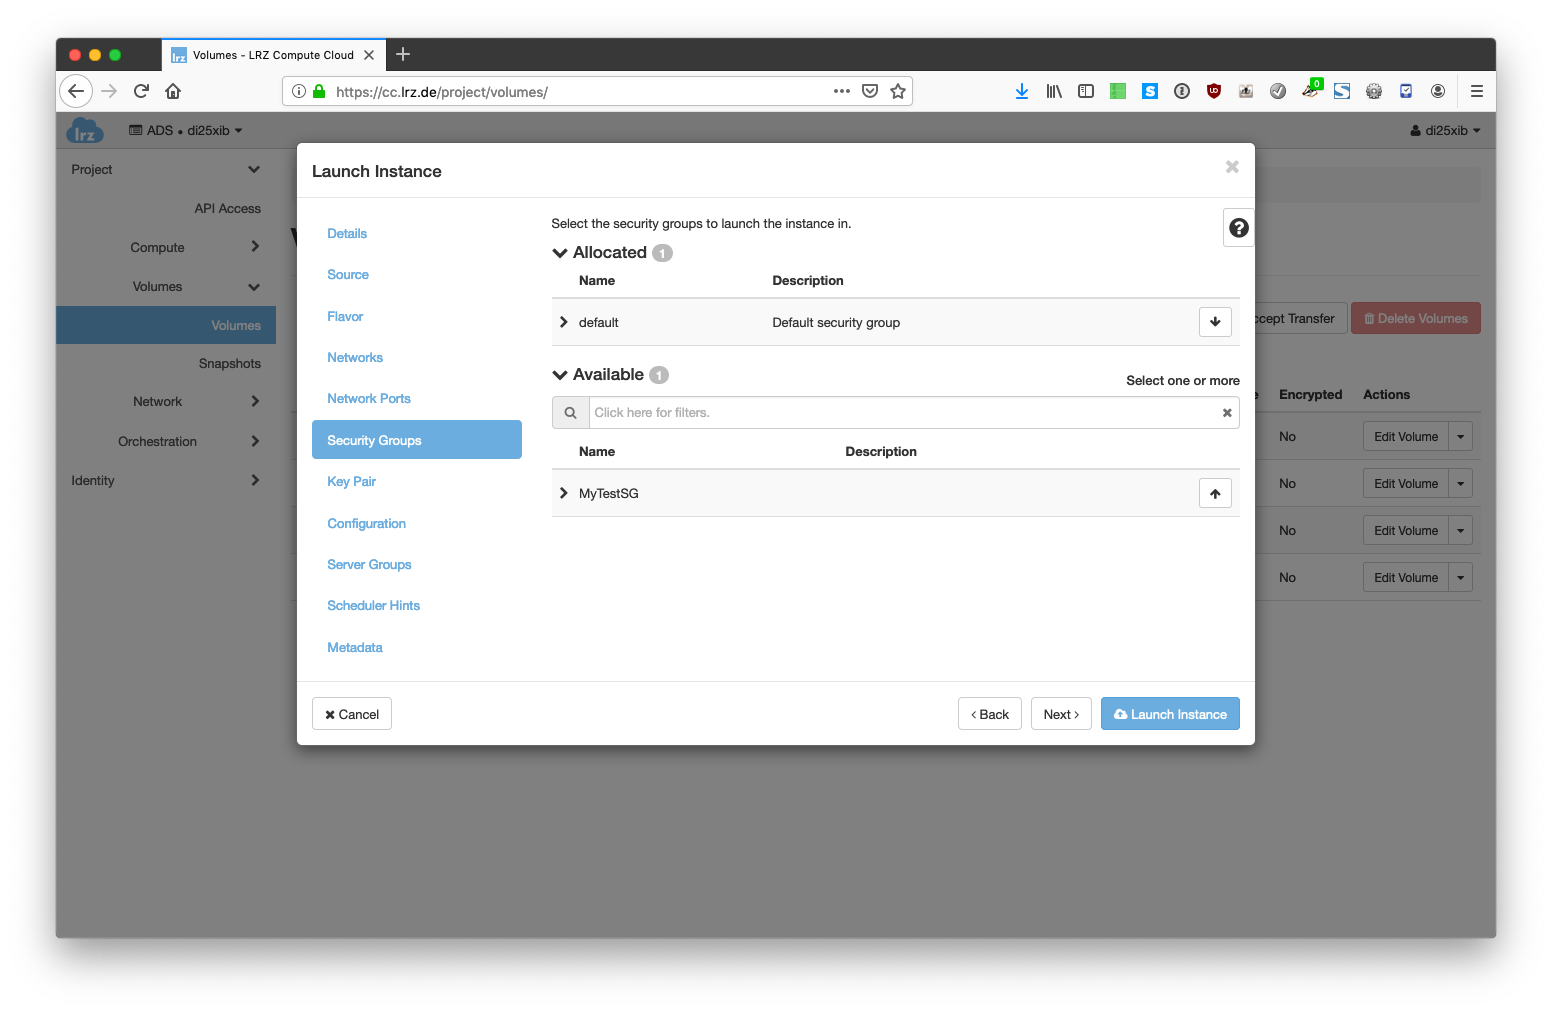
- You neither take care of the "Security Groups" or the "Key Pair" - we will use the built-in console to install the operating system. You only need to take care of the "Security Groups" section if you need to access the VM during installation from the outside.
- Click "Launch Instance" to create the instance.
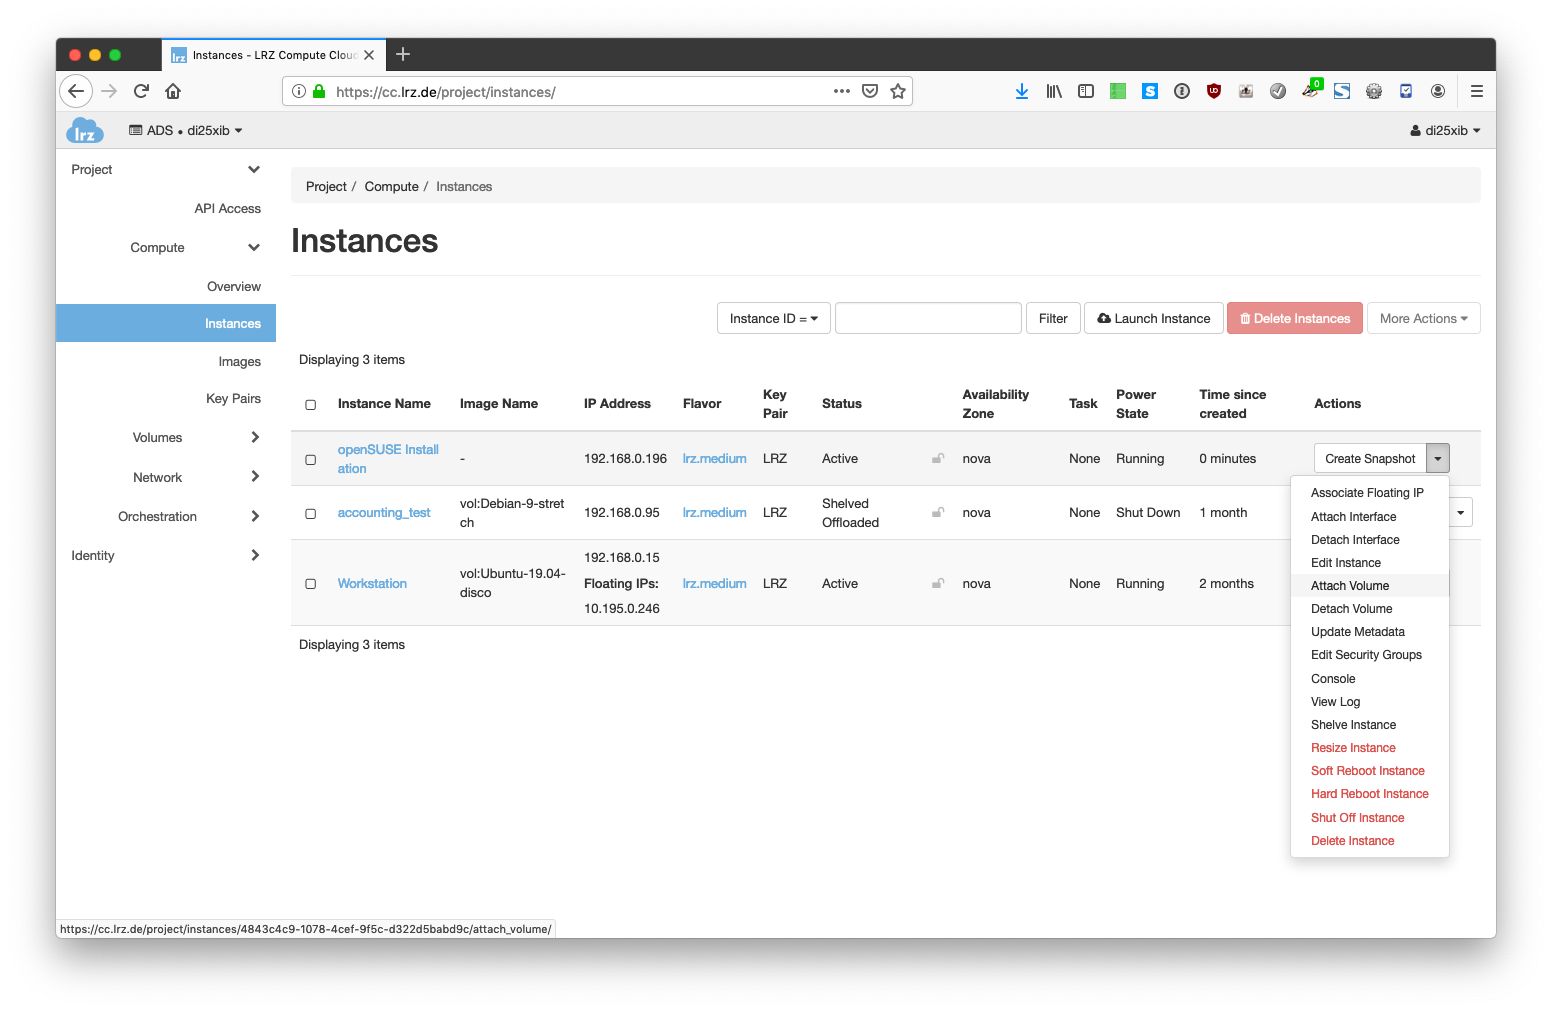
- You will see that the new instance can be found in your instances overview page. When the instance is in status "Active" click on the dropdown menu right next to it and select "Attach Volume".
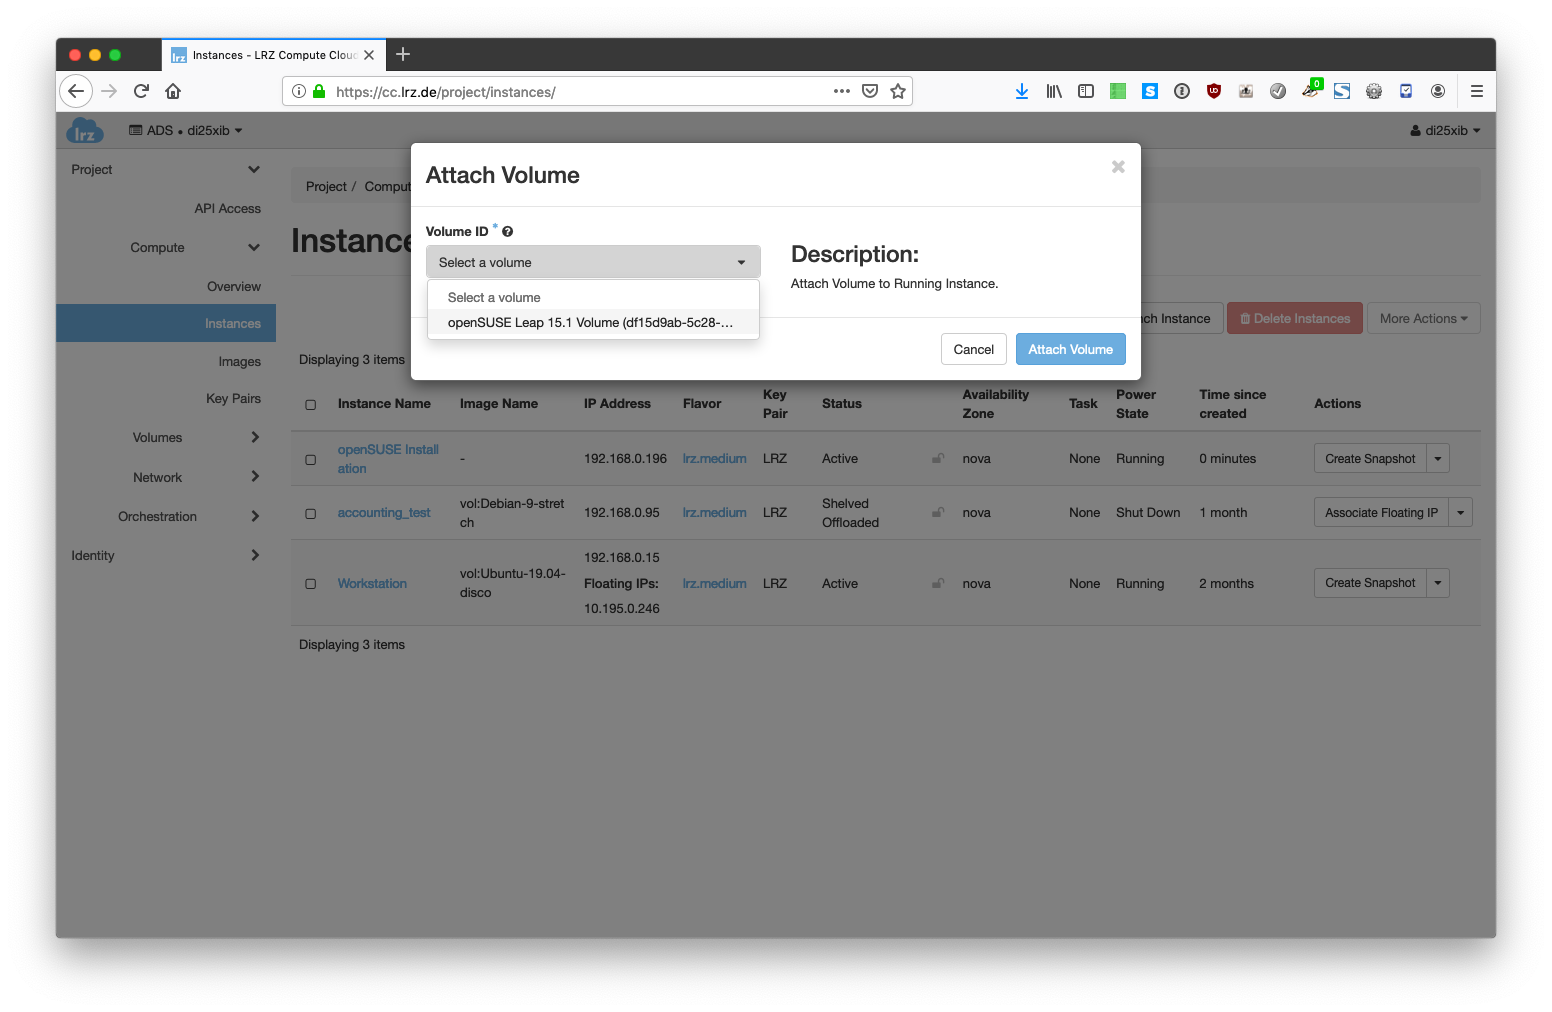
- Select the Volume that you have created earlier.
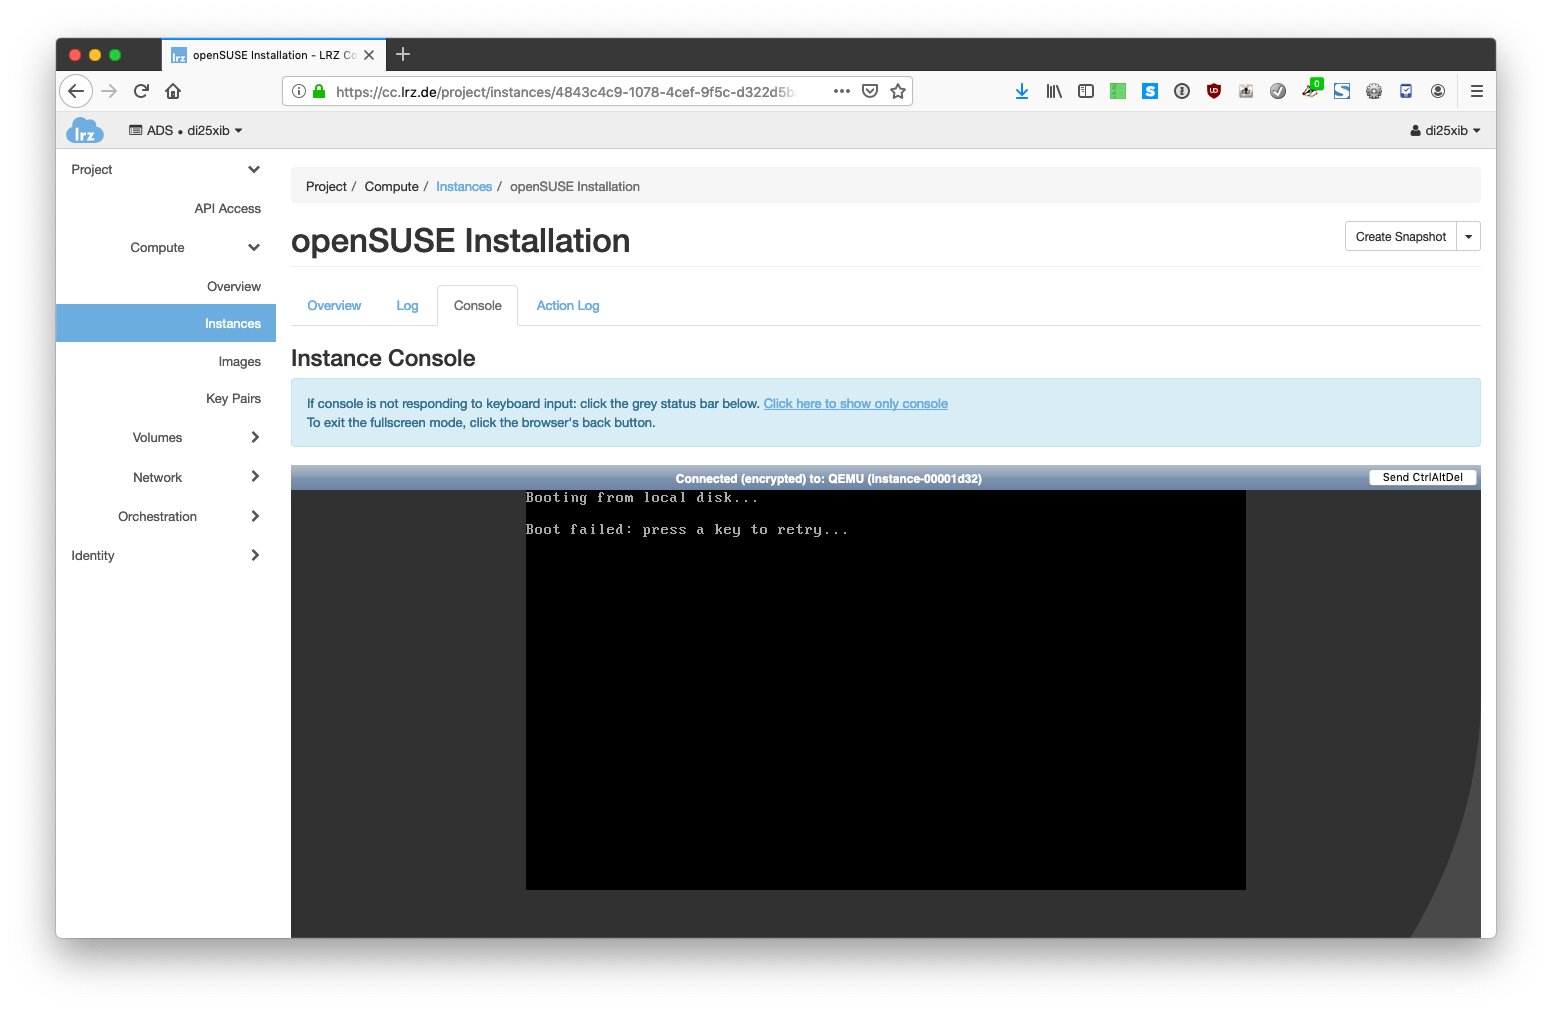
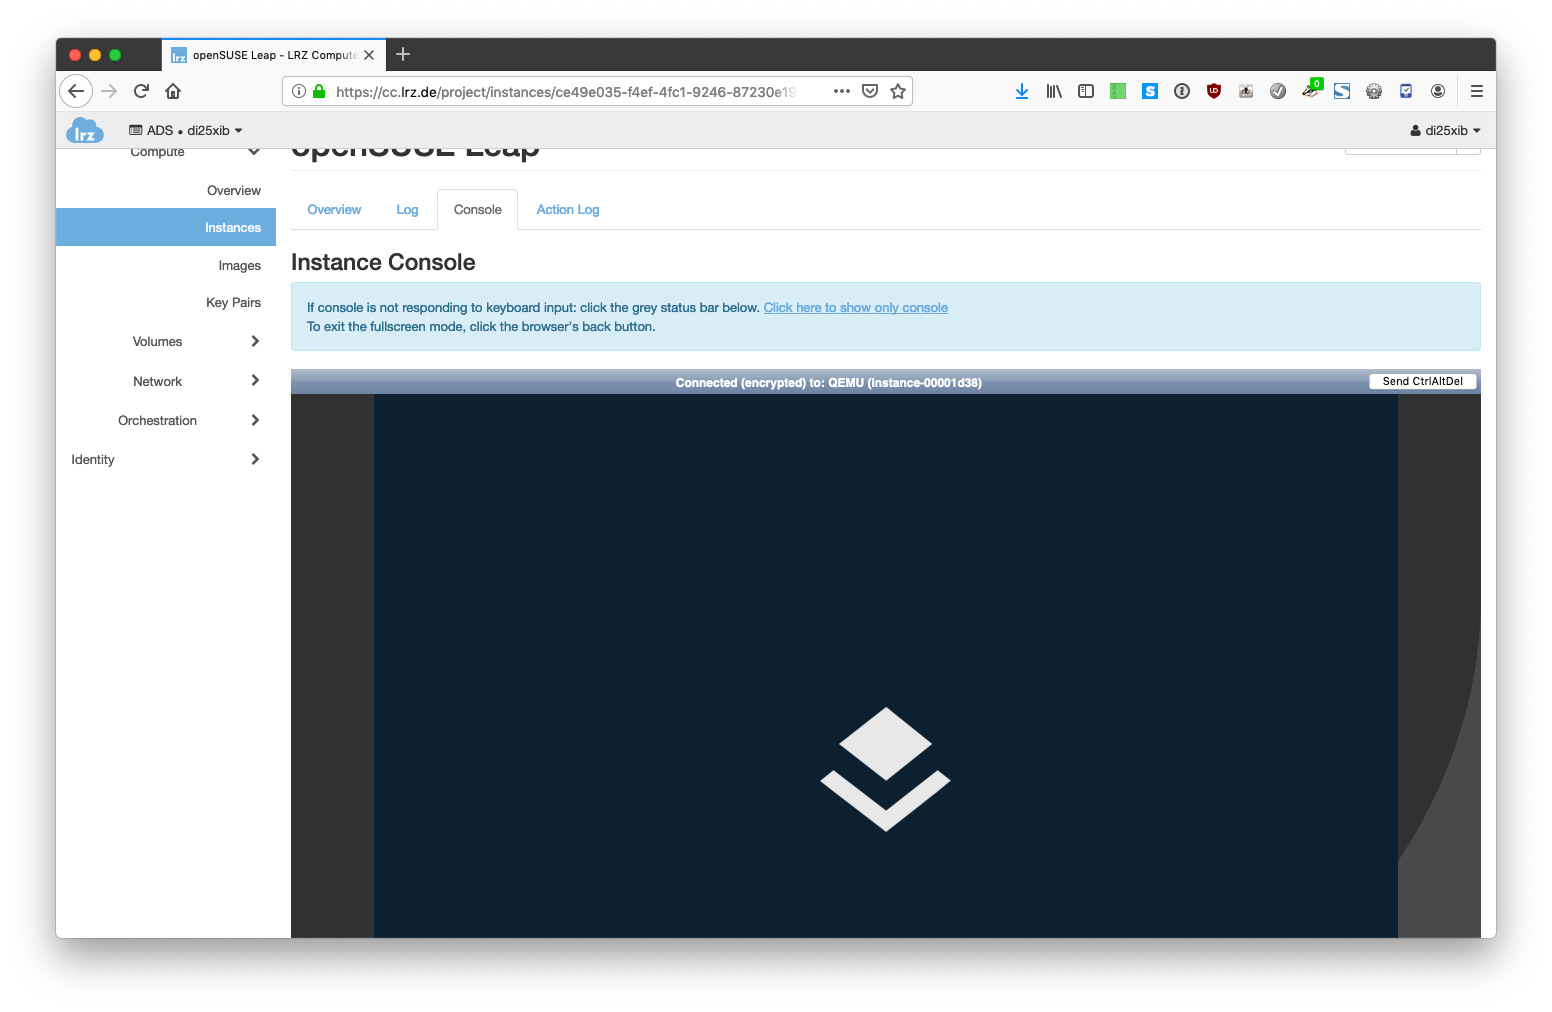
- When the volume has been attached click on the instance's dropdown menu and select "Console".

- When the console has launched, you should hit the "Send CtrlAltDel" button on the upper right of the console. This triggers a reboot and makes sure that the operation system knows that it has 2 volumes available.
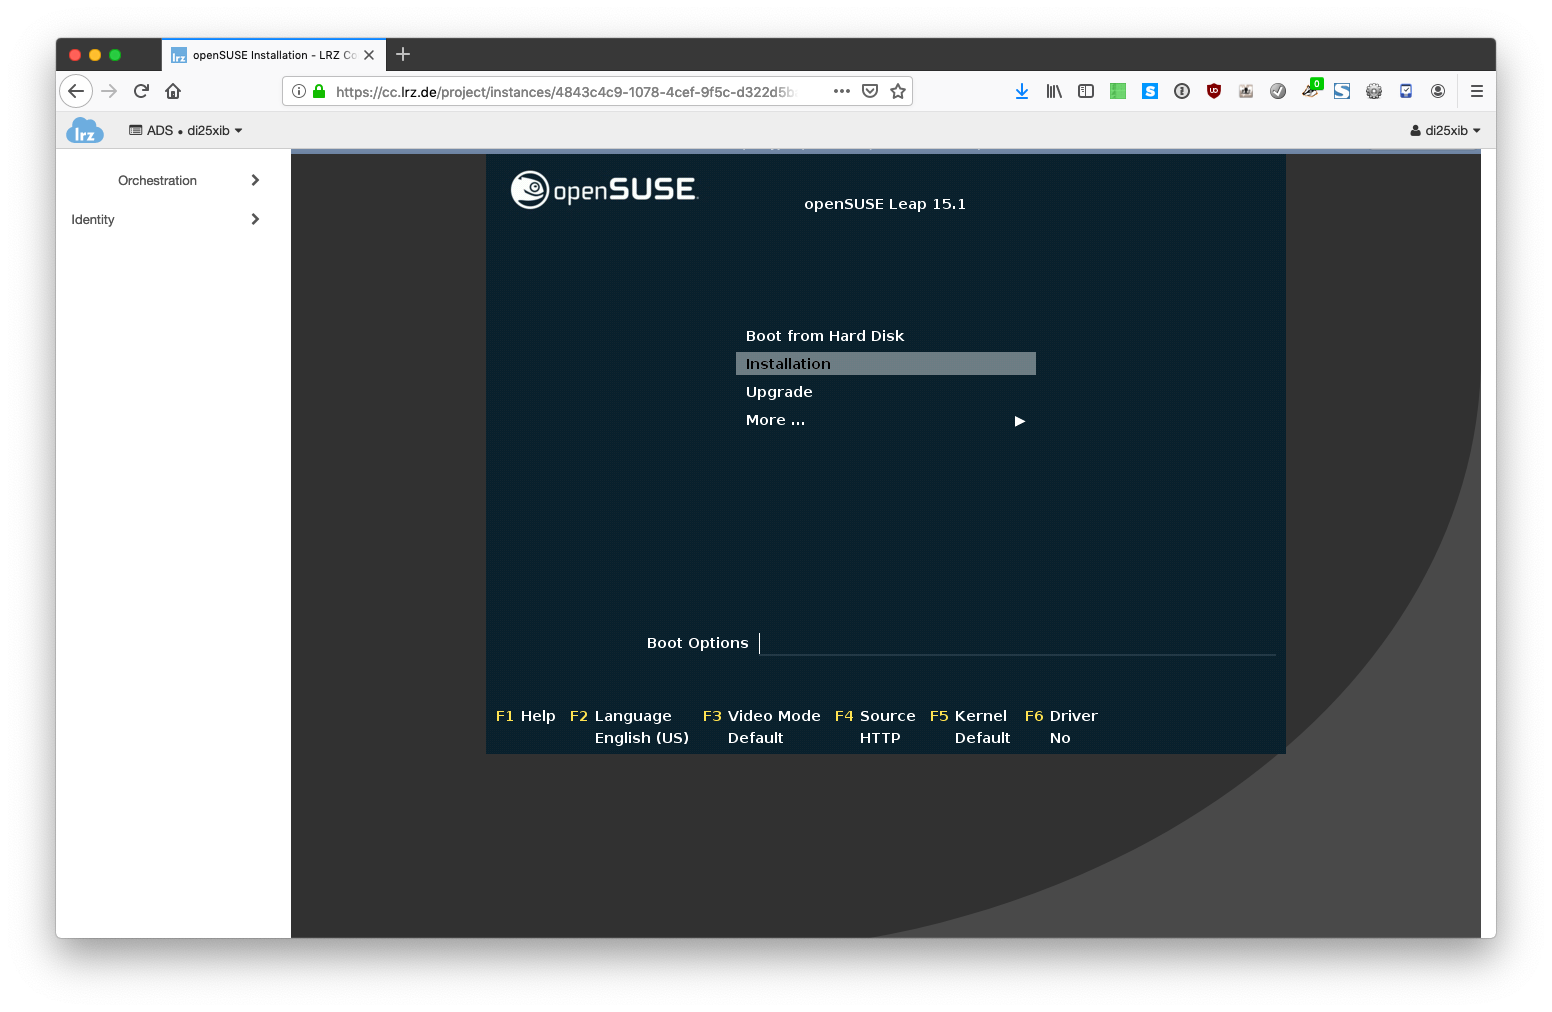
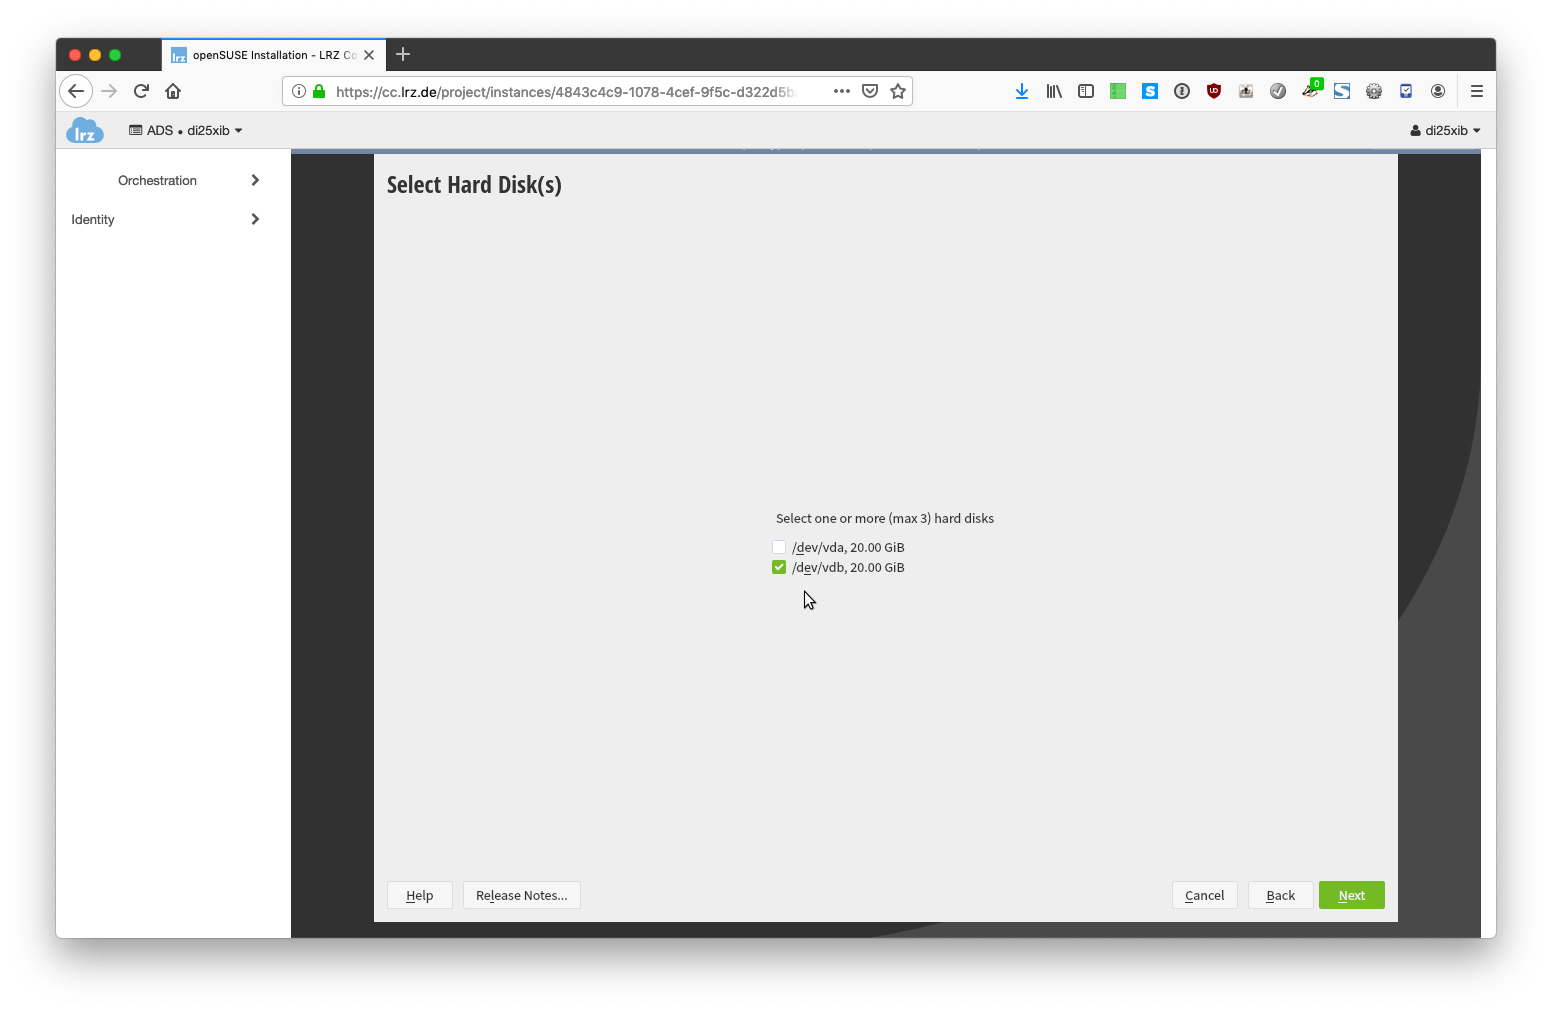
- There is one important think you need to make sure: You need to install the operating system on the second volume (vdb)!
The installations steps below are openSUSE specific and might be different for the OS you are about to install. However, I will shortly describe how to install openSUSE on the second volume. It might give you some valuable hints as well even if you install a different OS.- After several minutes down the installation process the installer will reach the partitioning step. You can see that the installer suggests to install the OS to /dev/vda. To change this, click on "Guided Setup"

- You should deselect /dev/vda nand select /dev/vdb
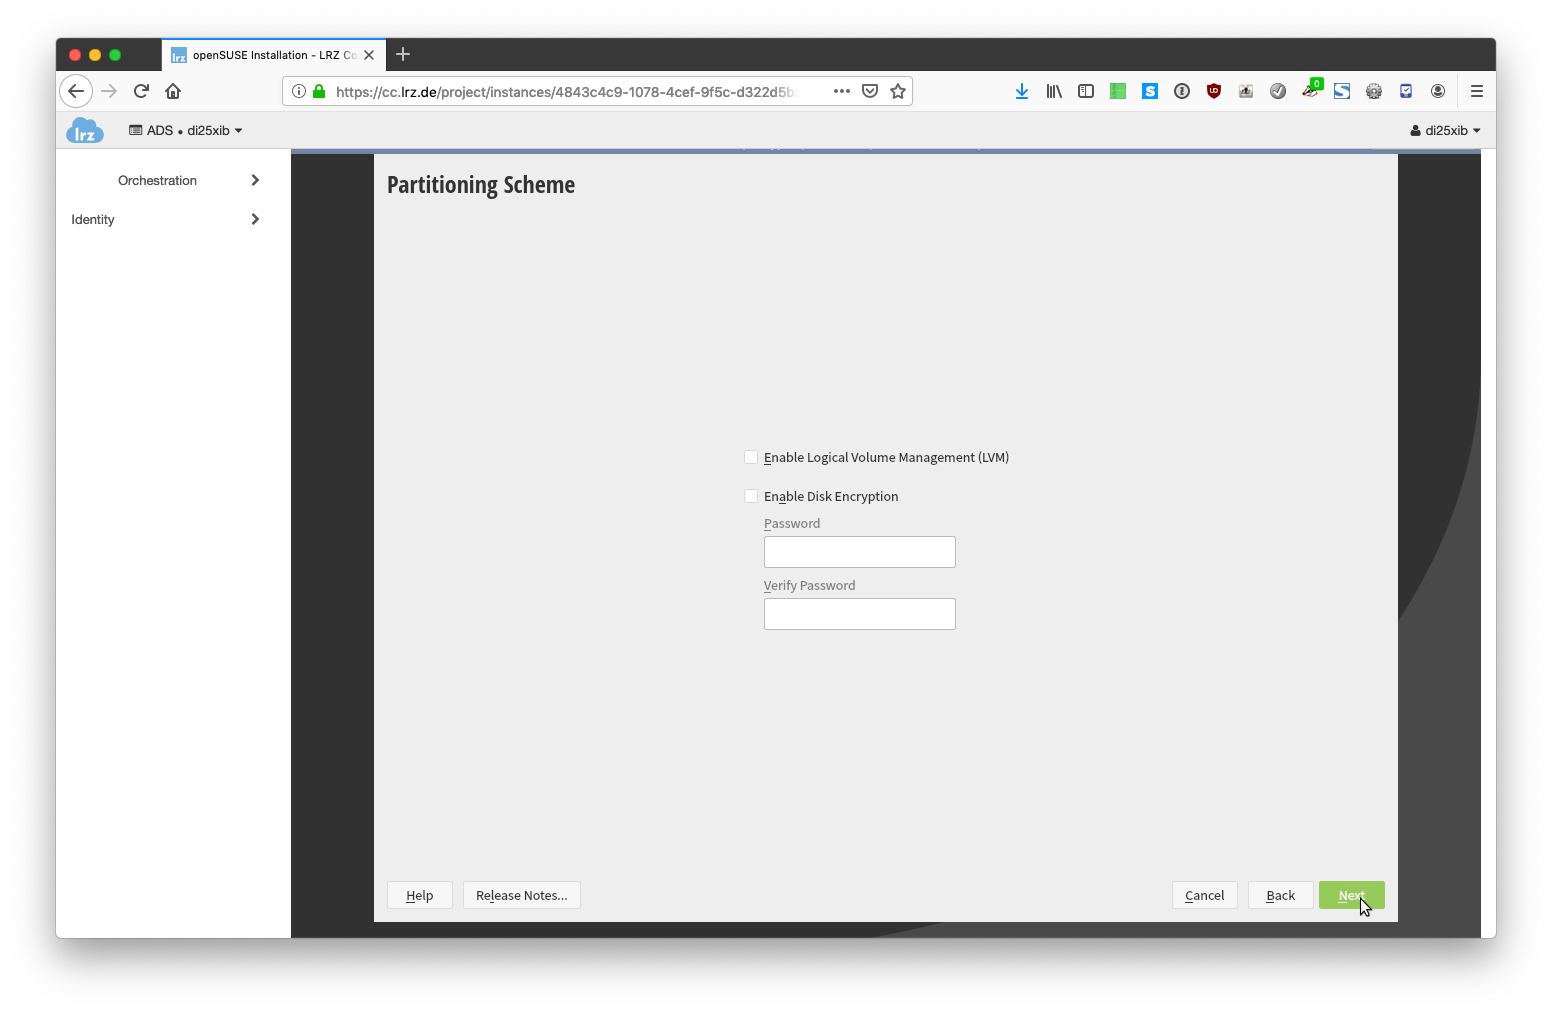
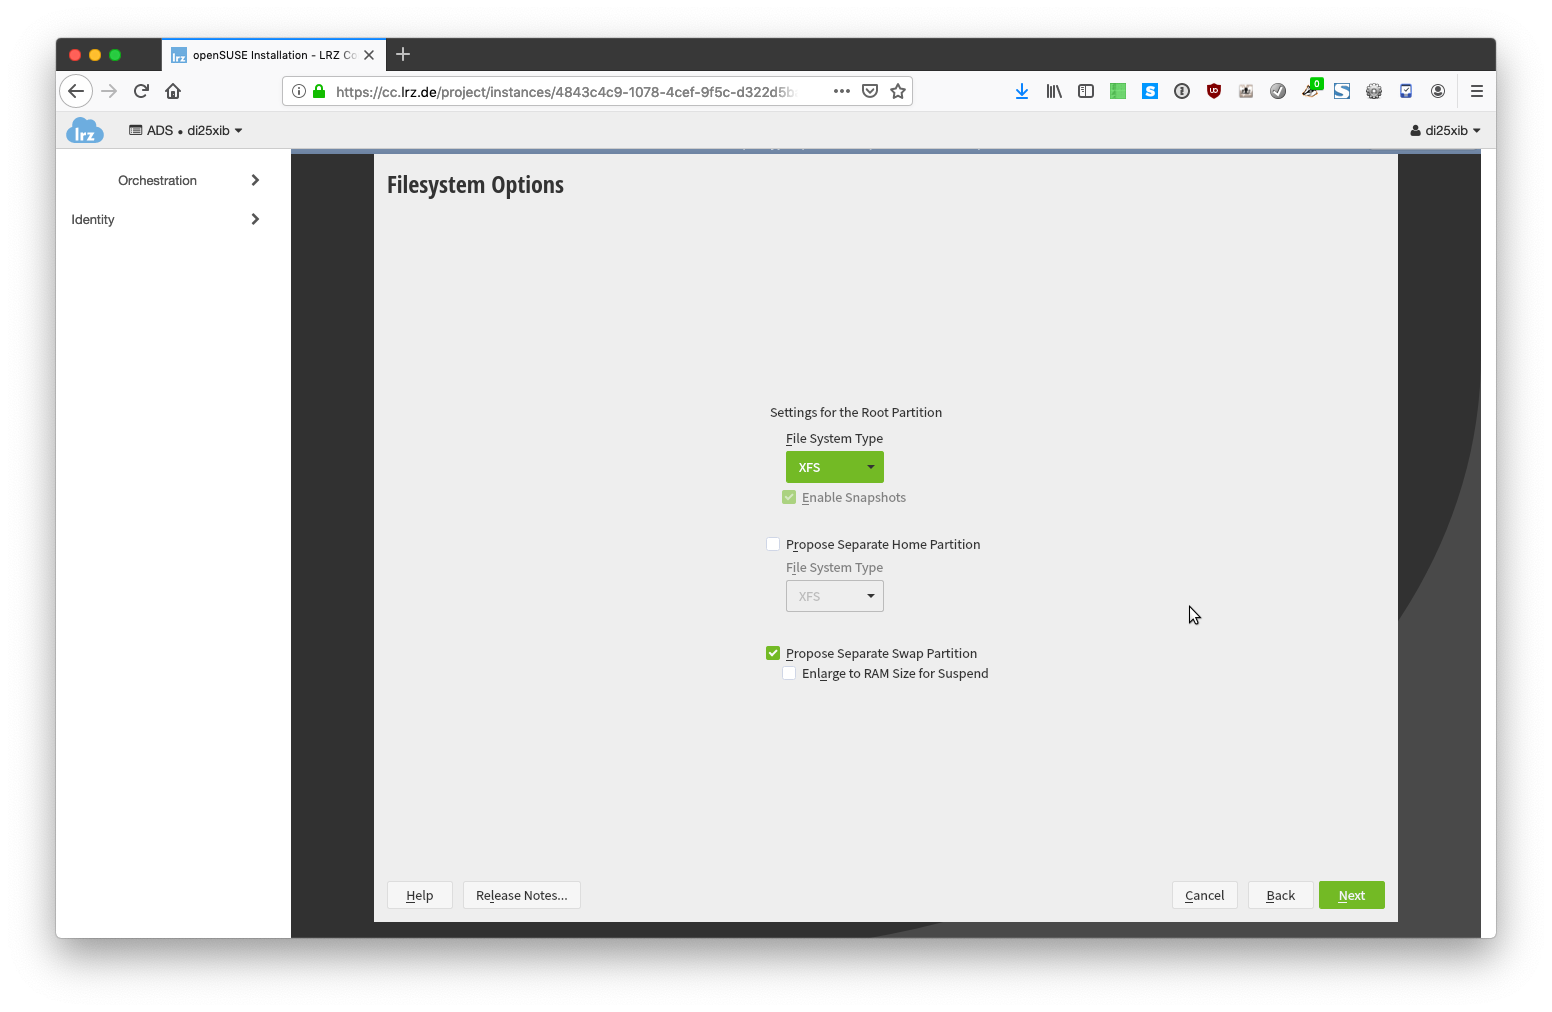
- By default openSUSE would use btrfs as main file system. I have changed this to XFS. A swap partition is also created by default. I did not disable it but you can to make better use of your volume space. Click on "Next".
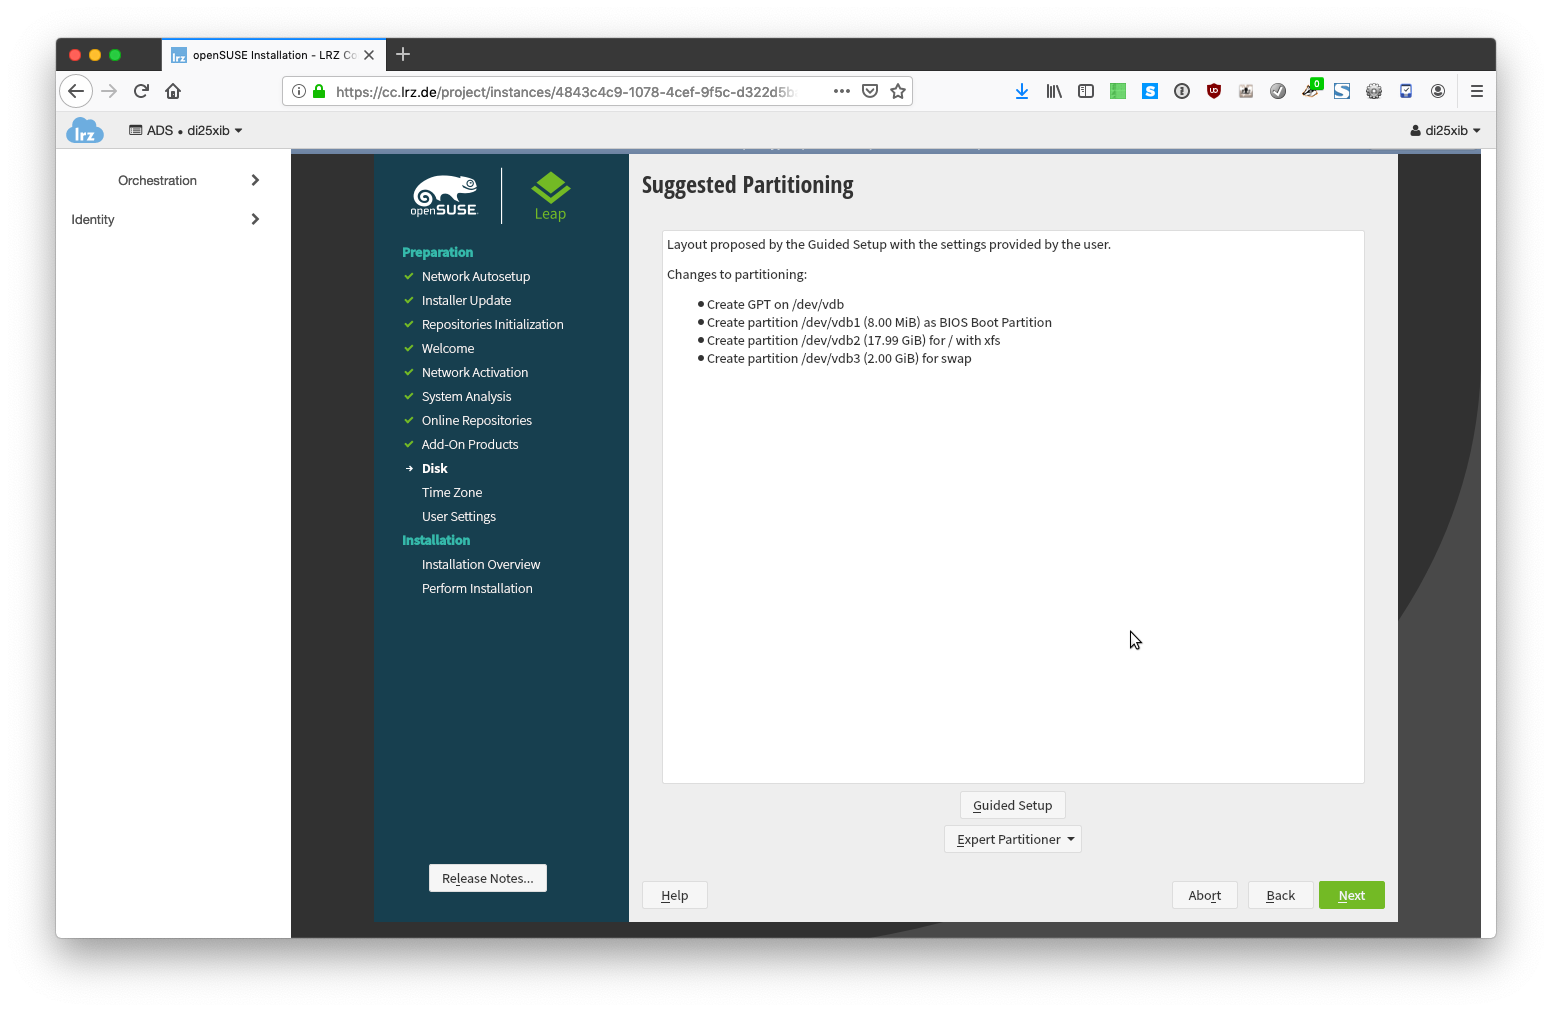
- Check the summary and make sure that only file systems are created on the second volume /dev/vdb. If anything is correct, click on "Next".
- Continue with the installation and follow the steps on the screen.
- After several minutes down the installation process the installer will reach the partitioning step. You can see that the installer suggests to install the OS to /dev/vda. To change this, click on "Guided Setup"
- After finishing the installation you can safely delete the instance you have used for installation. Note that this will not delete the volume which was used to isntall the operating system on.
From the drop down menu on the upper right of the screen select "Delete Instane". This option is also available through the Instances overview page.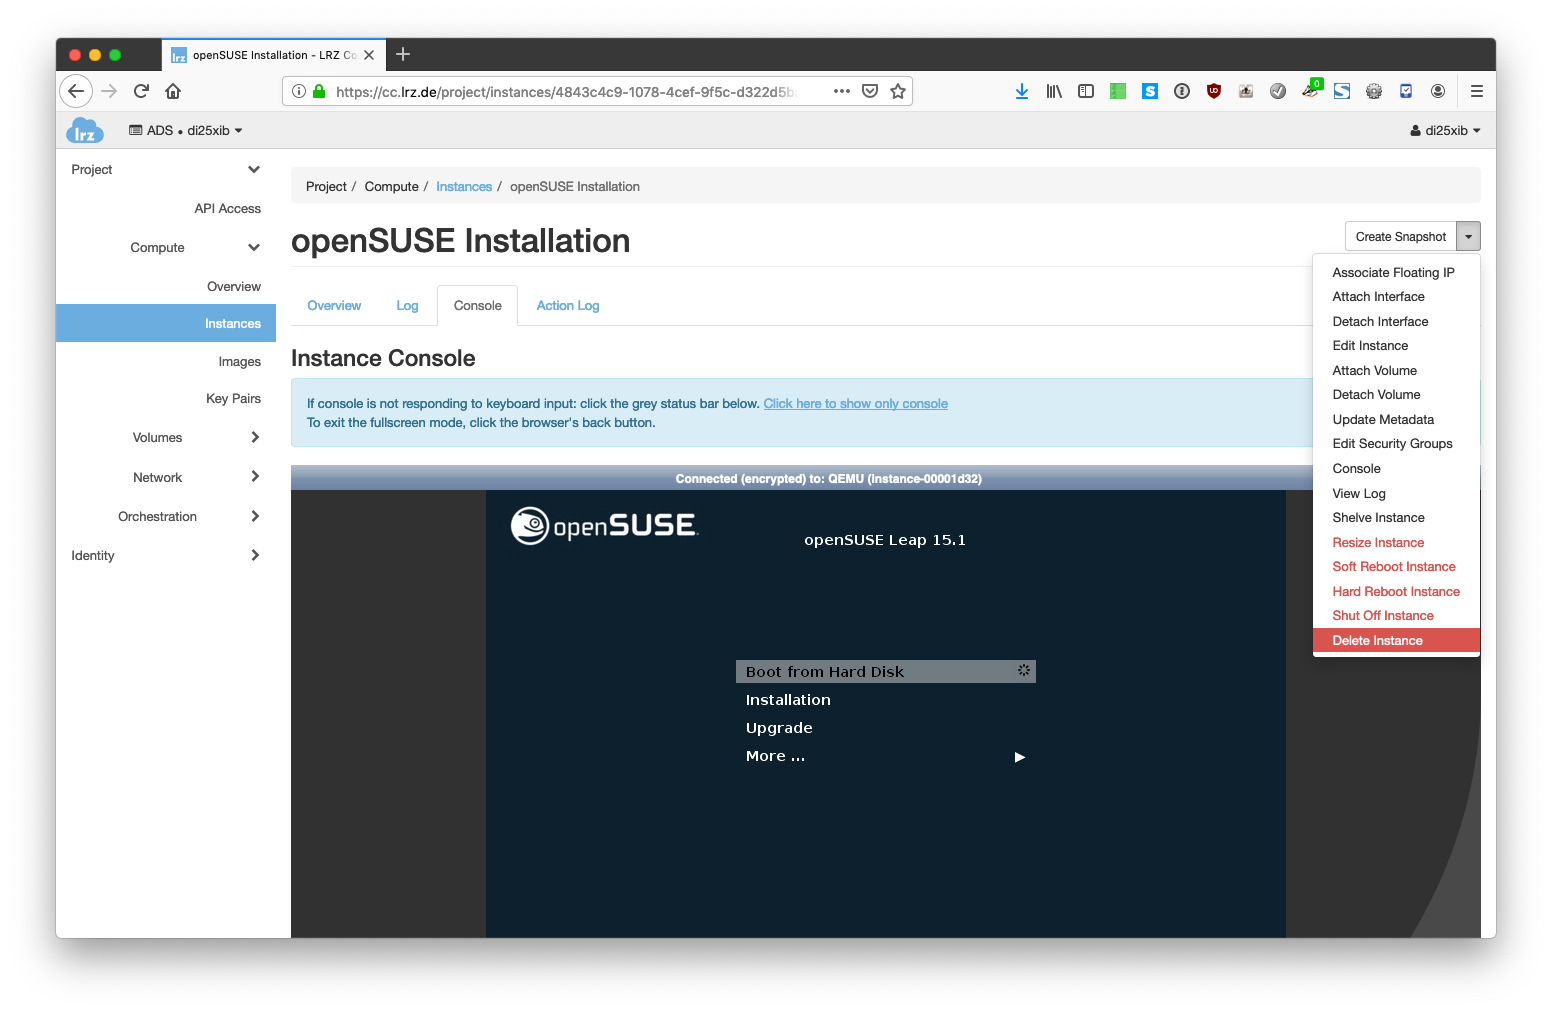
- Change to Compute → Instances and click on the "Launch Instance" button. Provide a name for the instance to launch.
- Boot the newly installed operating system
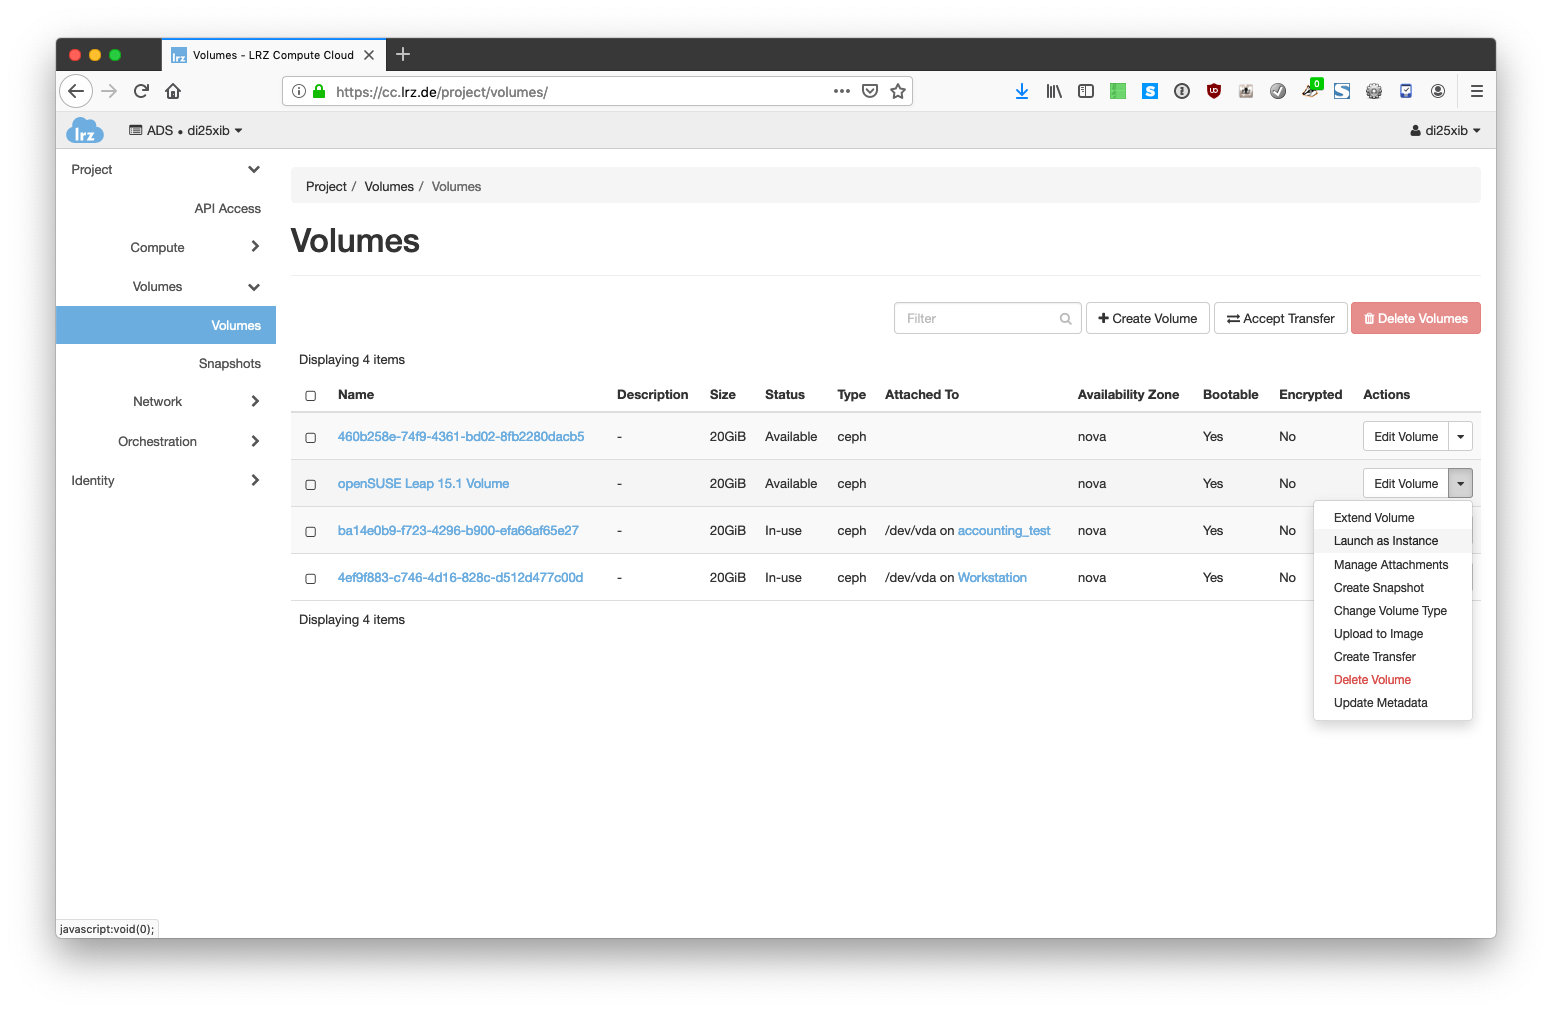
- Go to the volumes overview: Volumes → Volumes
- From the context menu next to the volume you have used to install the image select "Launch as Instance"
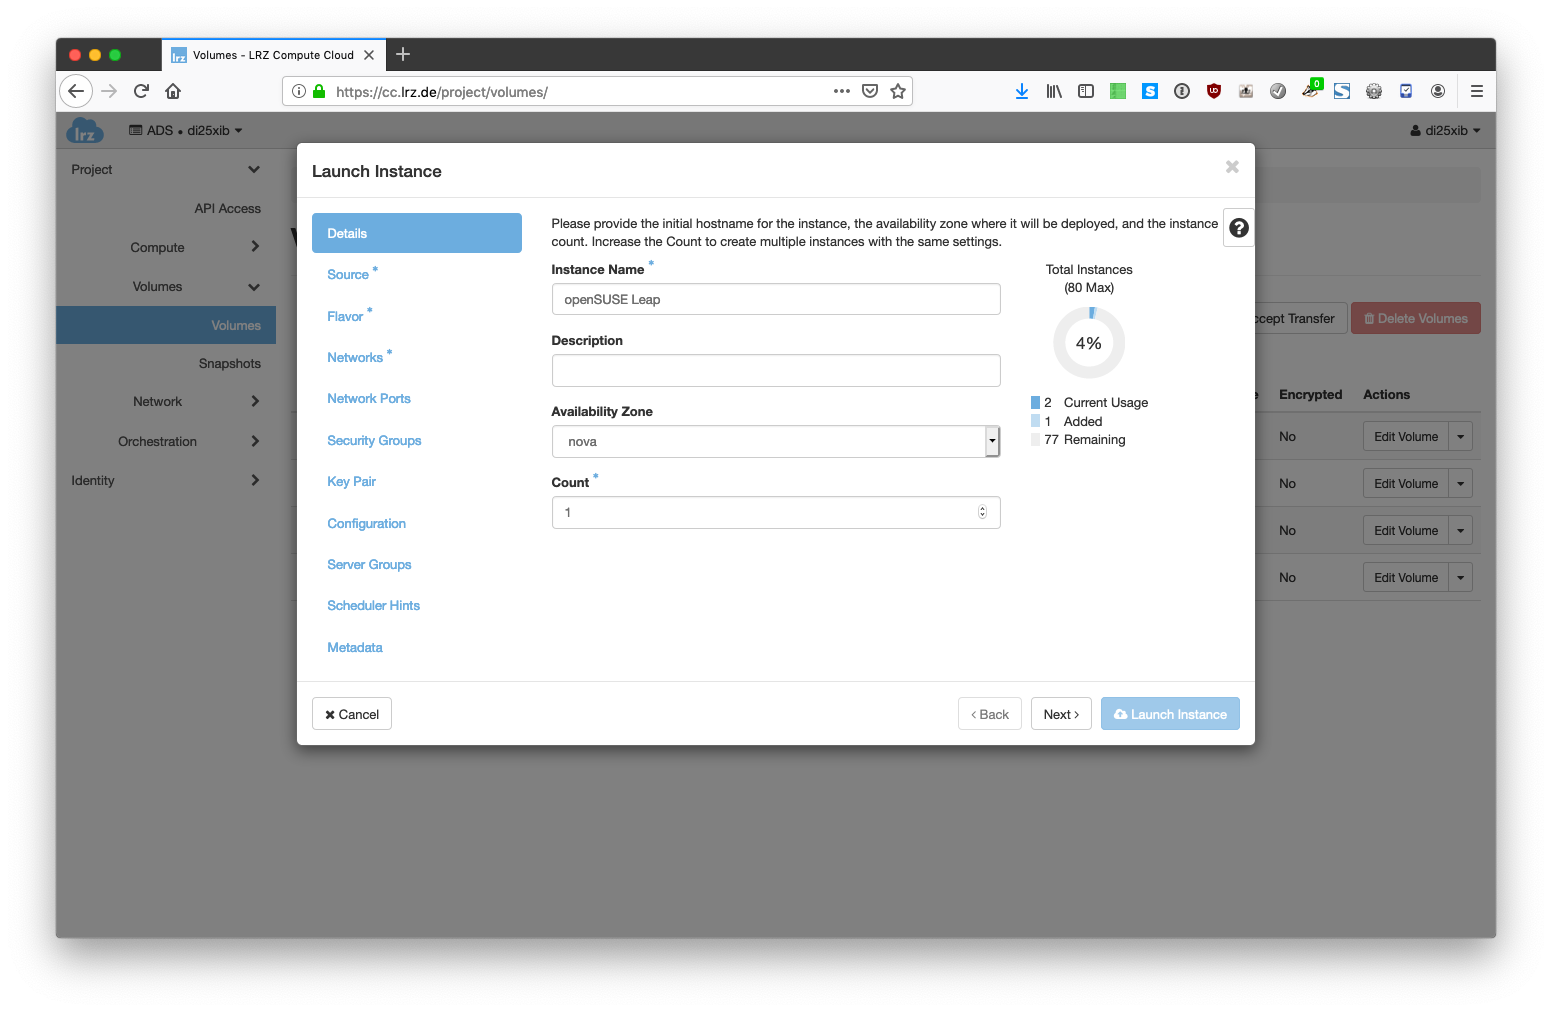
- Provide a name for the new instance
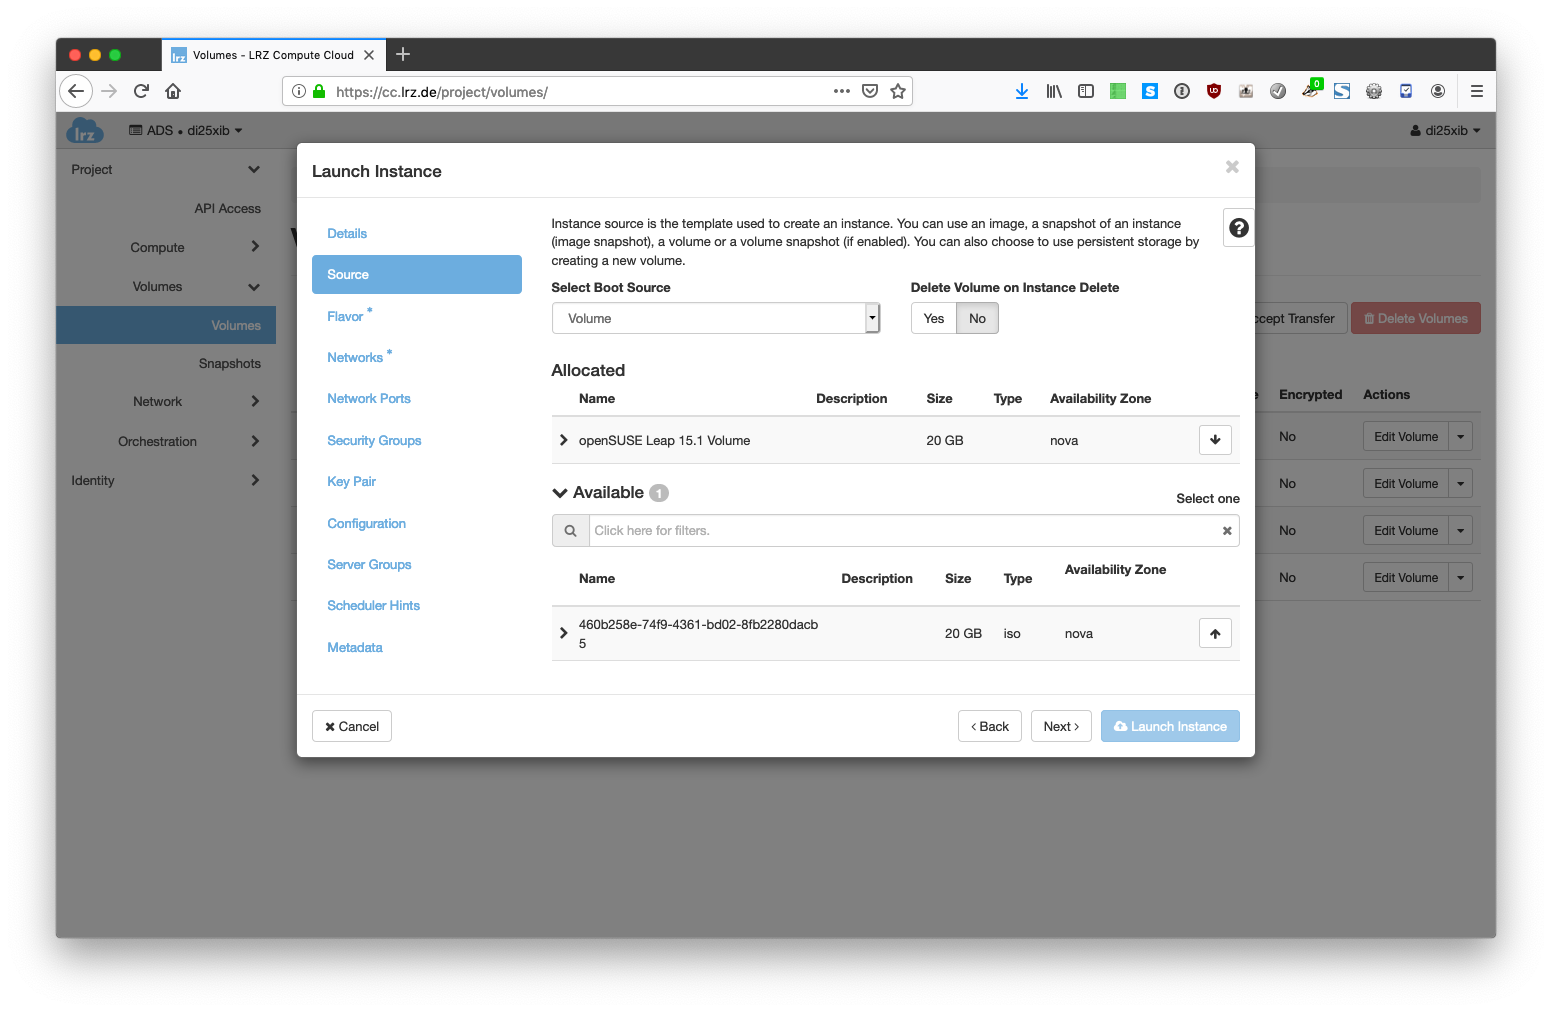
- In the Source submenu select Volume from the "Select Boot Source" drop down menu and select the correct image from the Available images section by clicking the up arrow next to it.
- Select the flavor that best fits your needs.
- Select the correct network for your needs. Do not use the "Internet" network that provides world wide access unless you really need it. If you want/need to use a private network check our tutorial showing how to create a personal network.
- Check the Security Groups to make sure that your machine can be accessed from the outside (you might need to add a rule to permit incoming SSH traffic).
- You can skip the Key Pair subsection because you have probably created a local user during the installation process earlier that can be used to log in to the Instance.
- Click on "Launch Instance" to launch the VM.
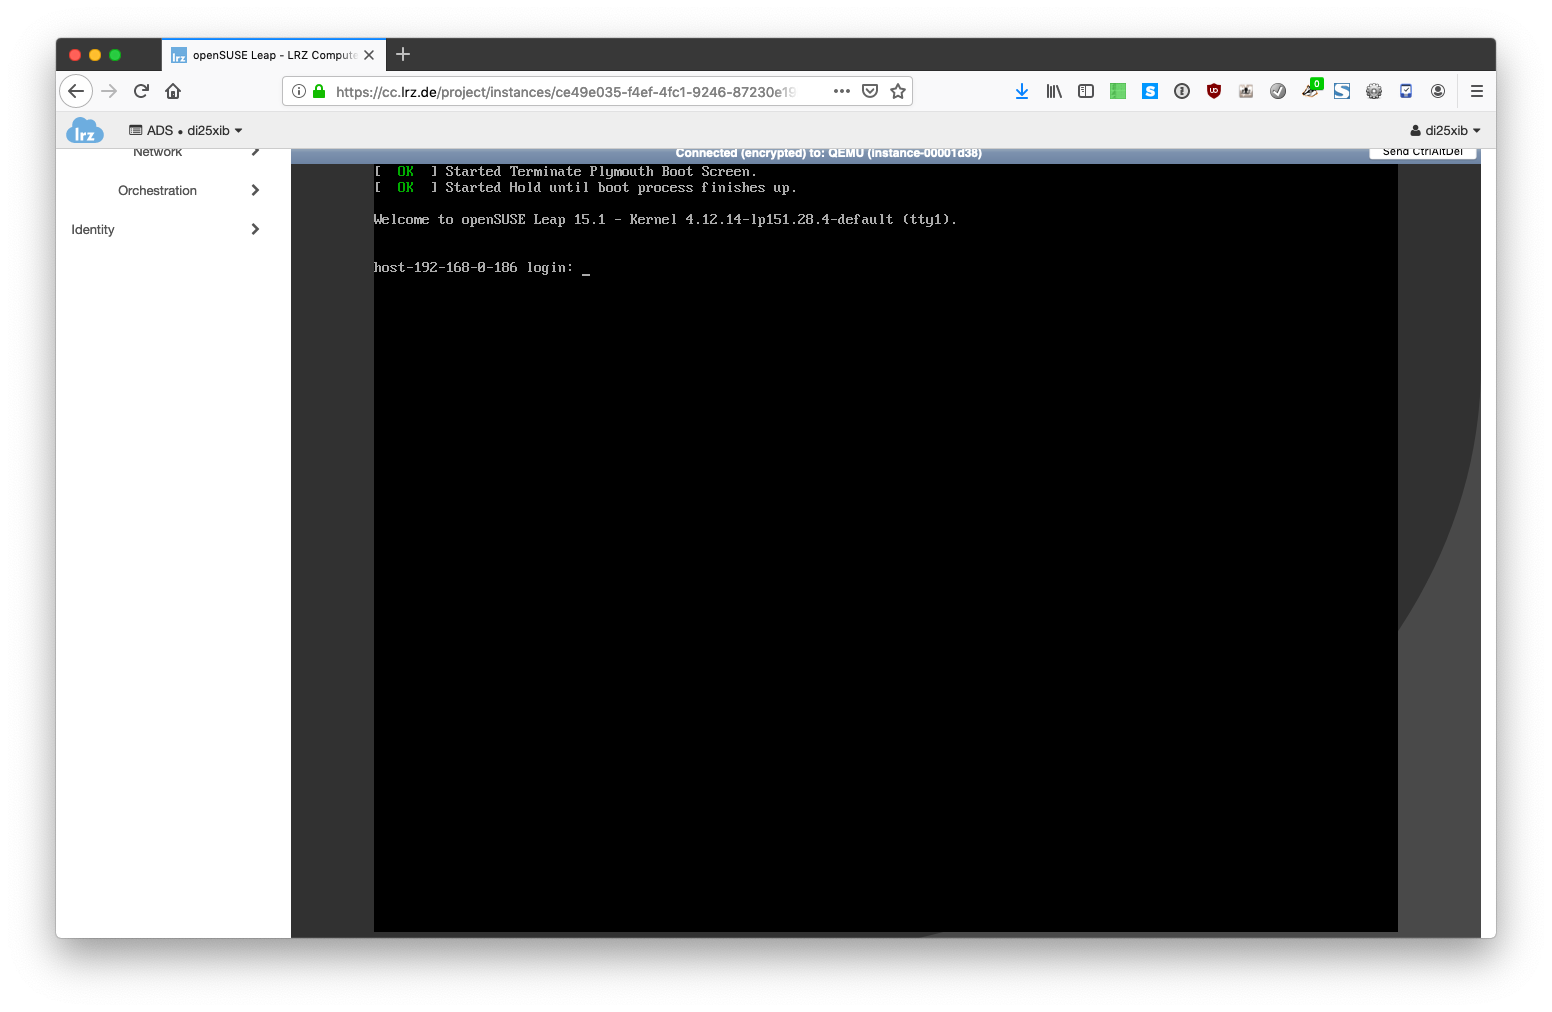
- When the Instance reaches the Status "Active" select "Console" from the dropdown menu to access the instance's console.

- If everything went as expected you will find yourself on the login screen of your freshly installed operating system.
- Do not forget to associate a floating IP to be able to reach your instance from the outside.
- You can also delete the ISO image that you have uploaded to install your VM.