


Heat Orchestration
Especially when dealing with larger setups launching and deleting resources manually via the webui or even the command line clients can get tedious very soon. While there is the possibility to script deployments yourself with a combination of BASH, Python and Ansible Openstack provides a service called Heat that deals specifically with orchestration. Even for just creating VMs you later bootstrap with Ansible Heat can be useful.
The following article should give you a quick introduction on how to use both the webui and the CLI client for Heat orchestration, as for Heat templates itself it will only cover a few useful examples, like creating the server from a volume, as necessary with our Ceph storage backend. For more detailed information about Heat refer to the official documentation: https://docs.openstack.org/heat/queens/ and for more in depth examples for Heat templating and Heat based software deployment check out the template guide: https://docs.openstack.org/heat/queens/template_guide/
Introduction to Heat
Heat organizes resources in so called stacks. These stacks are created according to the YAML formatted template the user provides the Heat service. Besides the mere creation Heat allows you to check, suspend, resume and delete the entire stack at once. Further bootstrapping of the created VMs is basically possible via cloud-init, but Heat extends this by allowing to create more elaborate so-called SoftwareConfigs that can be used in a similar fashion as Ansible.
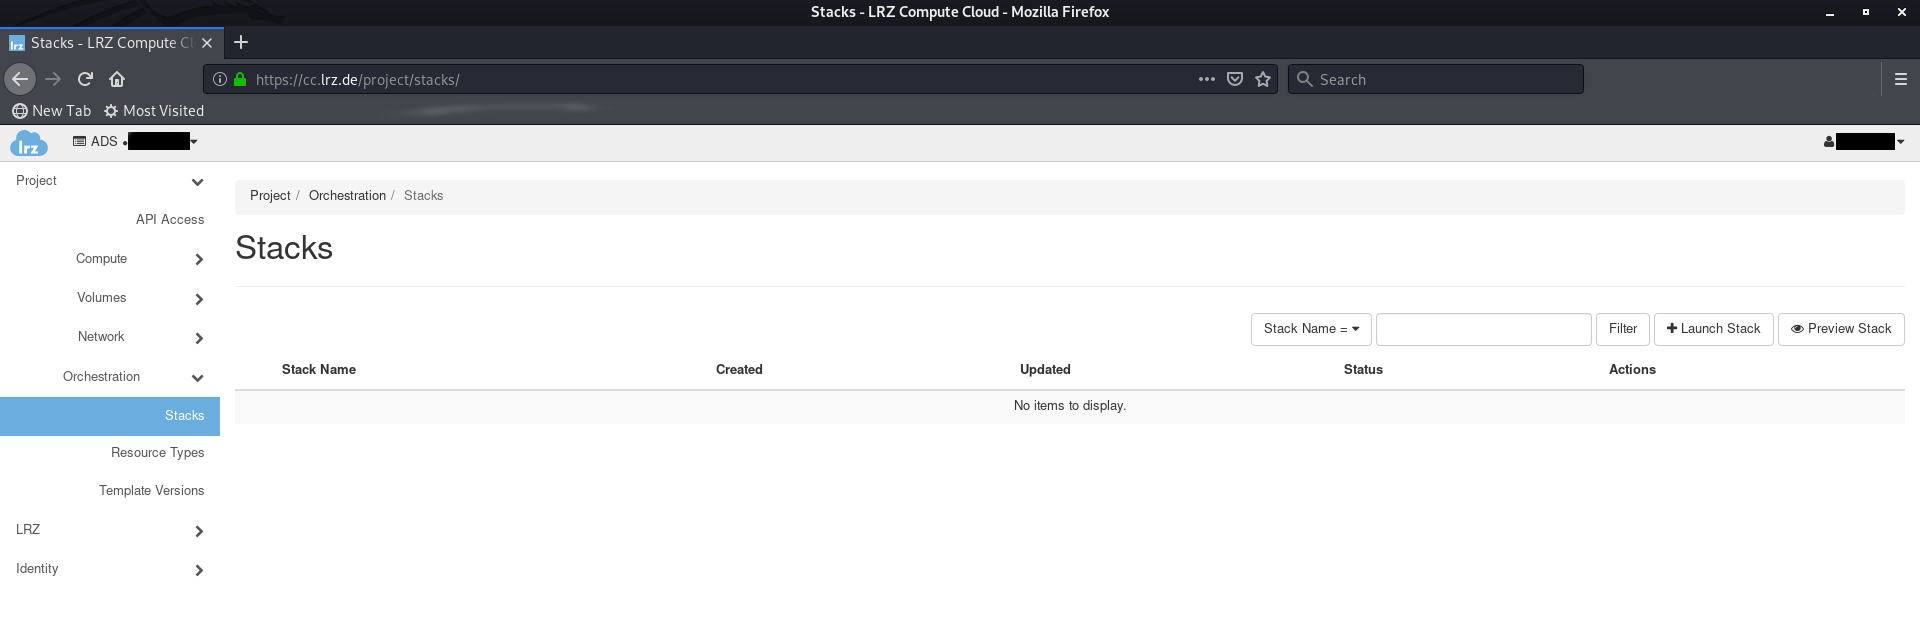
The Webui
The Heat webui is located at Project->Orchestration:
Creating a stack
1. navigate to the Orchetration tab and click on Launch Stack which open the following dialog: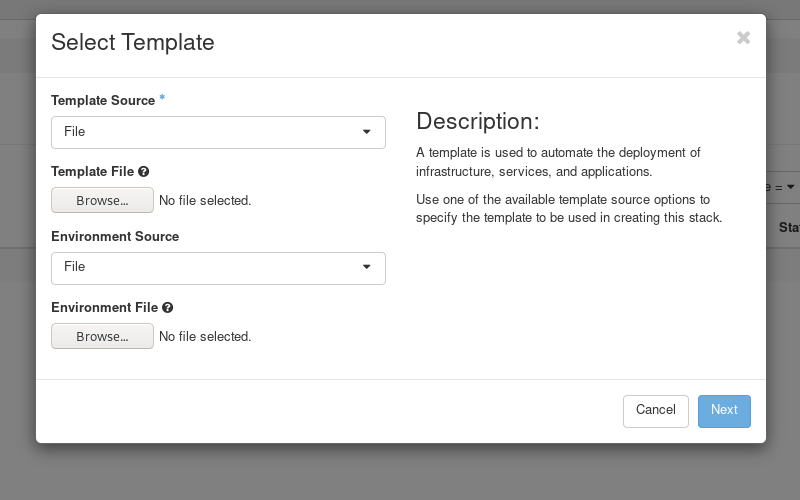
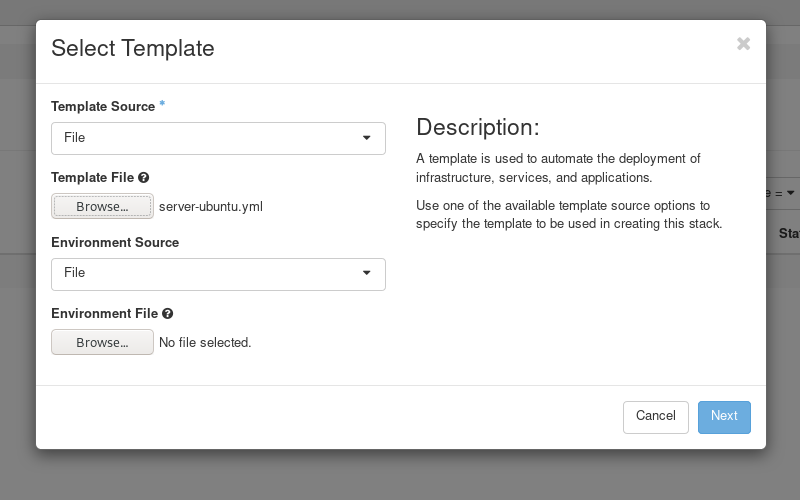
2. select a Template Source File and provide the YAML template, note that you can find template examples further below:
3. Click Next and enter the Stack Name and a Password, note that this password has nothing to do with any kind of login, this is just for confirmation of certain operation on the stack throughout its life cycle: 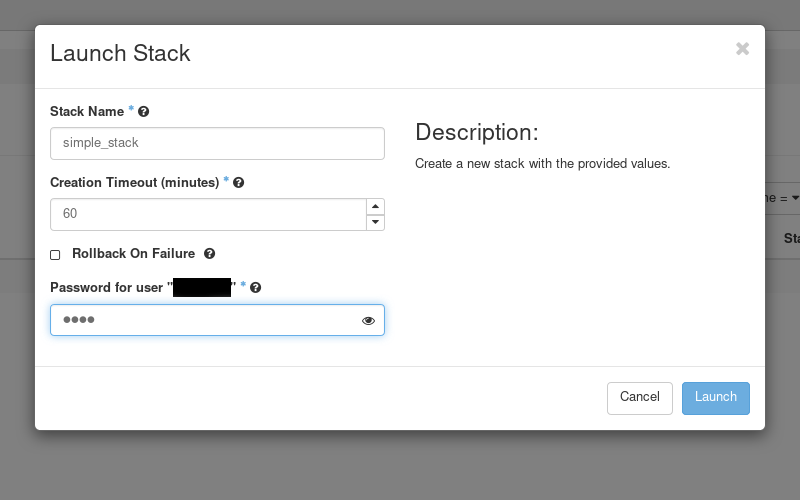
4. Click Launch:
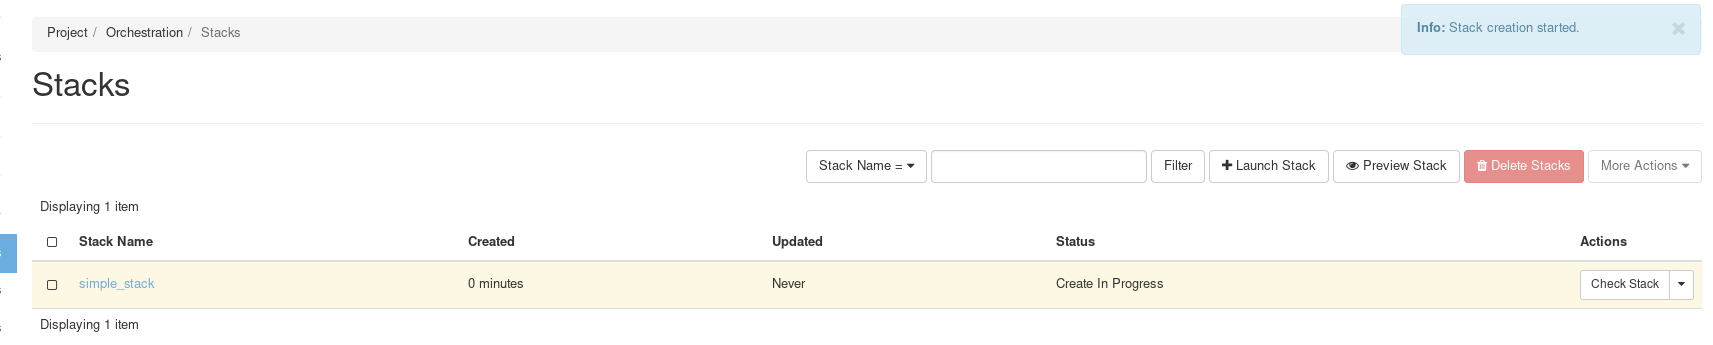
5. Wait for completion: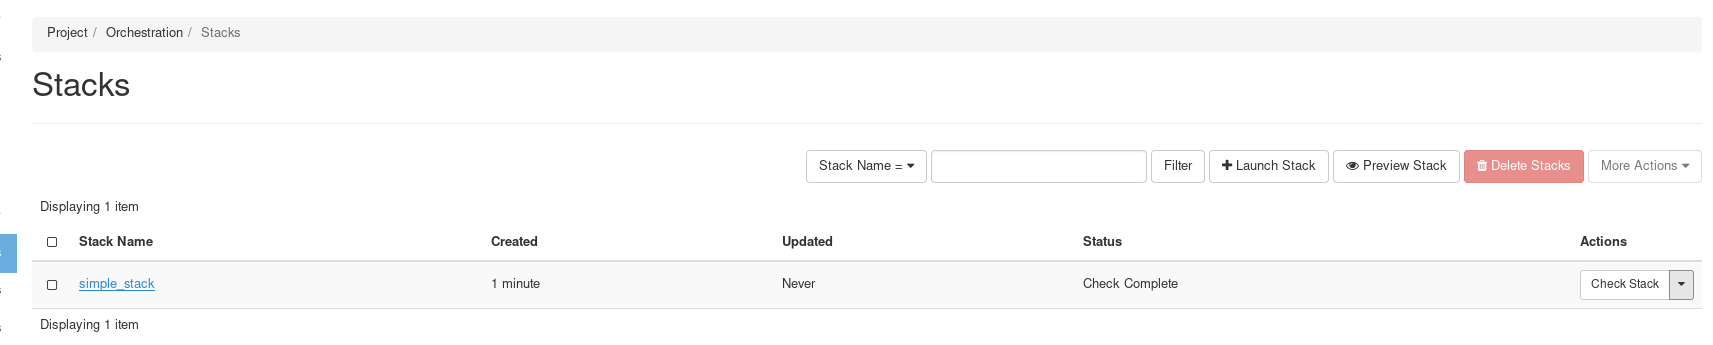
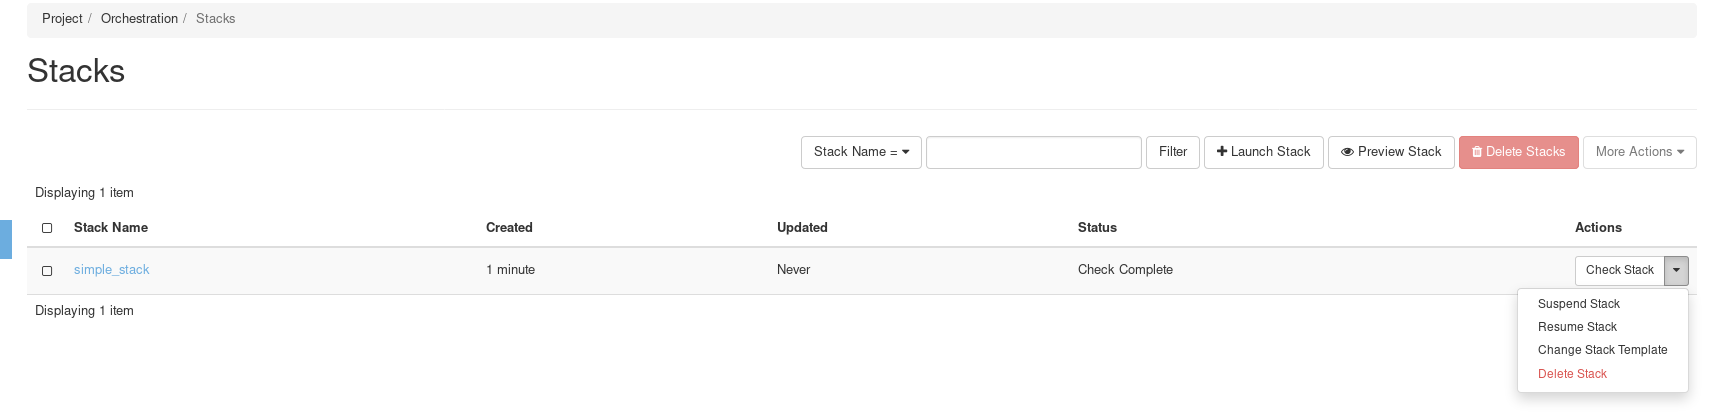
Operations on the Stack
Once the stack is ready you can perform the following operations on it:
Detailed View
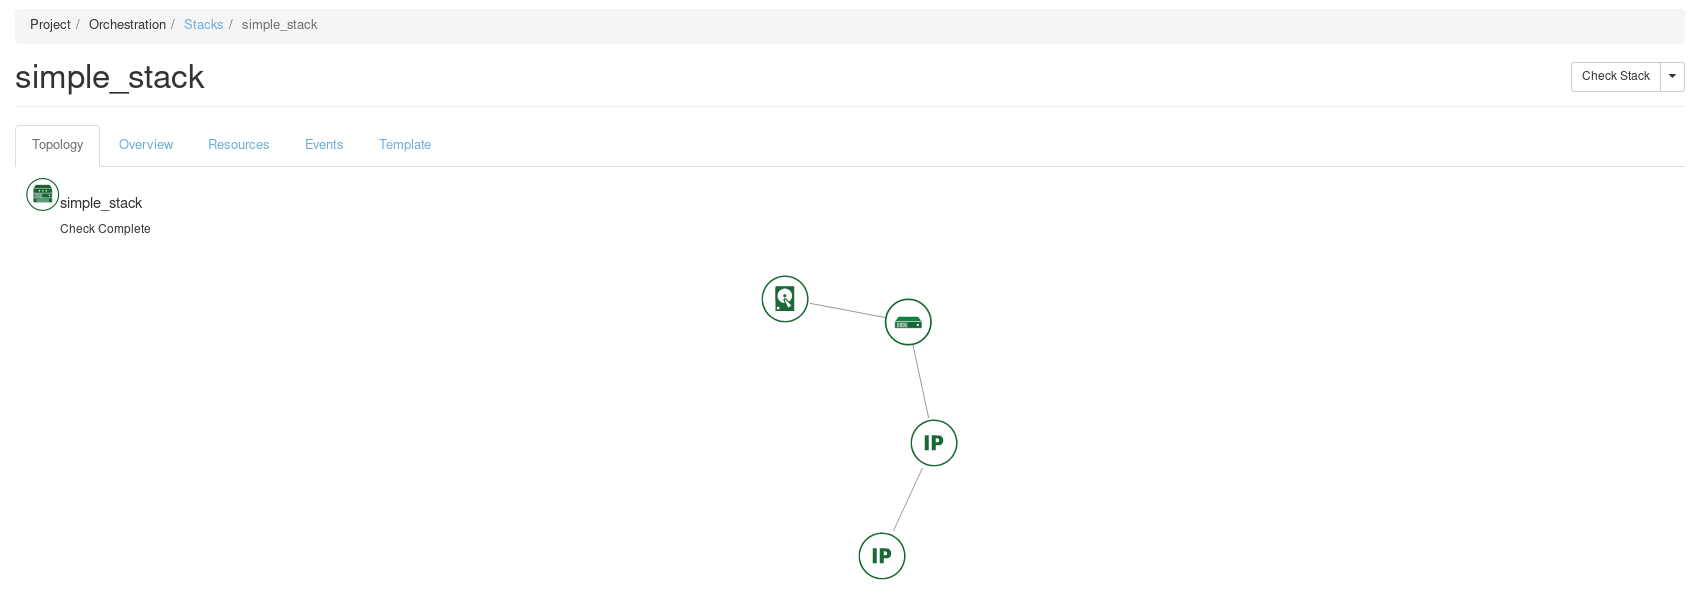
When you click on the stacks name you get to the detailed view which has multiple tabs:
Topology Tab
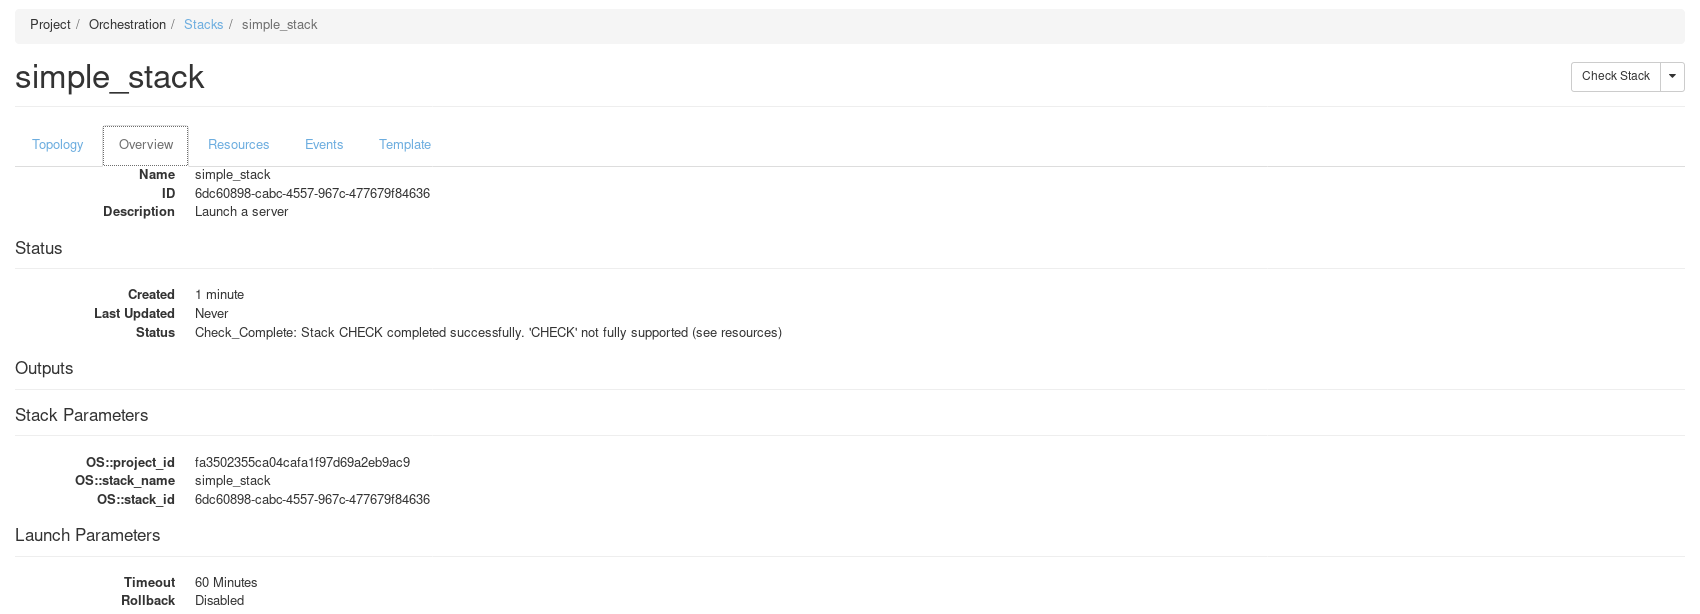
Overview Tab
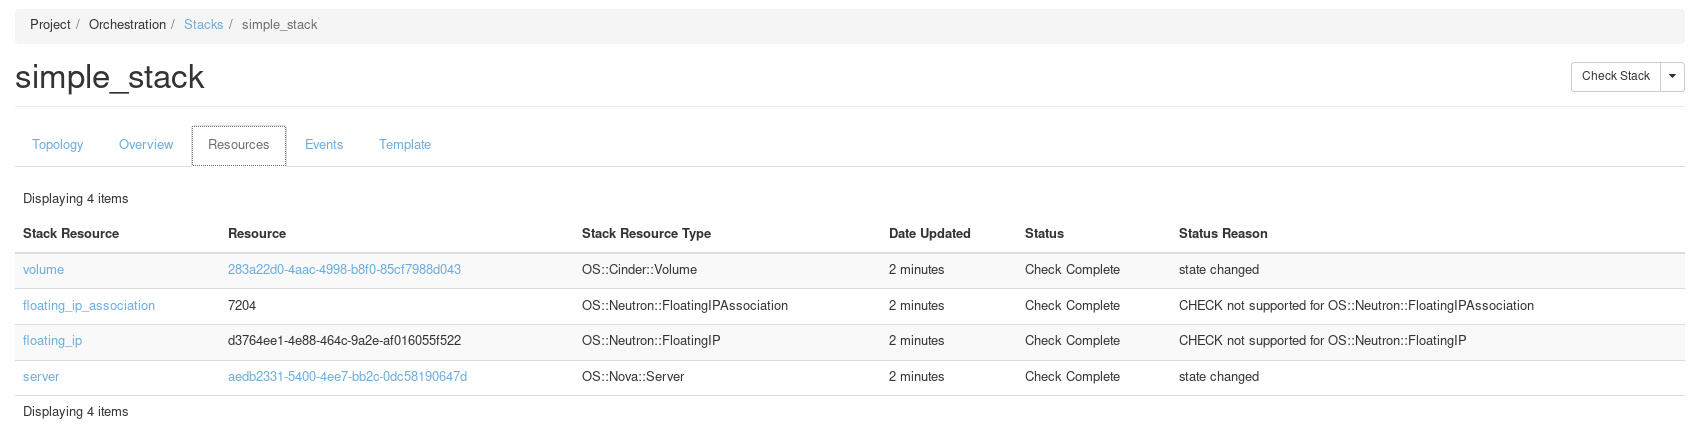
Resources Tab
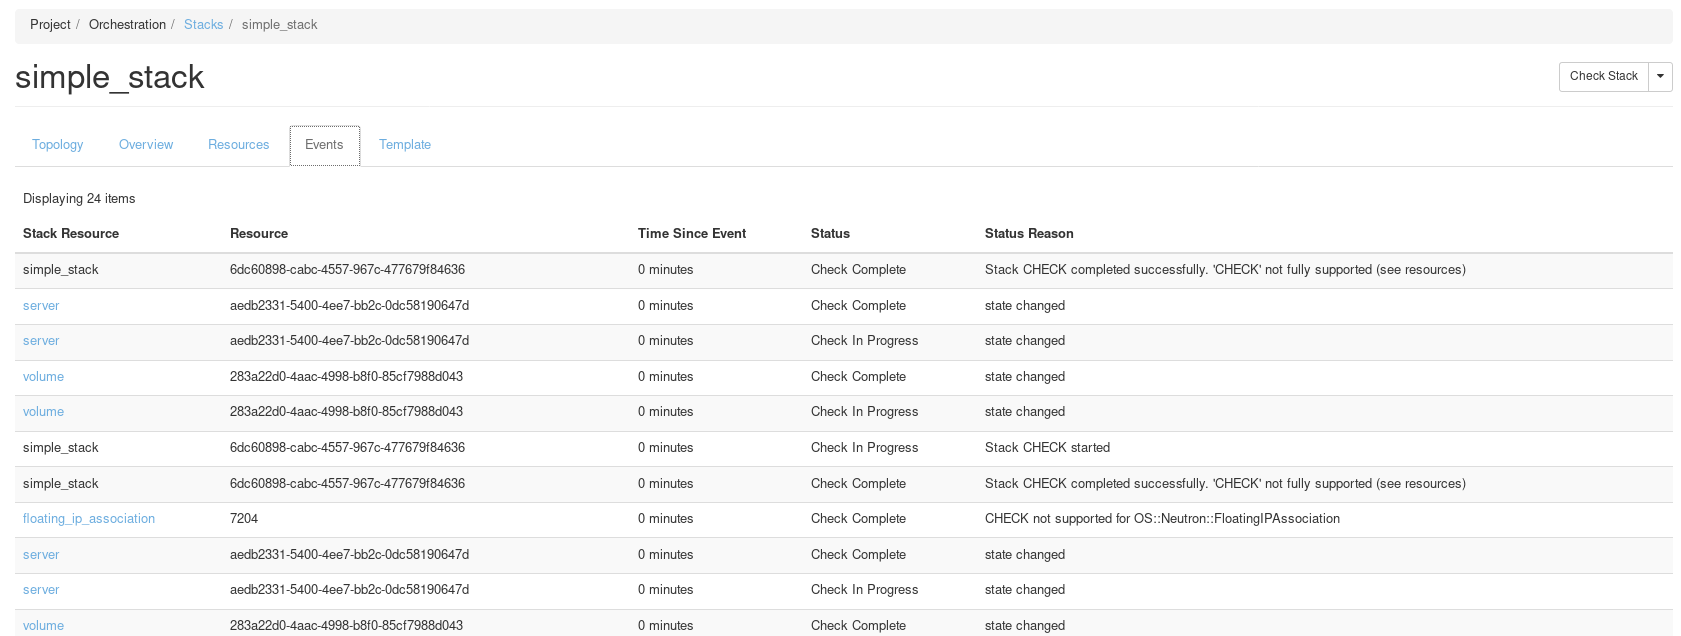
Events Tab
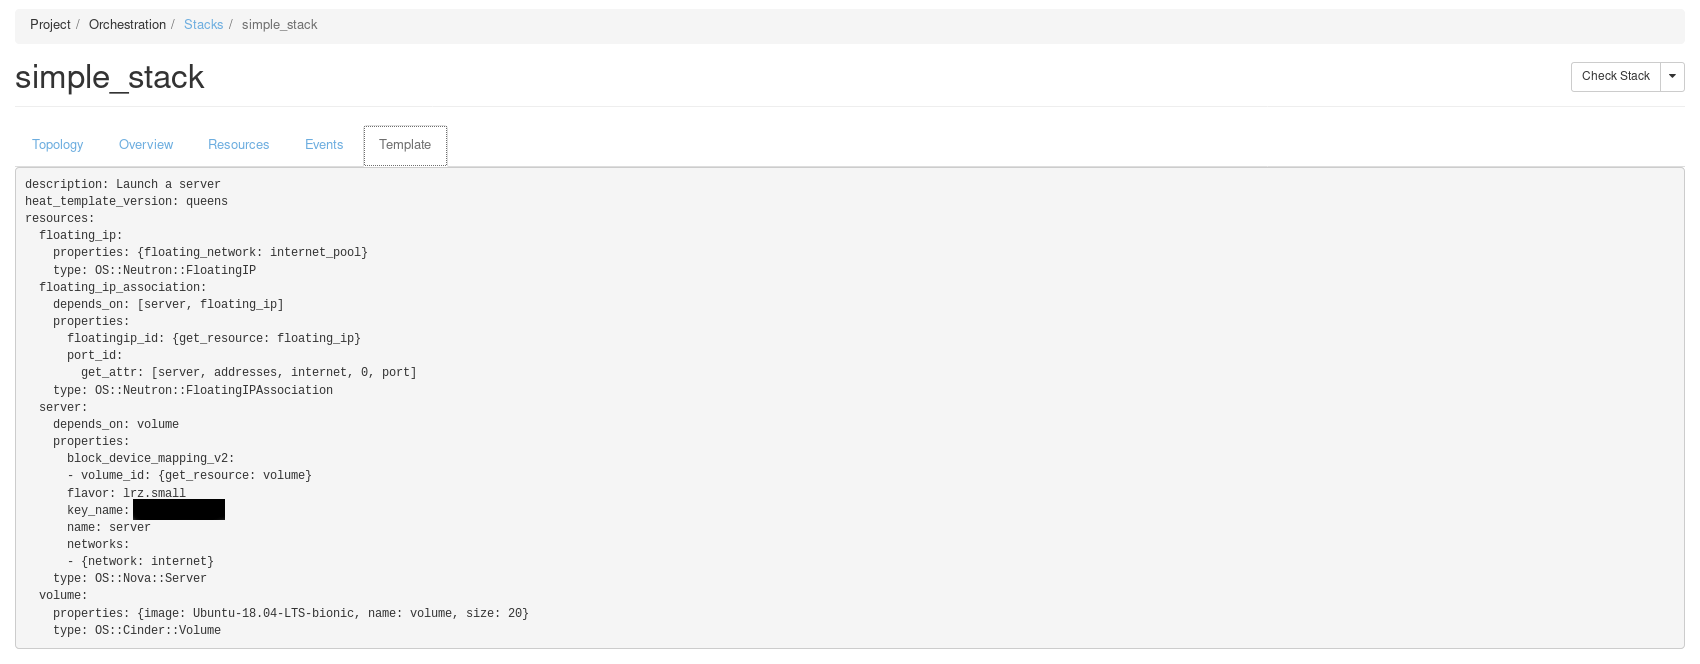
Template Tab
The CLI Client
Installation
On a Debian-based system you can install the heat client with:
sudo apt install python3-openstackclient python3-heatclient
Usage
Don't forget to source the openrc file as described in our Tutorial: OpenStack Command Line Tools
Creating a Stack
Creating a stack from a template file is done as follows:
openstack stack create -t server-debian.yml example-stack --wait
The option --wait lets the client wait for the completion of the stack.
Deleting a Stack
To delete a stack again use:
openstack stack delete --wait example-stack
Again the --wait option lets the client wait for the completion of the operation. In case the deletion fails possibly because the creation left the stack in an inconsistent state, the option --force might help.
Template Examples
Just a Server
Because the LRZ Compute Cloud uses a Ceph storage it is necessary to manually create a volume beforehand and then launch an instance from it when using the CLI clients as welll as the Heat client. The following template does just that, it creates a volume from the image Debian-10-buster and then launches a VM using this volume:
heat_template_version: queens
description: Launch a server

resources:
  volume:
    type: OS::Cinder::Volume
    properties:
      name: myvolume
      image: Debian-10-buster
      size: 20

  server:
    type: OS::Nova::Server
    depends_on: volume
    properties:
      name: myserver
      flavor: lrz.small
      key_name: cloud-ssh-key
      block_device_mapping_v2:
        - volume_id: { get_resource: volume }
      networks:
        - network: internet
The get_resource is a heat specific macro to the UUID of a resource defined in the template. This example probably won't work for you, since it hard-codes the SSH key name, and yours is likely to be different.
Input Parameters
The previous example hard-coded everything, which is fine for a static setup, but sometimes you might want to make small changes without changing the template itself. The following example allows this by using parameters:
heat_template_version: queens
description: Launch a server

parameters:
  server_name:
    type: string
    default: myserver
  volume_name:
    type: string
    default: myvolume
  image:
    type: string
    default: Debian-10-buster
  flavor:
    type: string
    default: lrz.small
  key:
    type: string
  volume_size:
    type: number
    default: 20
  network:
    type: string
    default: internet

resources:
  volume:
    type: OS::Cinder::Volume
    properties:
      name: { get_param: volume_name }
      image: { get_param: image }
      size: { get_param: volume_size }

  server:
    type: OS::Nova::Server
    depends_on: volume
    properties:
      name: { get_param: server_name }
      flavor: { get_param: flavor }
      key_name: { get_param: key }
      block_device_mapping_v2:
        - volume_id: { get_resource: volume }
      networks:
        - network: { get_param: network }
The value of the parameters can be used in the template by calling the get_param macro. Note that all parameters but key have a default value, therefore key is a required parameter. While the webui will ask for the values of the parameters in the dialog, the CLI client requires you to specify it either with the --parameter option like this:
openstack stack create -t server-params.yml example-stack --wait --parameter key=cloud-ssh-key --parameter image=CentOS-8
Creating and Attaching a Floating IP
Unless you want to use another VM in the same network you will need a floating IP to directly connect to your VM. The following template adds creation and attachment of a floating IP to the previous example:
heat_template_version: queens
description: Launch a server

parameters:
  server_name:
    type: string
    default: myserver
  volume_name:
    type: string
    default: myvolume
  image:
    type: string
    default: Debian-10-buster
  flavor:
    type: string
    default: lrz.small
  key:
    type: string
  volume_size:
    type: number
    default: 20
  network:
    type: string
    default: internet

resources:
  volume:
    type: OS::Cinder::Volume
    properties:
      name: { get_param: volume_name }
      image: { get_param: image }
      size: { get_param: volume_size }

  server:
    type: OS::Nova::Server
    depends_on: volume
    properties:
      name: { get_param: server_name }
      flavor: { get_param: flavor }
      key_name: { get_param: key }
      block_device_mapping_v2:
        - volume_id: { get_resource: volume }
      networks:
        - network: { get_param: network }

  floating_ip:
    type: OS::Neutron::FloatingIP
    properties:
      floating_network: { list_join: ['', [{ get_param: network }, '_pool']] }

  floating_ip_association:
    type: OS::Neutron::FloatingIPAssociation
    depends_on:
      - server
      - floating_ip
    properties:
      floatingip_id: { get_resource: floating_ip }
      port_id: { get_attr: [server, addresses, { get_param: network }, 0, port] }
This example also introduces the macros get_attr and list_join.
Output
Heat templates do not only allow input but also output. A typical use case is the previous example where we created and attached a floating IP, but actually also want to know the address afterwards. This can be accomplished as follows:
heat_template_version: queens
description: Launch a server

parameters:
  server_name:
    type: string
    default: myserver
  volume_name:
    type: string
    default: myvolume
  image:
    type: string
    default: Debian-10-buster
  flavor:
    type: string
    default: lrz.small
  key:
    type: string
  volume_size:
    type: number
    default: 20
  network:
    type: string
    default: internet

resources:
  volume:
    type: OS::Cinder::Volume
    properties:
      name: { get_param: volume_name }
      image: { get_param: image }
      size: { get_param: volume_size }

  server:
    type: OS::Nova::Server
    depends_on: volume
    properties:
      name: { get_param: server_name }
      flavor: { get_param: flavor }
      key_name: { get_param: key }
      block_device_mapping_v2:
        - volume_id: { get_resource: volume }
      networks:
        - network: { get_param: network }

  floating_ip:
    type: OS::Neutron::FloatingIP
    properties:
      floating_network: { list_join: ['', [{ get_param: network }, '_pool']] }

  floating_ip_association:
    type: OS::Neutron::FloatingIPAssociation
    depends_on:
      - server
      - floating_ip
    properties:
      floatingip_id: { get_resource: floating_ip }
      port_id: { get_attr: [server, addresses, { get_param: network }, 0, port] }

outputs:
  public_ip:
    description: The public ip of the server
    value: { get_attr: [floating_ip, floating_ip_address] }
While the webui show the outputs in the Overview Tab of the stacks detailed view, in the CLI you have to query it with:
openstack stack output show example-stack public_ip
after the creation of the stack has completed, which makes the --wait flag in the create command come in handy.
Further Examples
The previous examples only cover the basics of Heat templating, a good starting point for more advanced topics and also a documentation of all the over resource types is the official template guide: https://docs.openstack.org/heat/queens/template_guide/. If you find complete templates online be sure that they are compatible with our Heat version.